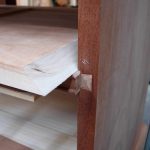
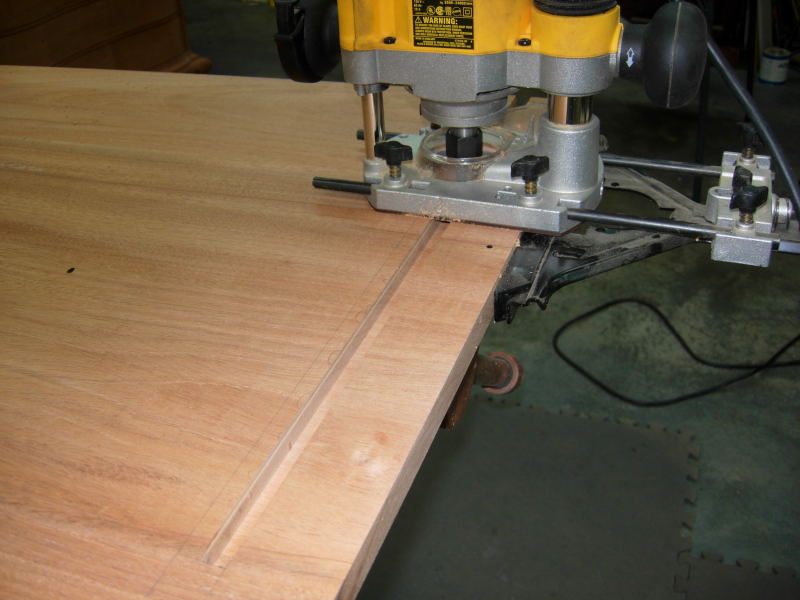
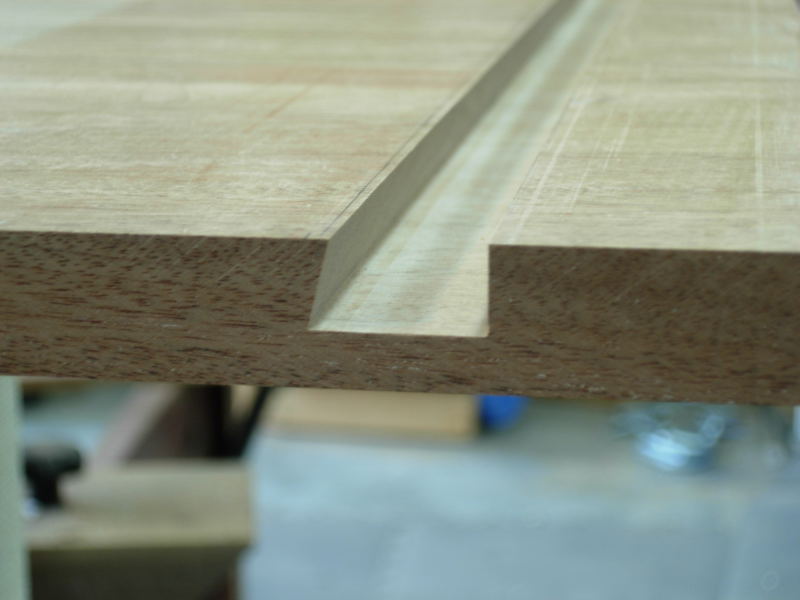
Now onto the Boston Blockfront case top, the case top starts as a two board glue up of Mahogany 40 1/4 ” x 20 3/4″ x 13/16″. First we need to create the sliding dovetail socket that will attached the case top to the case sides. First we need to create a dado in the underside of the case top, it’s a pretty good size excavation, 20 3/4″ x 5/8″ x 1/2″, this needs to be staged with a plunge router..
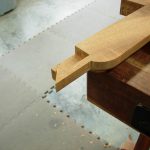
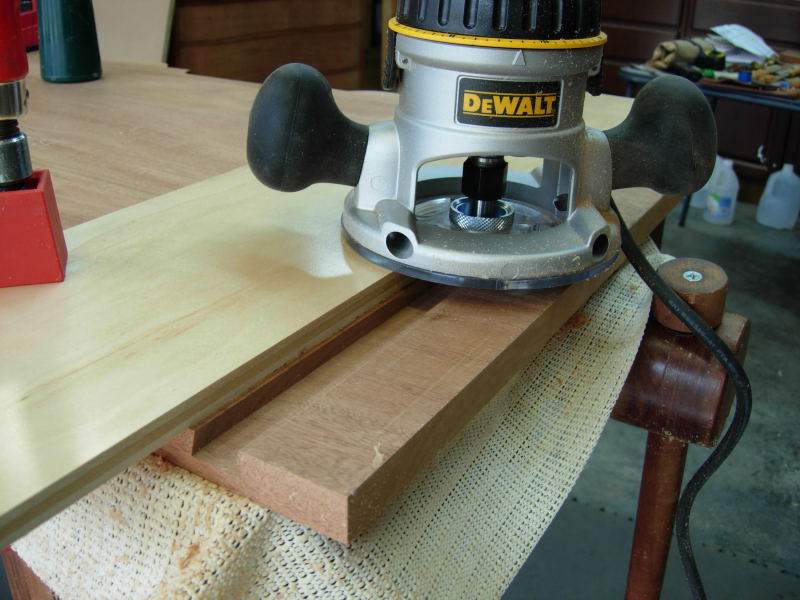
After we create the dado, next we use a 14 degree x 3/4″ dovetail bit plus a 3/4″ bushing in a fixed base router to create the sliding dovetail, no staging the cut here…
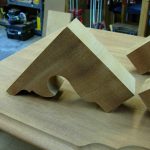
The result..
The case top has a pattern that is a 7/8″ offset of the pattern of the drawer blades, we make a plywood template of the offset, then use the plywood template to pattern route the front of a piece of 40 1/4 x 20 3/4″ x 3/4 MDF..

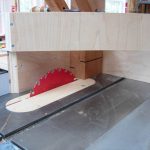
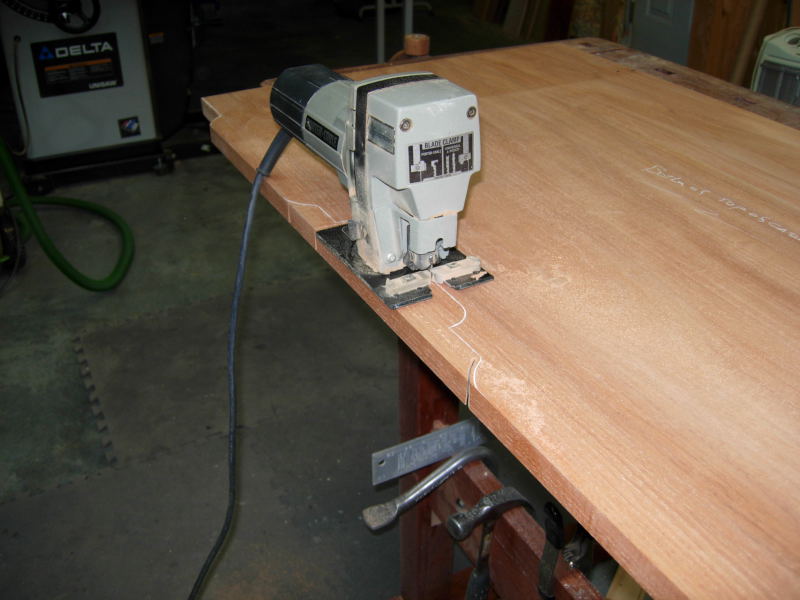
The full size MDF pattern will be used to pattern route the front of the case top, it will also be used when the edges of the top are profiled, a full size pattern is necessary as the the whole edge of the top will be profiled. Since the top is so large, rather than wresting with the top on the bandsaw, we use a saber saw to remove the waste on the top..
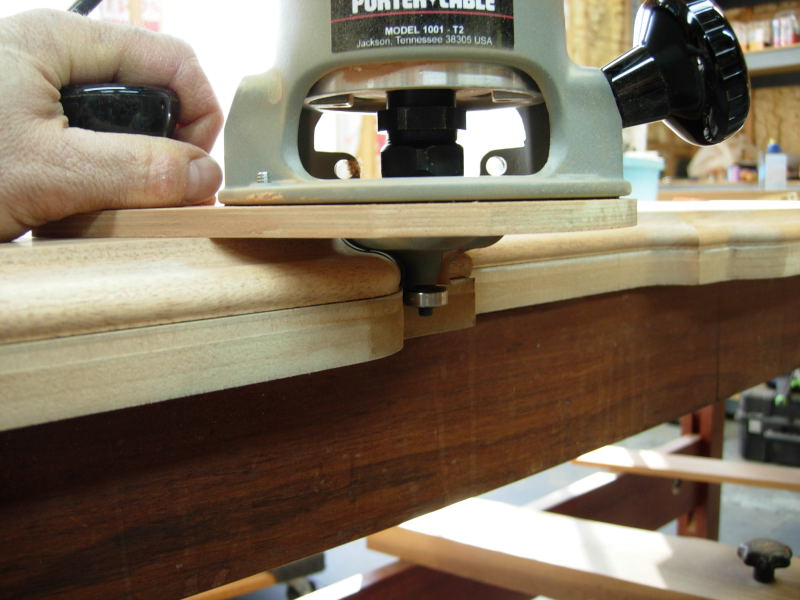
Now off to the router table with the mdf pattern attached to case top to pattern route the front edge with the 1/2″ spiral double ball bearing bit (this bit is awesome)..
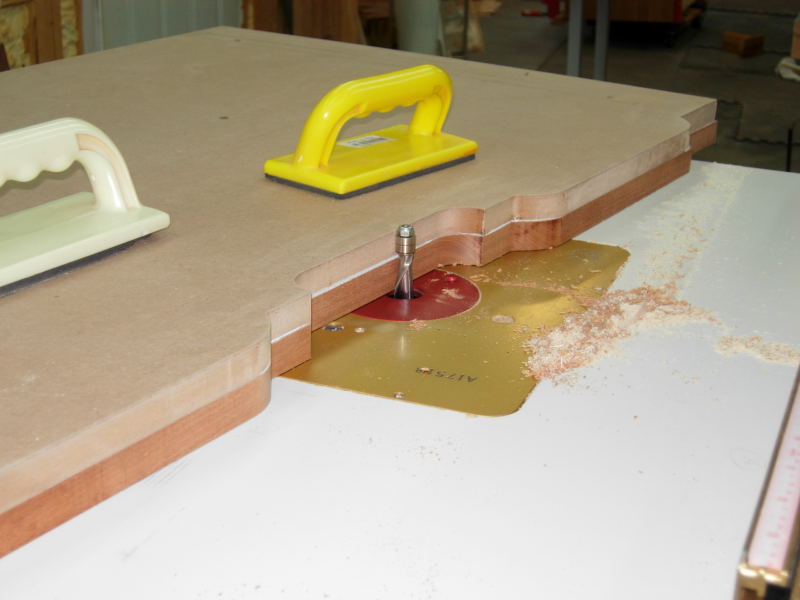
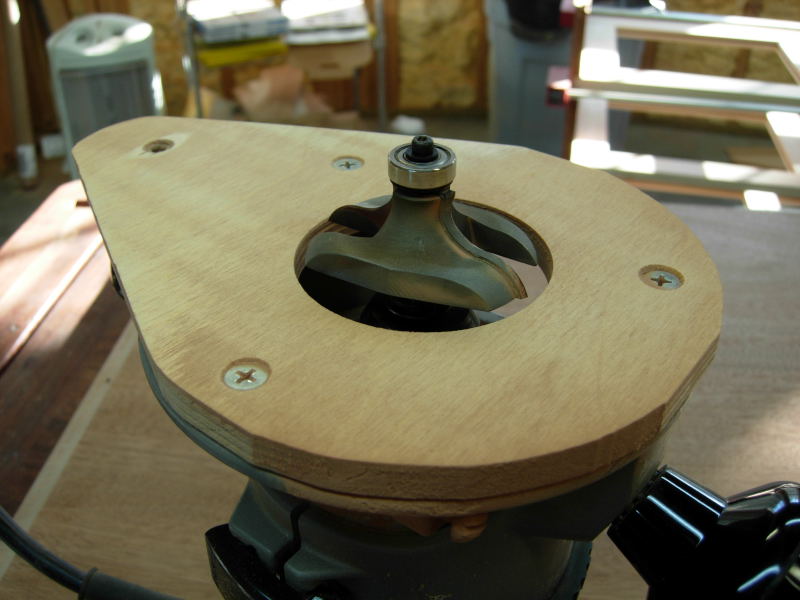
Then finally using a special 18th century table edge bit by Amana Tool designed by Lonnie Bird, we profile the front and sides of the case top. This bit removes a tremendous amount of material, so we stage the cut by replacing the stock 5/8″ bearing with larger bearing, taking 5 passes with a smaller bearing in each pass, finally ending up with the stock 5/8″ bearing installed (as pictured)..