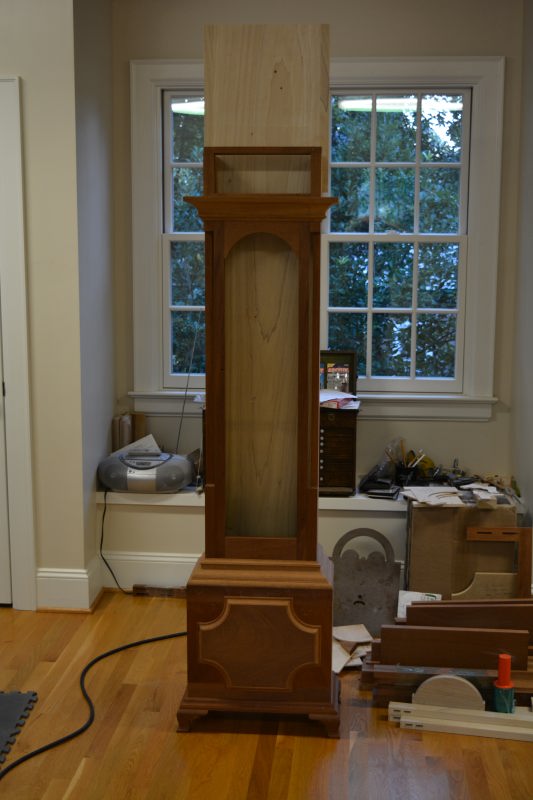
I decided that before embellishing the base with the base panel and panel molding, I should complete the main structure of the the waist. So, now on to the waist..
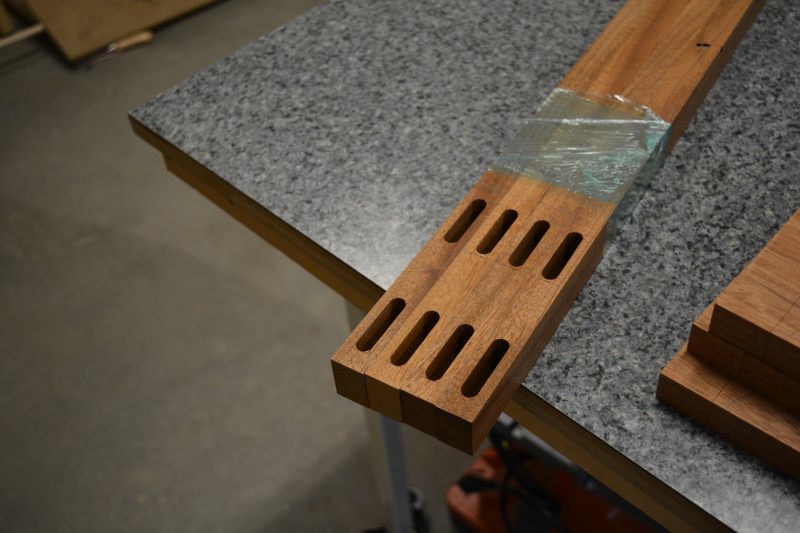
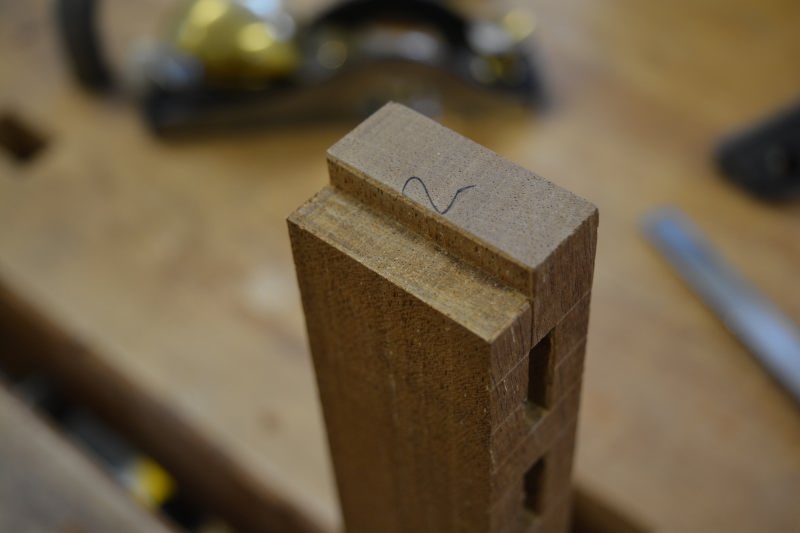
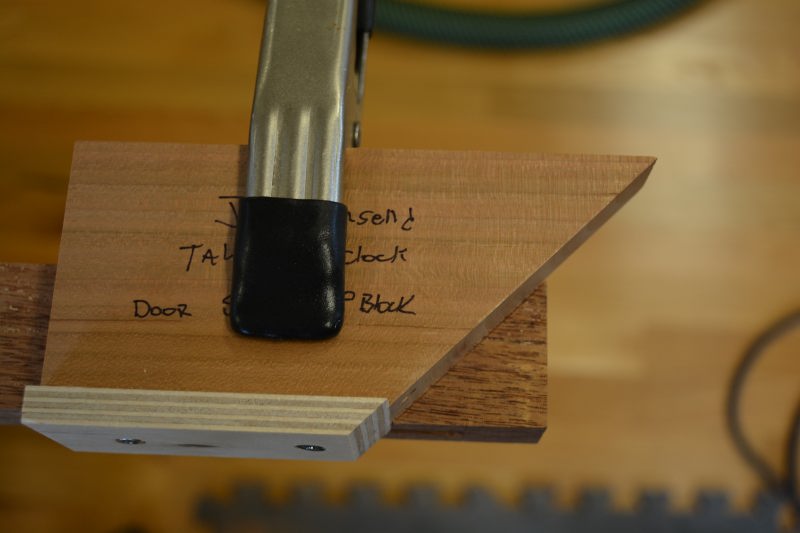
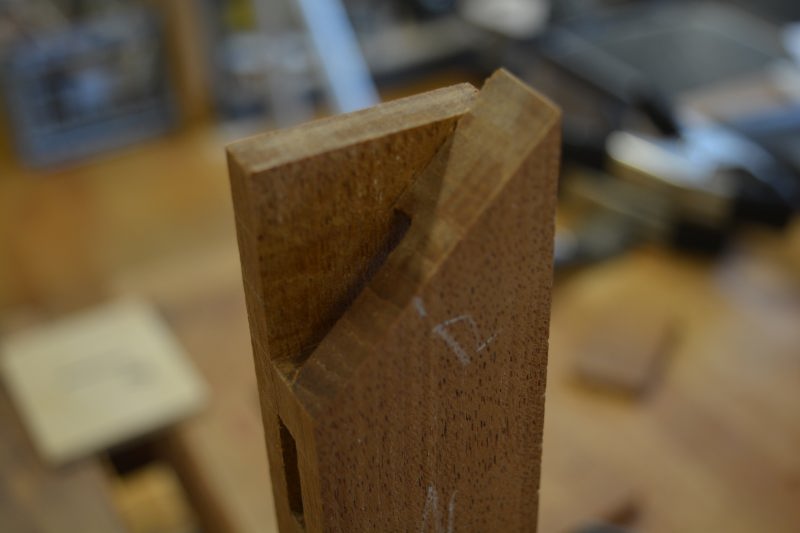
First up is the construction of the waist door frame, the stiles of the door frame receive fairly substantial mortises, in fact these are through mortises.
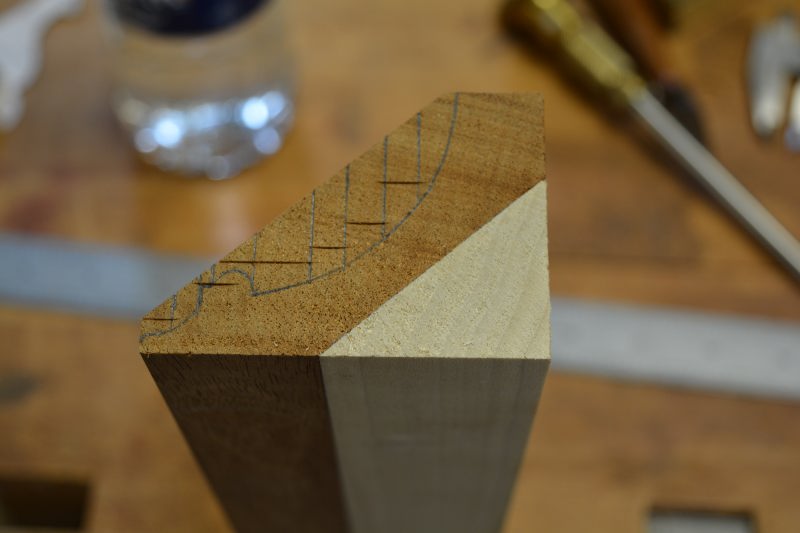
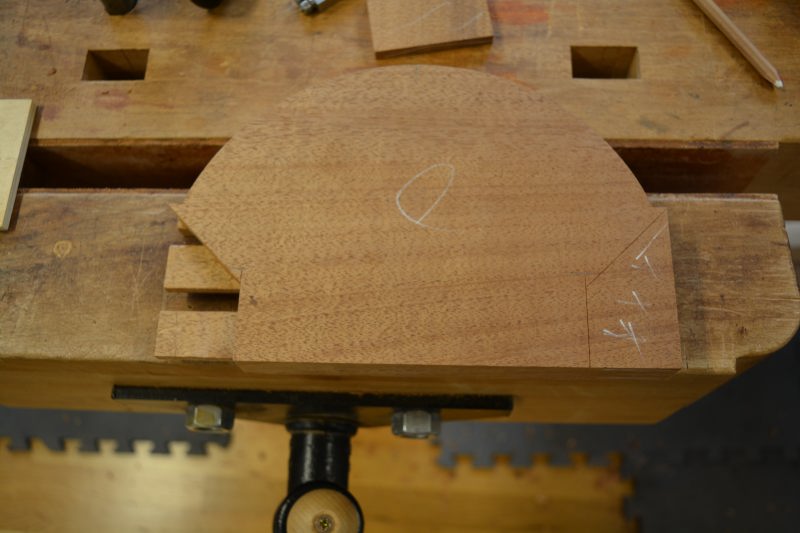
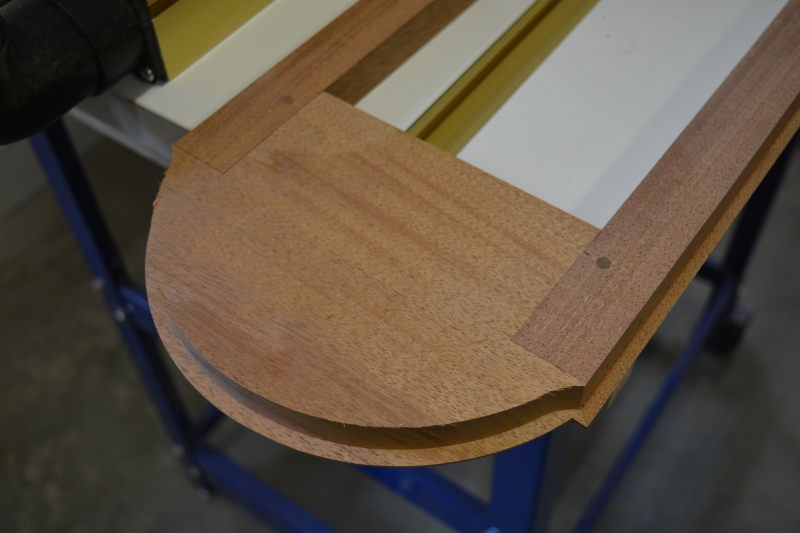
The curve on the upper rail has been roughly band sawn wide of the line and the tendons cut..
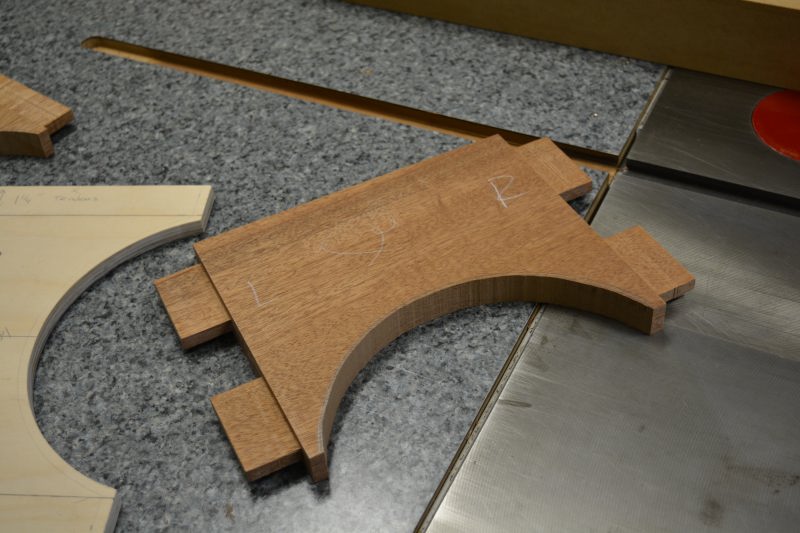
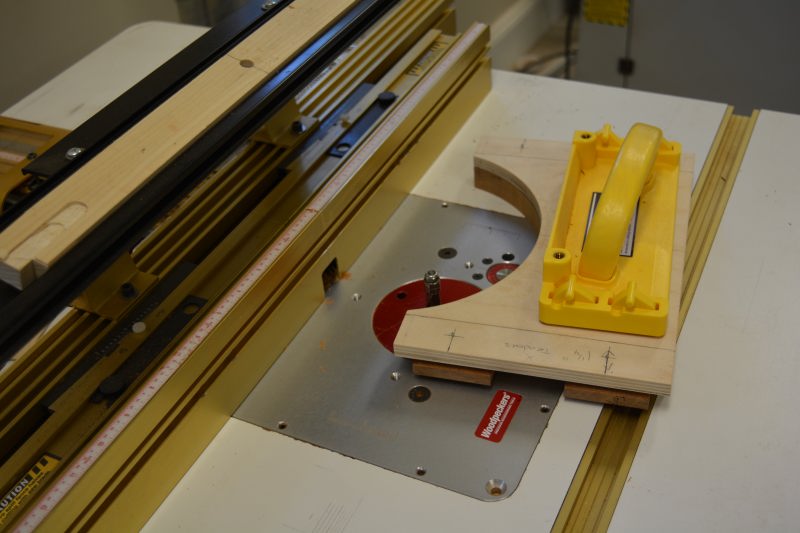
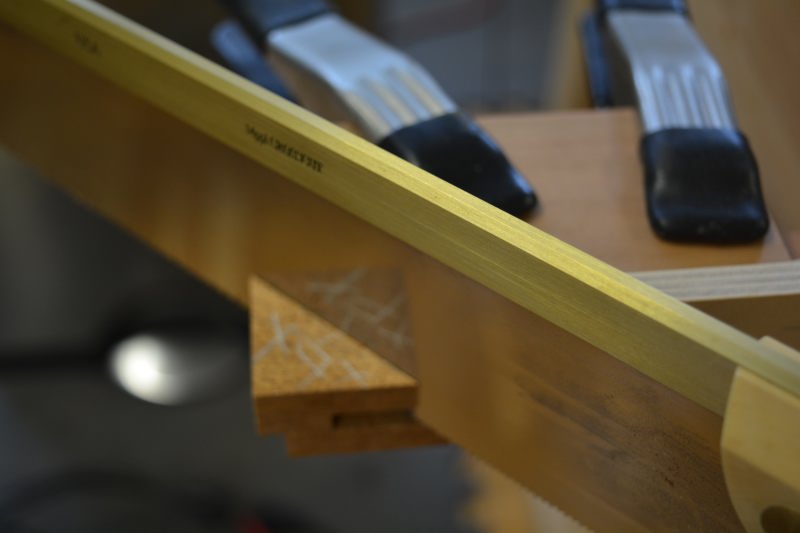
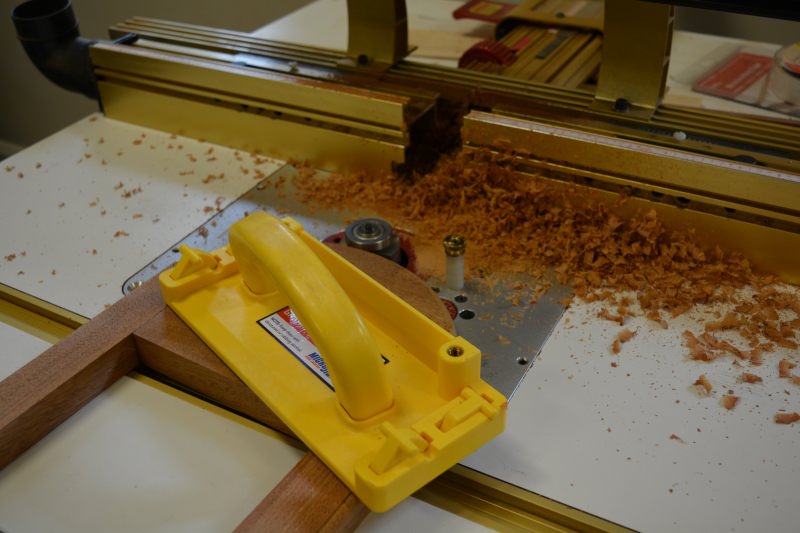
Next we attach a full size pattern that we made and pattern route the curve with a spiral double ball bearing bit. This process cleans up the curve.
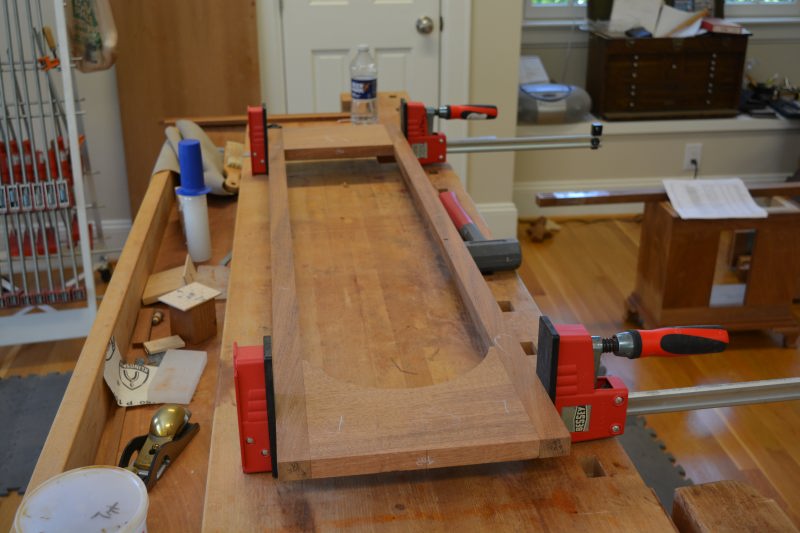
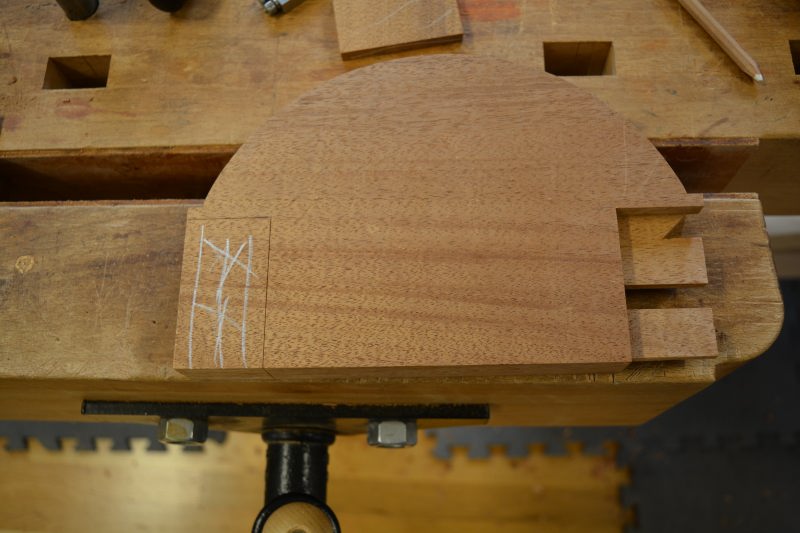
After massaging the fit of the mortise and tendons, we glue up the door frame.. After the frame is dry, we add the column top and bottom blocks (not pictured) to the door frame,
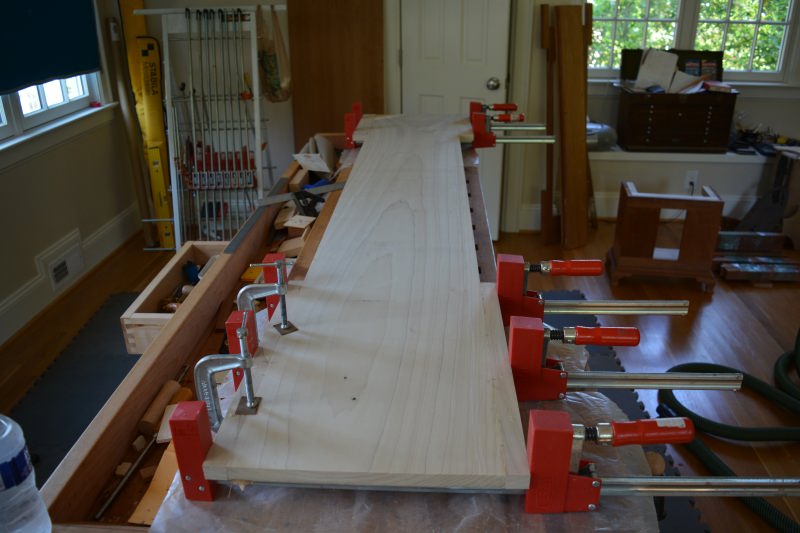
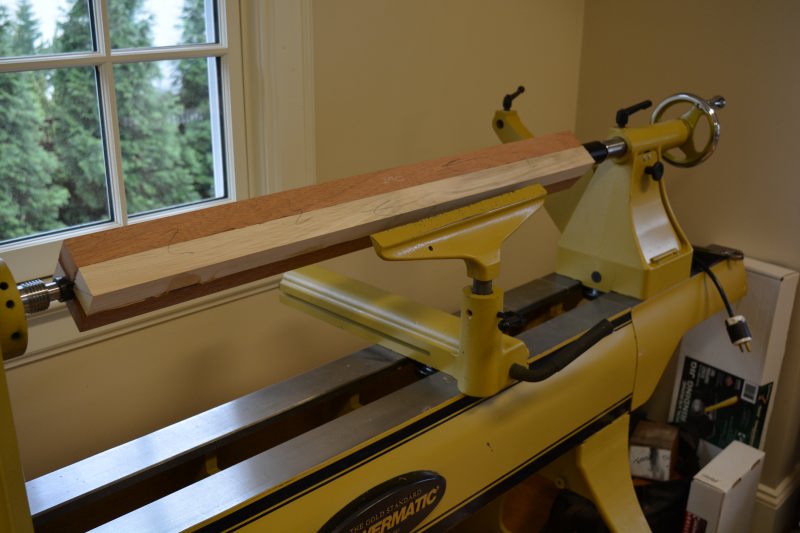
After much deliberation, I decided it would be a good point to mill and glue up the back bone of the clock. I would love to use American Chestnut as John Townsend did, but American Chestnut is close to being extinct from a blight in the early 20th century. So Yellow Poplar it is, the back bone is quite a large slab of Poplar 82 3/4″ long, 12 1/8″ at the narrow part, 15″ at the widest.
Finally with a few clamps, the waist sides are glued up with the door frame..
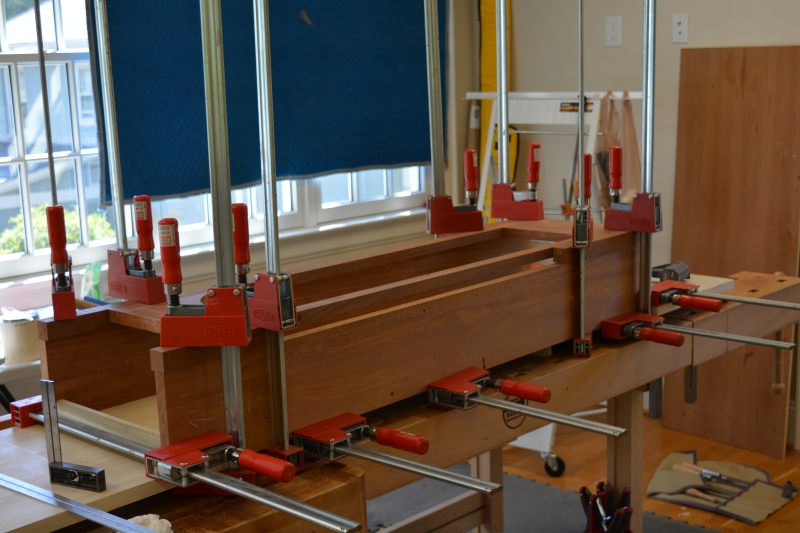
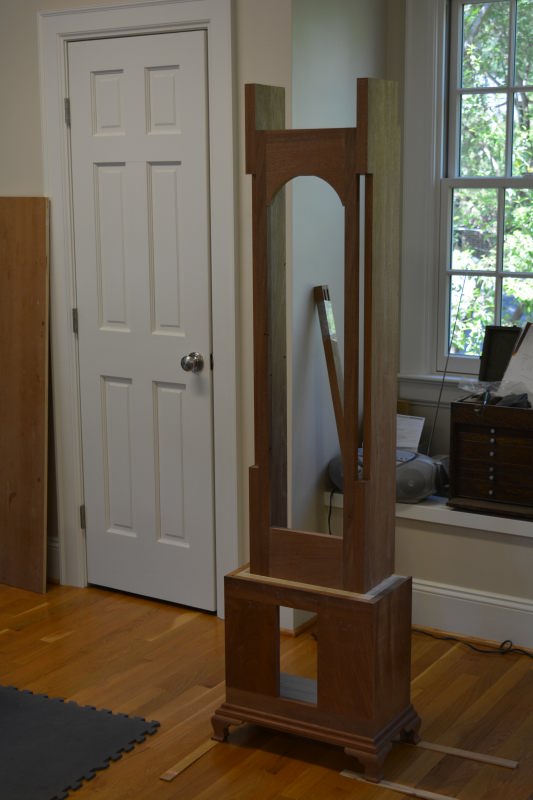
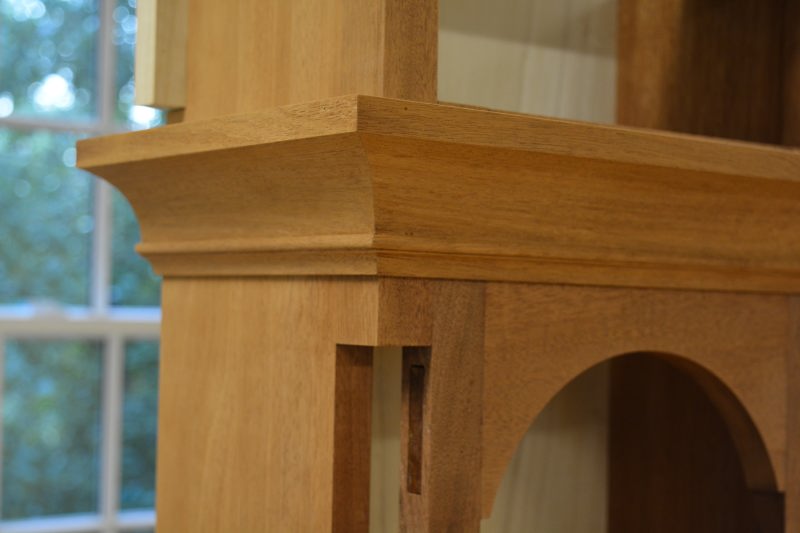
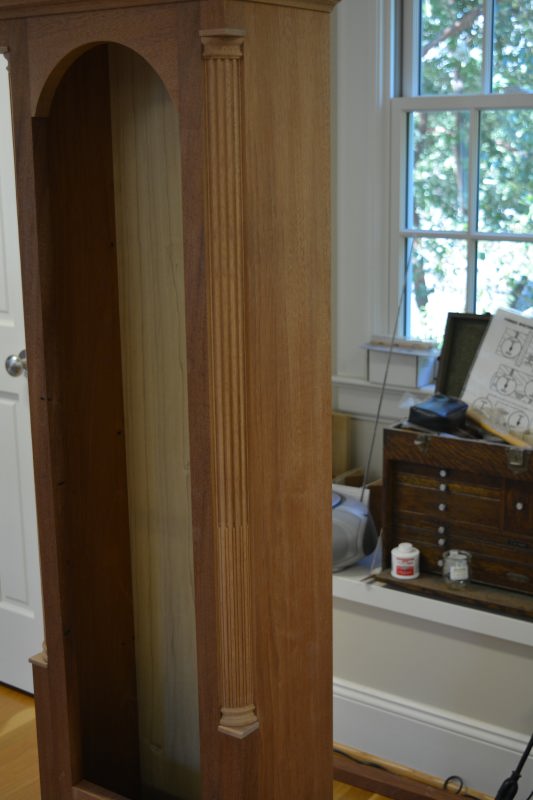
After hand planing the corner blocks flush and waist sides, the waist was successfully married to the base. The area between the corner blocks on each side of the door frame, will receive the fluted quarter columns.
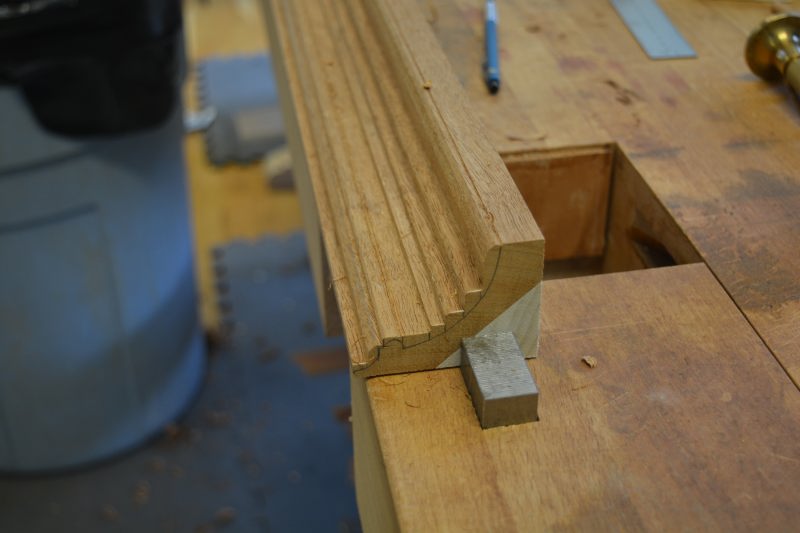
Next we need to make the waist crown molding, the waist crown molding supports the entire hood. Below we see the waist crown molding profile laid out on the stock, the stock has been milled to the proper ‘spring angle’, the proper gauge lines have been extended to the profile and the depth of the rabbets gauged on the ends..
Here is the stock with the rabbets all cut.. Next step, hollows, rounds and a right side round plane..
Completed moldings, next they need to be mitered and installed..
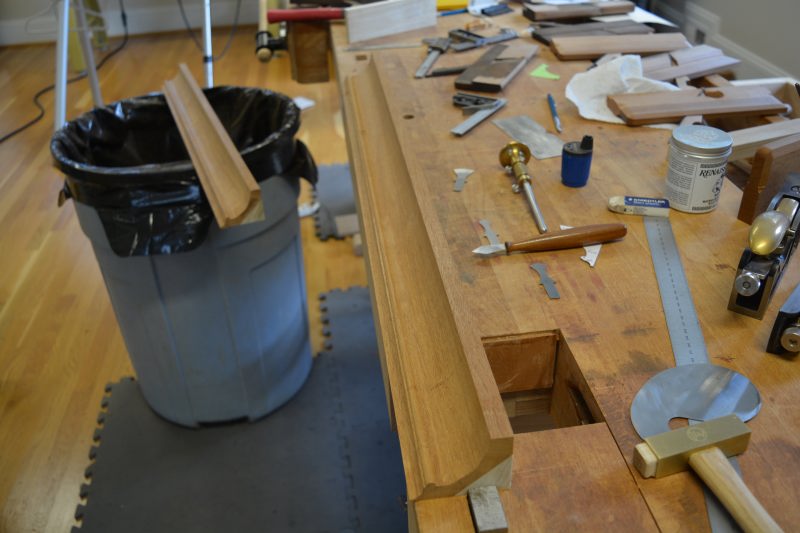
Finally the waist upper molding has been mitered and installed, the back of the case and the movement seat board has been installed also..The waist upper molding supports the hood of the clock, so now the hood can start to be assembled.
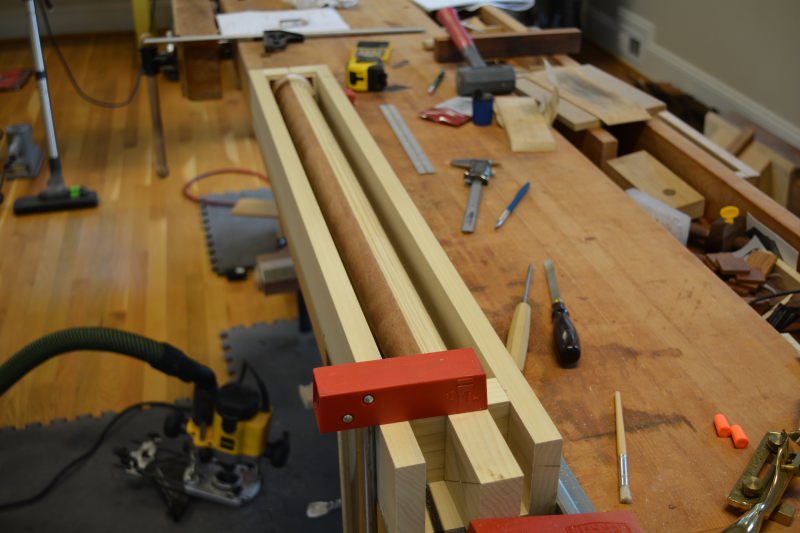
Now its time to fill the voids flanking the door frame, quarter columns with a cove and bead treatment will fill those voids. A segmented glue up of Mahogany and Poplar is glued with brown paper between the pieces, the brown paper make it easier to separate the finished turning.
Here we see the turned columns installed in a jig used to facilitate the cove and beading step. I used a plunge router to mill the cove, each quarter column gets 5 coves and beads.
Here a Lie-Nielsen #66 beading tool is used to create the beads. The cove occupies about 75% of each column, the remaining 25% is the bead.

Here we see the capital and the cove on the columns
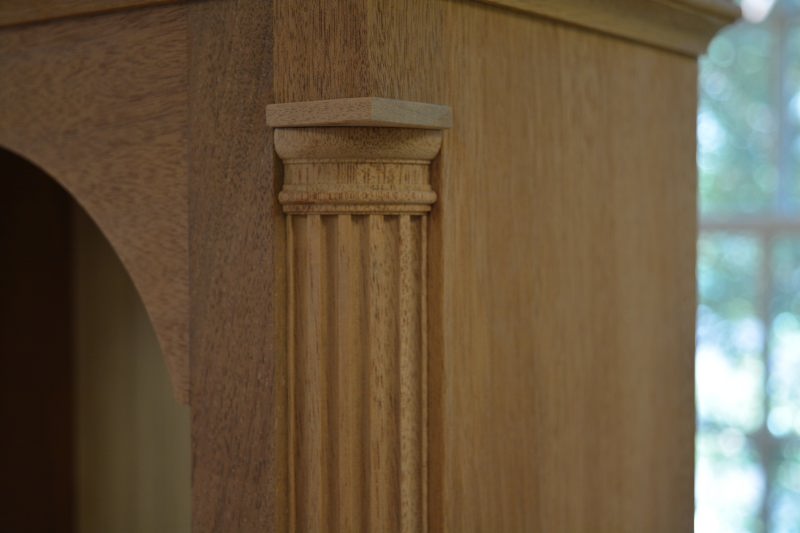
Here is the base and the beaded section of the column. The bases and the capitals have different profiles
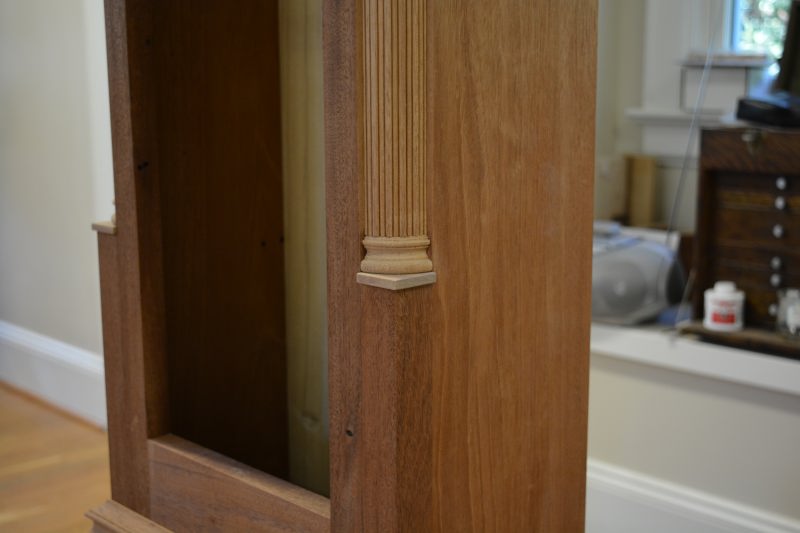
A complete picture of one of the quarter columns
The last component of the waist that needs to be built is the door. The door on this clock consists of 14 parts, the front panel that graces the front of the door contains the iconic shell carvings that the Townsends and the Goddards made famous.
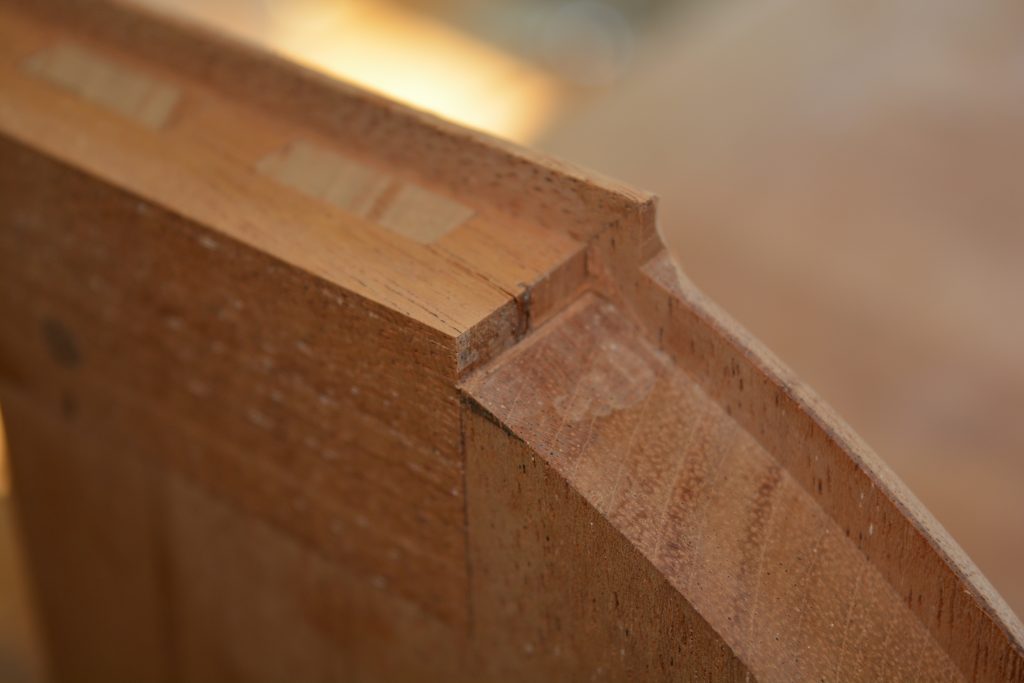
A few comments about the door construction. The door stile ends terminate with a jack miter on the front and a half lap joint on the rear. The door rail tendons are through tendons, the face of the upper and lower rails have a jack miter pocket, the rear have a half lap pocket.
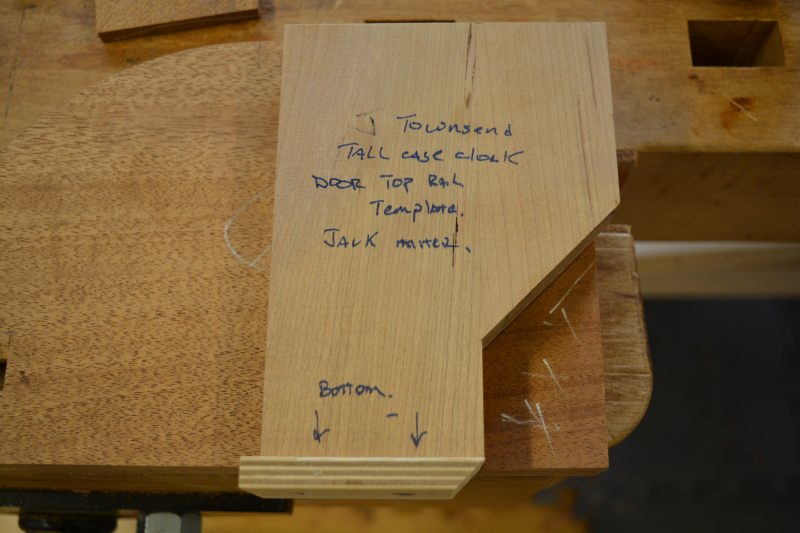
After milling the rail and stile material, we shape the top rail with a pattern.
Here we see a template created to mark out the top rail jack miter with knife, a similar template was created for the bottom rail. The difference between a good fit and a poor fit is unbelievably small.
Below is a pattern that is used to cut the jack miter pocket in the bottom rail of the door, the waste (white X’s in picture) is removed with a router and a template bit

What the jack miter pocket looks like after the waste is remove with a router and the knifed profile is carefully pared with a very sharp chisel. What isn’t shown, the waste is all the material to the right of the intersection of the straight and 45 degree miter, this leaves a 1 5/8″ tendon for the bottom of the stile.
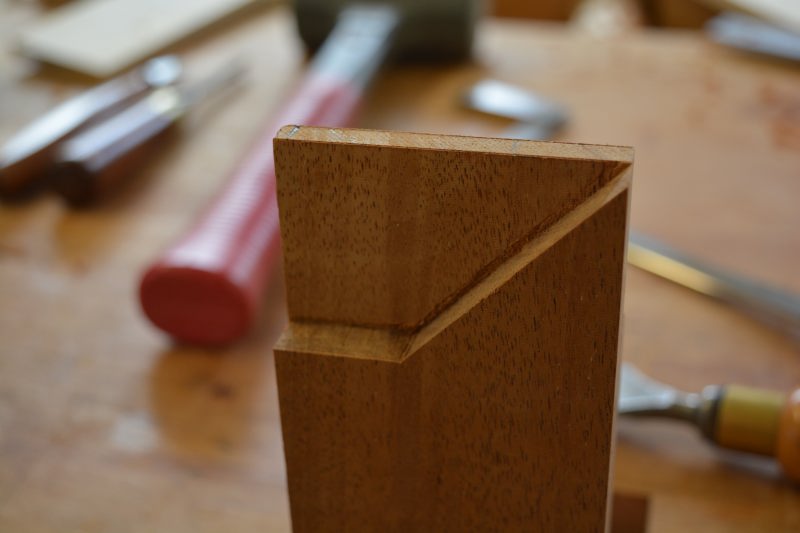
Here is a finished jack miter pocket on the front of the top rail, notice the double tendons on the top rail.
Here the half lap template is attached to the rear of the top rail, the waste has been removed with a router with a template bit.
The finished rear pocket after being pared and the waste between the tendons removed.
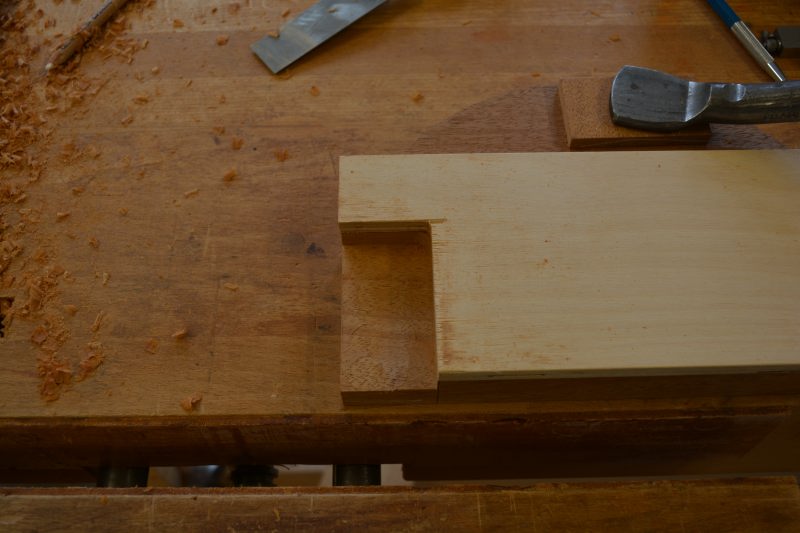
Now for the stiles, first some waste is removed from the top of the stiles. Notice the double mortise pockets have been cut.
I created a sawing jig for the miters on the rails.
Here we are sawing out the jack miter.
Finally what the top of the door stiles will look like, miter in the front and a half lap at the rear, with two through tendons (yikes).
After gluing up the door, the edges of the door were shaped with a 1/4″ radius thumbnail bit (not shown). Next we need to cut a 1/4″ x 11/16″ rabbet on all four sides of the door, we used a super colossal rabbeting bit from Whiteside, mounted in the router table.
Here we see the back of the door, with the rabbet cut, also notice the rear half lap joints. The remainder of the rabbet at the corners of the junction of the top rail and stiles needs to be cleaned up by hand, the corners of the thumbnails on the top rail front needs some work with carving tools to establish the profile that the bearing guided bit cannot reach.
Below the rabbet on the top rail has been cleaned up with some carving chisels, the thumbnail profile on the front of the rail still needs to be cleaned up.
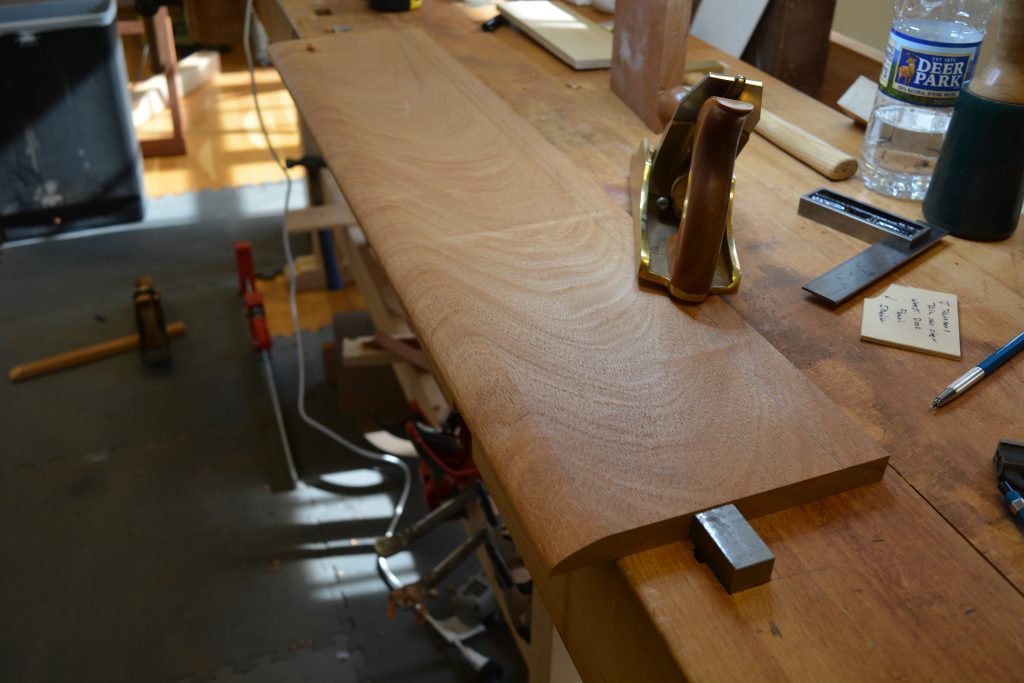
Next up is the front panel and the iconic shell carving that sits atop of the front panel. The front panel has a typical 18th century thumbnail profile, below we see the profile drawn on the top of the panel, notice the angle drawn above the profile.
Here we plane the angle on of the sides, this is the first step of the shaping process.
Finally with a hand plane we shape the thumbnail profile with a little help of a profile template (to the right of the plane).
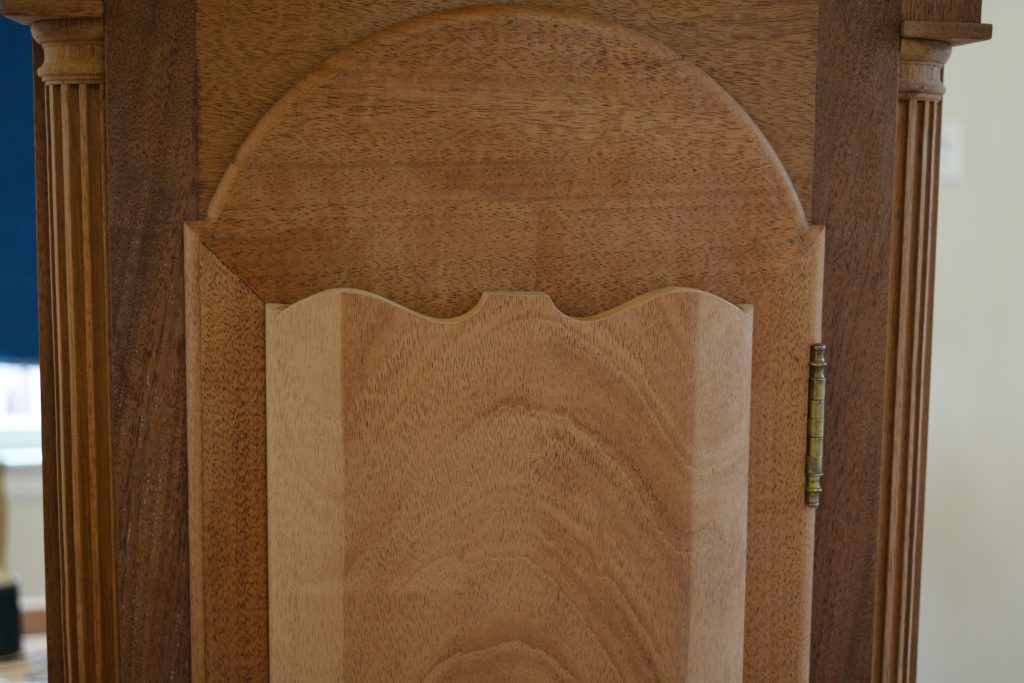
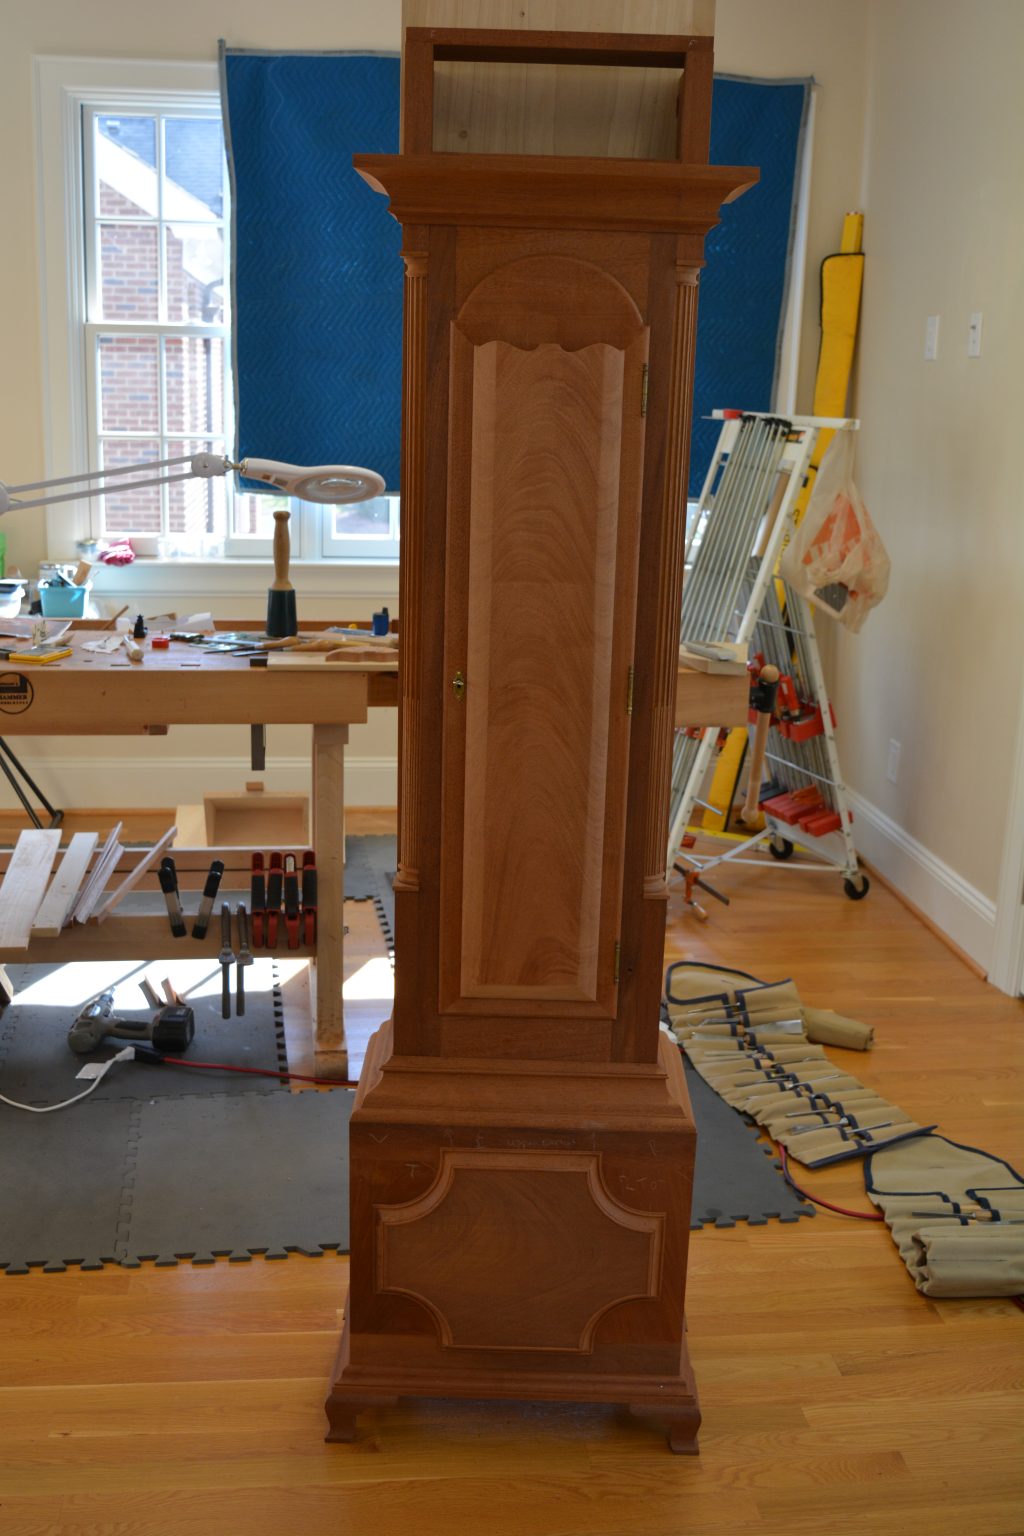
Finally, the waist door panel is glued to the frame of the door
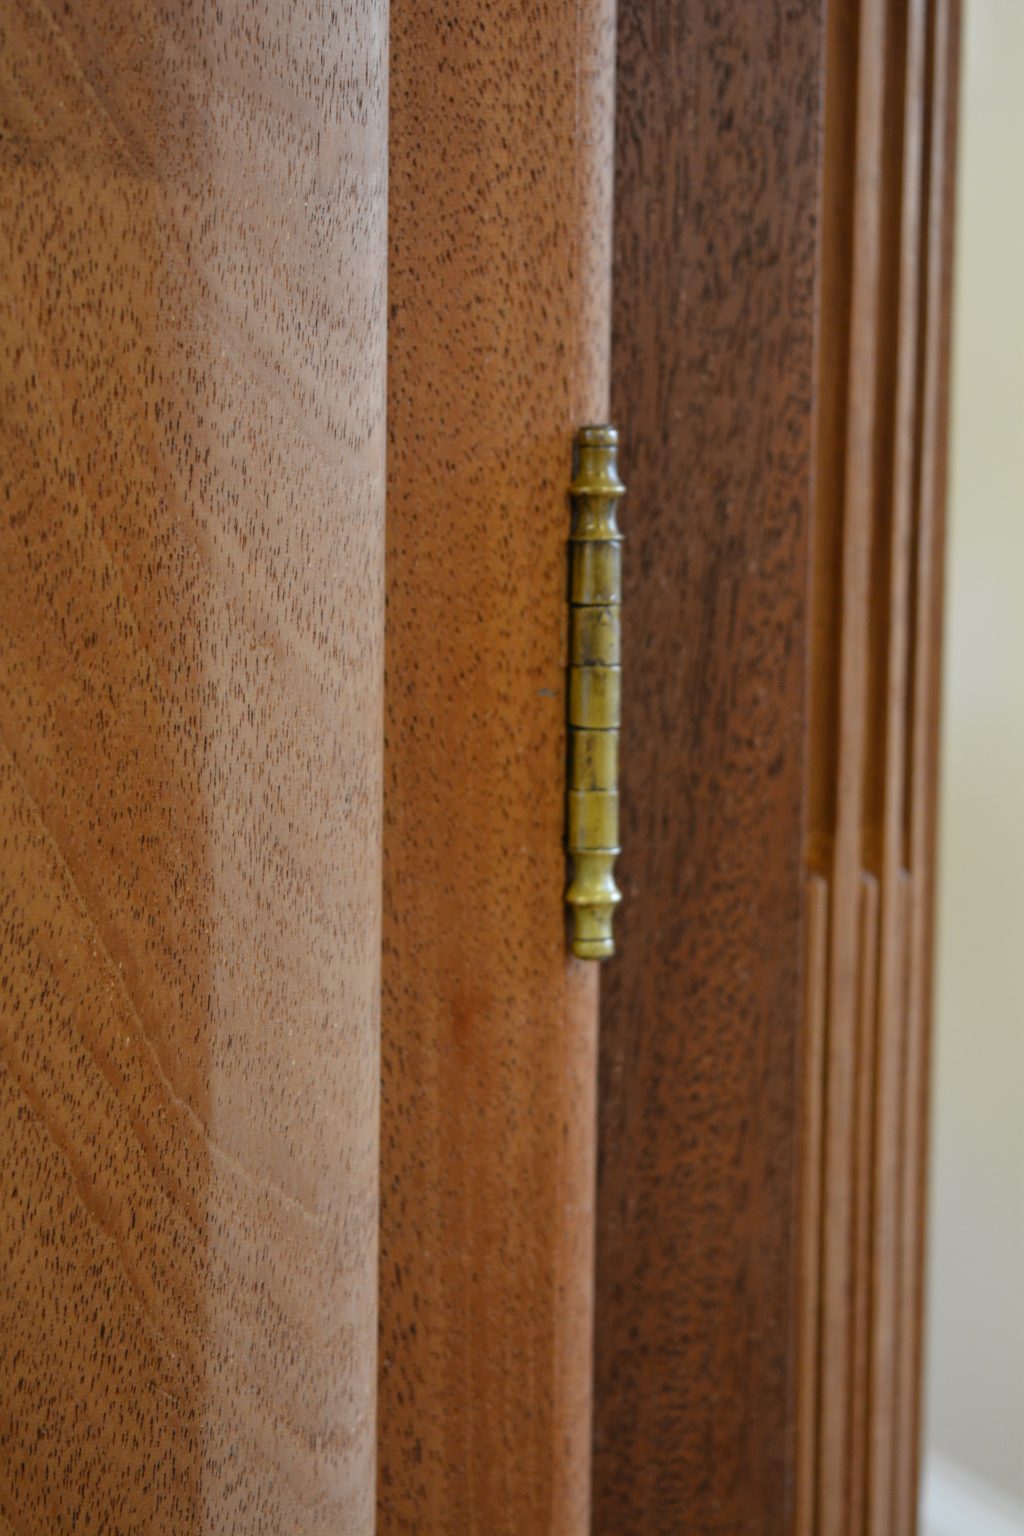
Close-up of the waist door hinge, its a reproduction of the original hinge. The company that produces the reproduction hardware does amazing work.
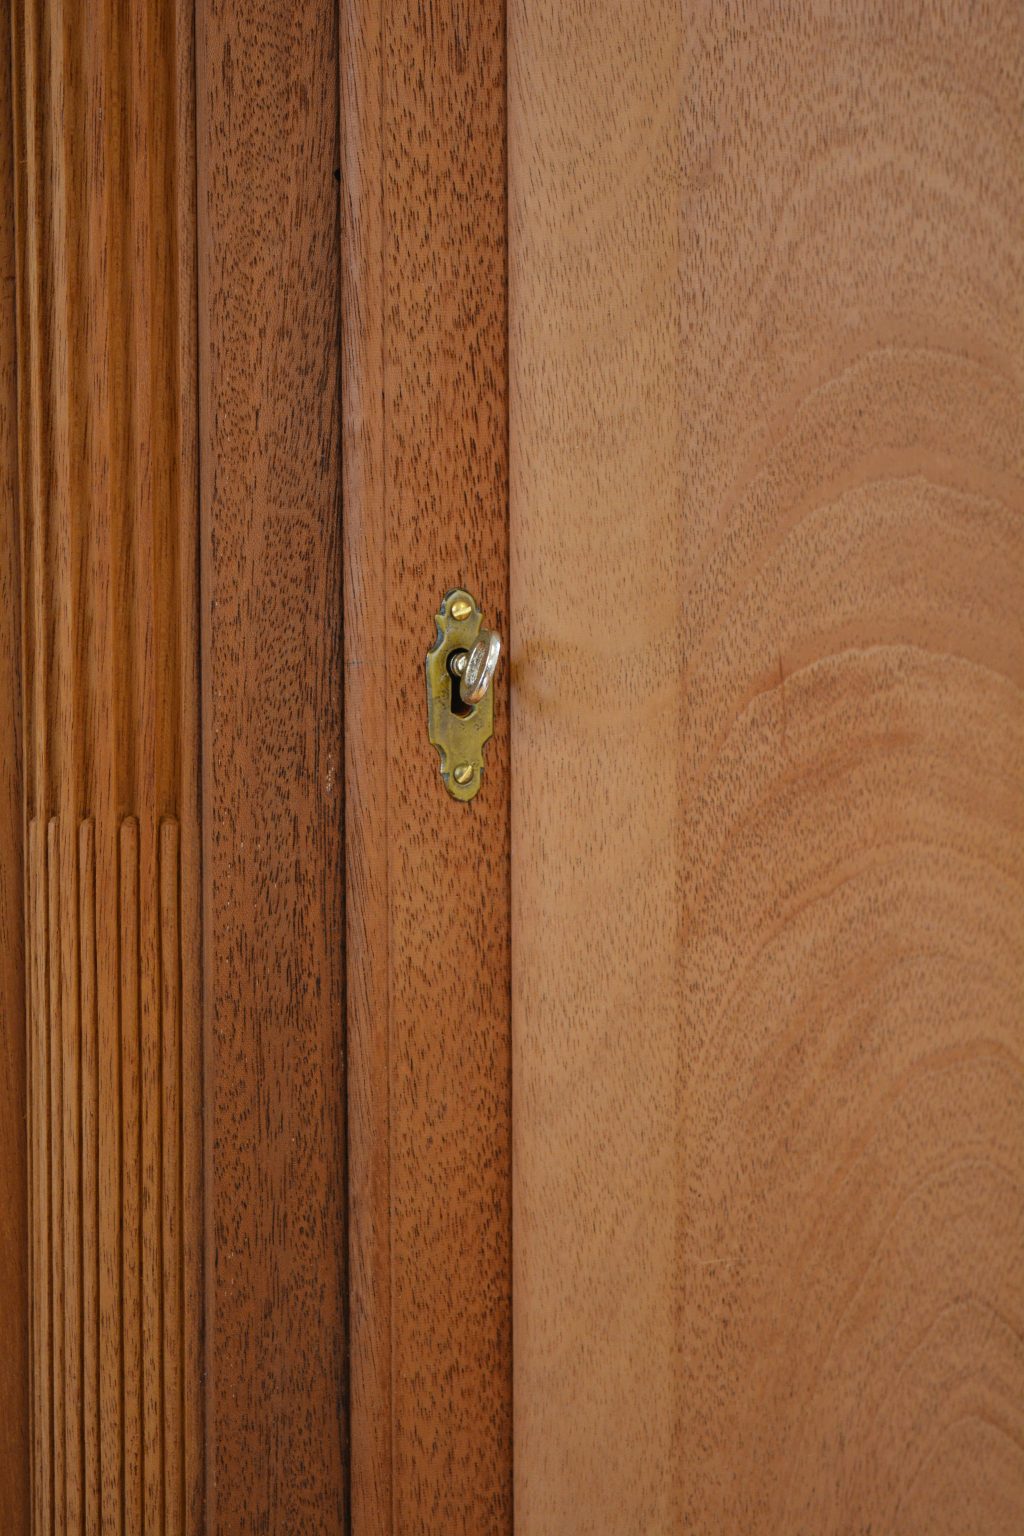
Close-up of the reproduction escutcheon
The inside of waist door.

The waist door panel cutout, all ready for the iconic shell carving