Now on to the clock hood. Ordinarily I would say something like, the hood on this clock is one of the most complicated parts of this build, but one would argue that the waist door was ridiculously complicated.
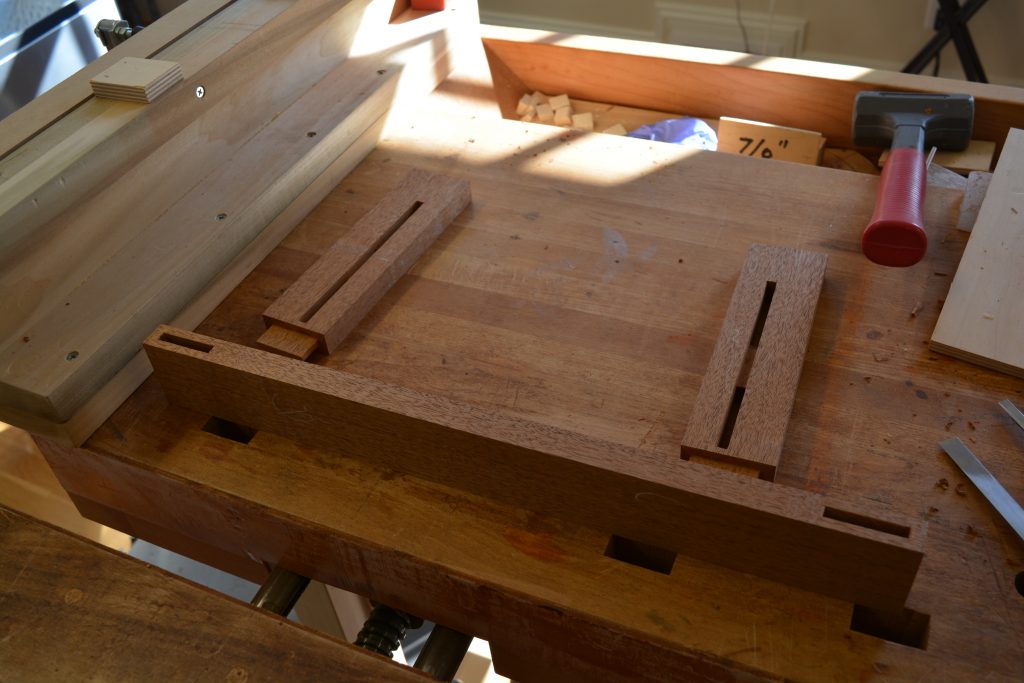
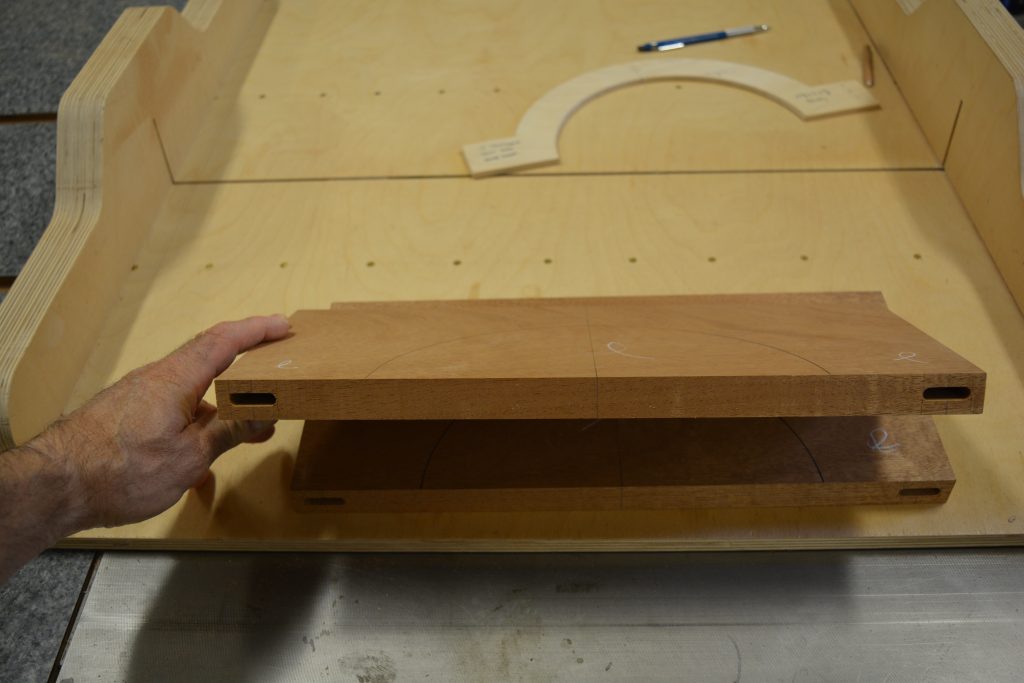
First up is the web frame that that is the foundation of the hood, the hood web frame has two 2 1/4″ through mortises with a center haunch that will try to keep the hood sides from any cupping.
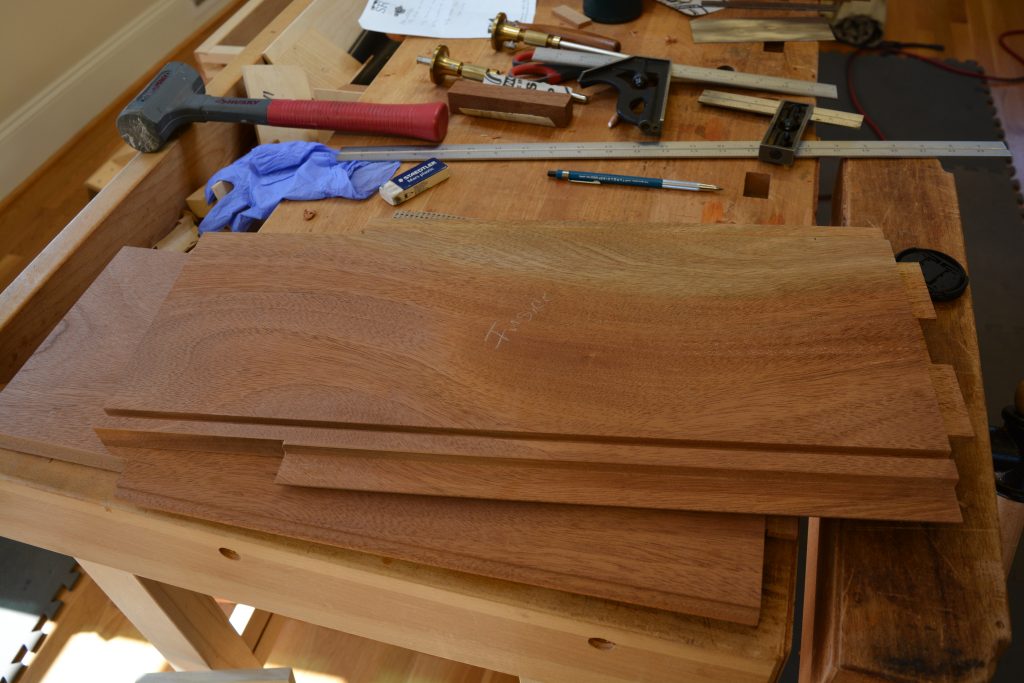
The hood sides have a lot going on, here we see the inside of one of the sides. We have a rabbet for the hood door, then a dado for the dial frame, then finally at the rear of the side a rabbet for the back of the case.
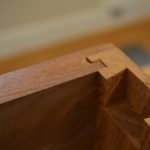
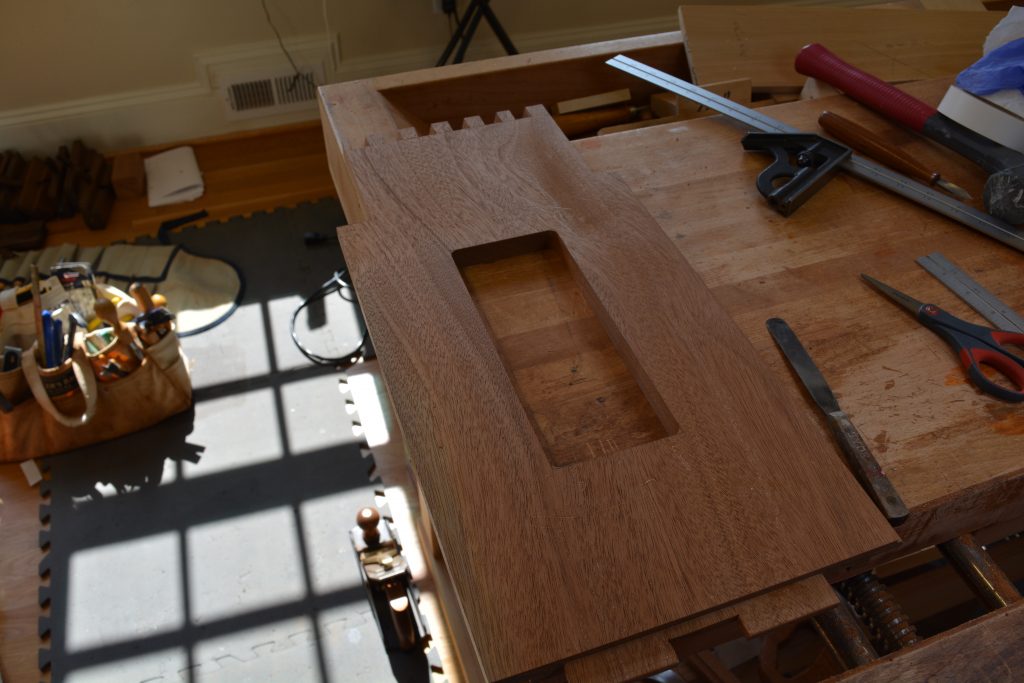
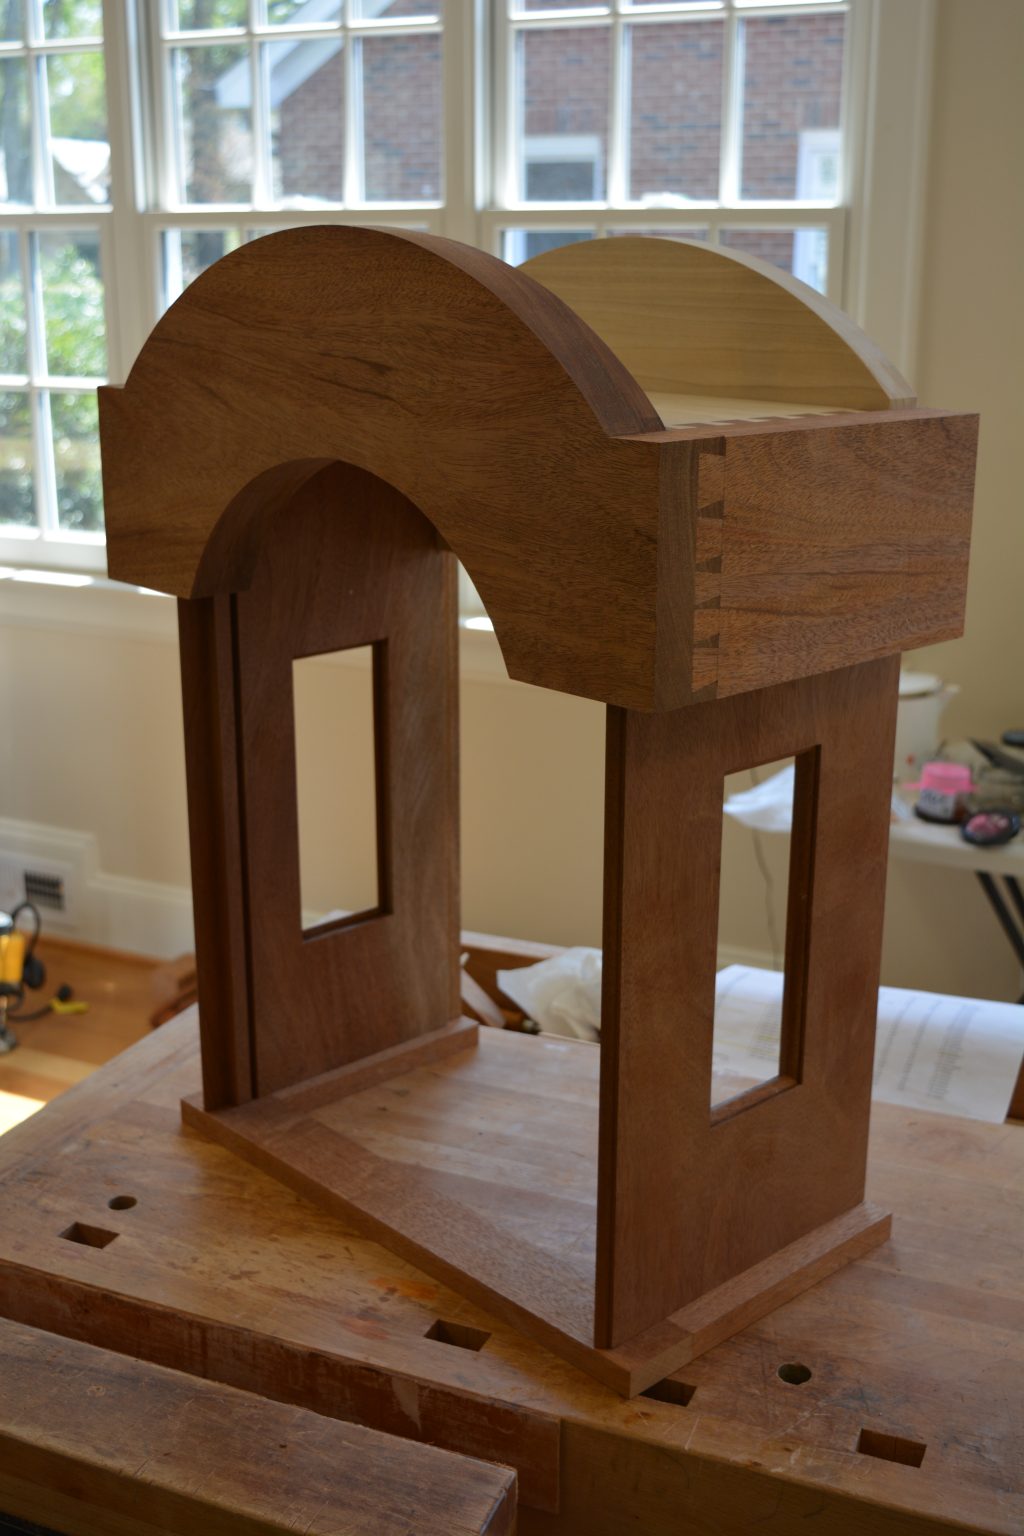
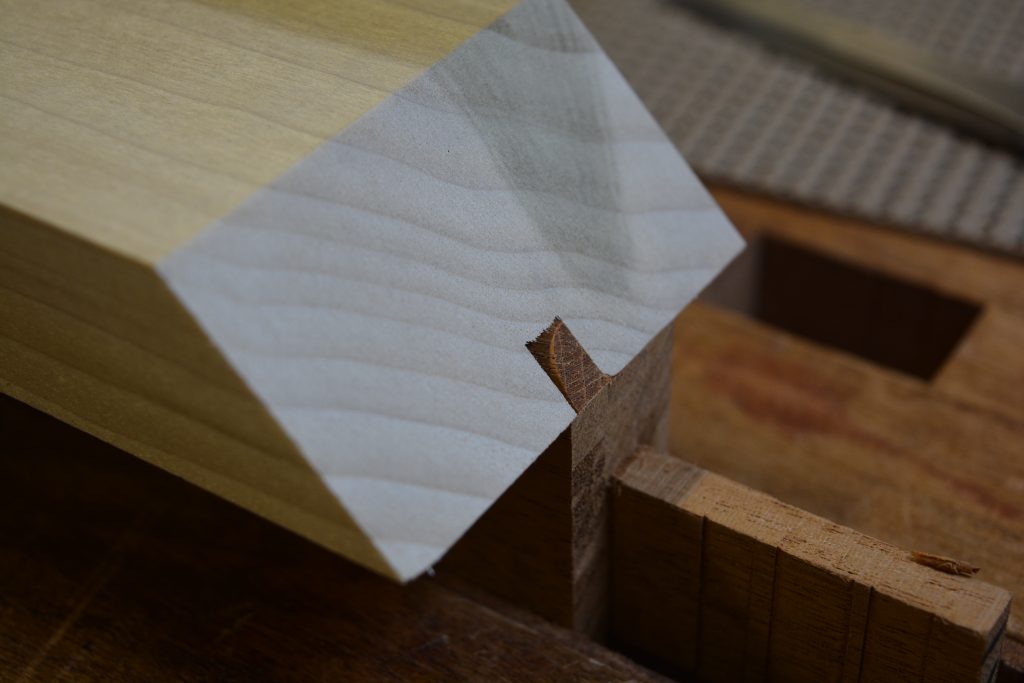
Here we see the outside of the case side, at the bottom of the case side we see the two tendons and the haunch that fits in the web frame. The top of the case side has through dovetails cut, that will receive the case top. Who could not notice the big window cut in the case side, this is for the glass window that shows the movement
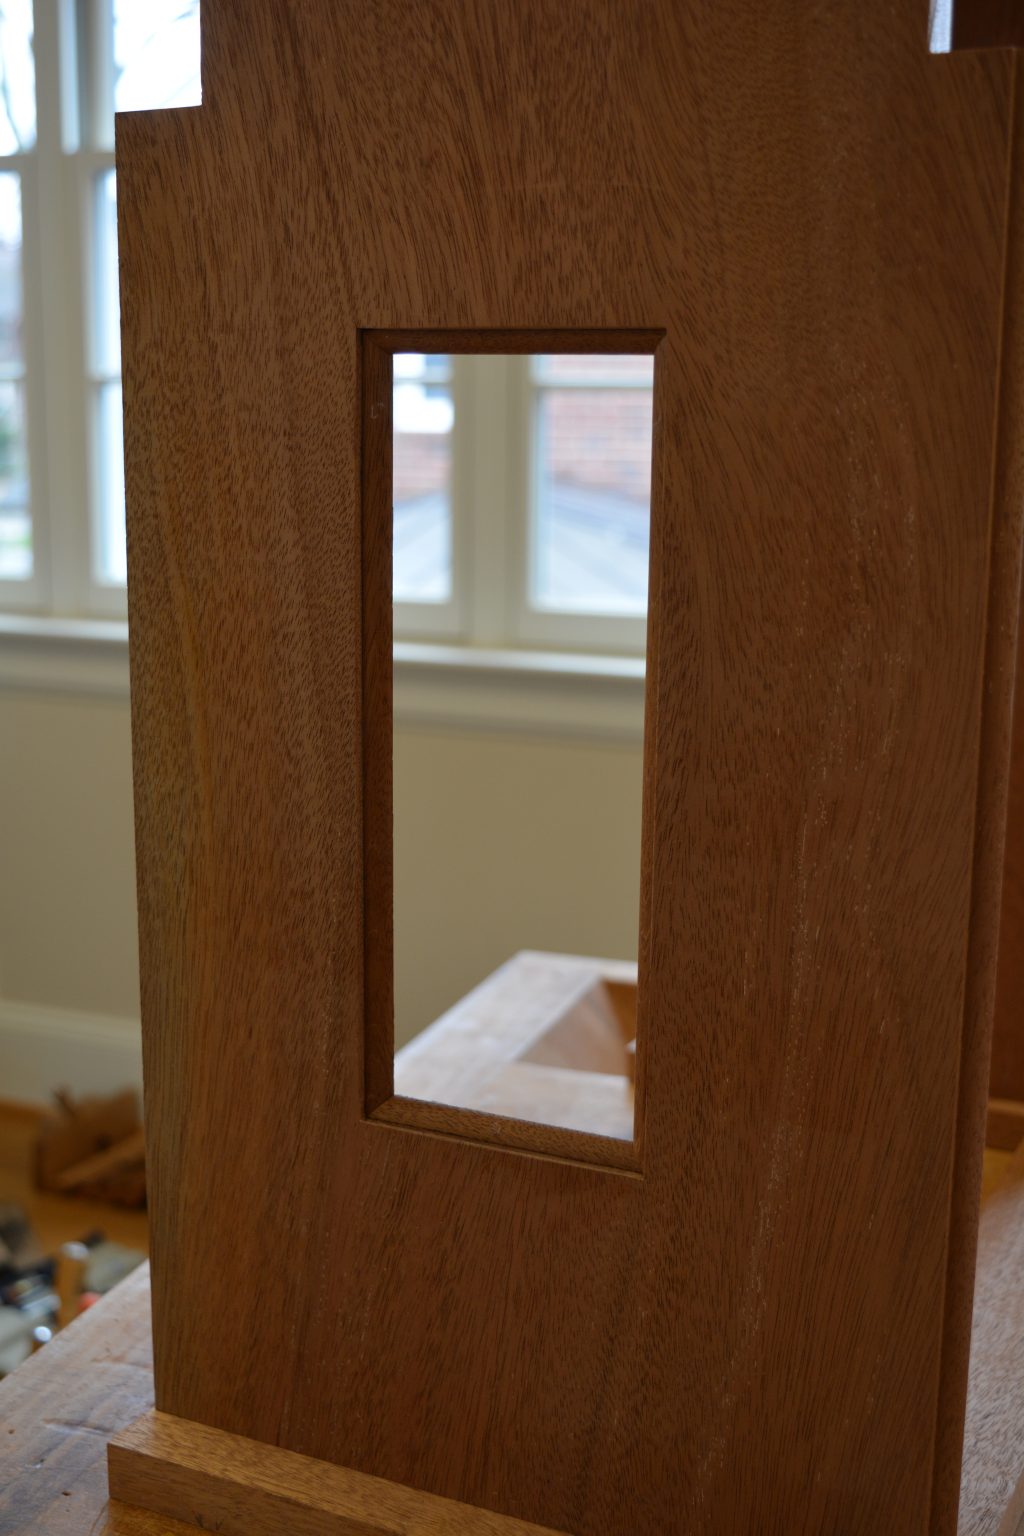
This photo shows the thumbnail molding added to the case sides, when the clock is finished, the opening will be glazed with 18th century reproduction glass.
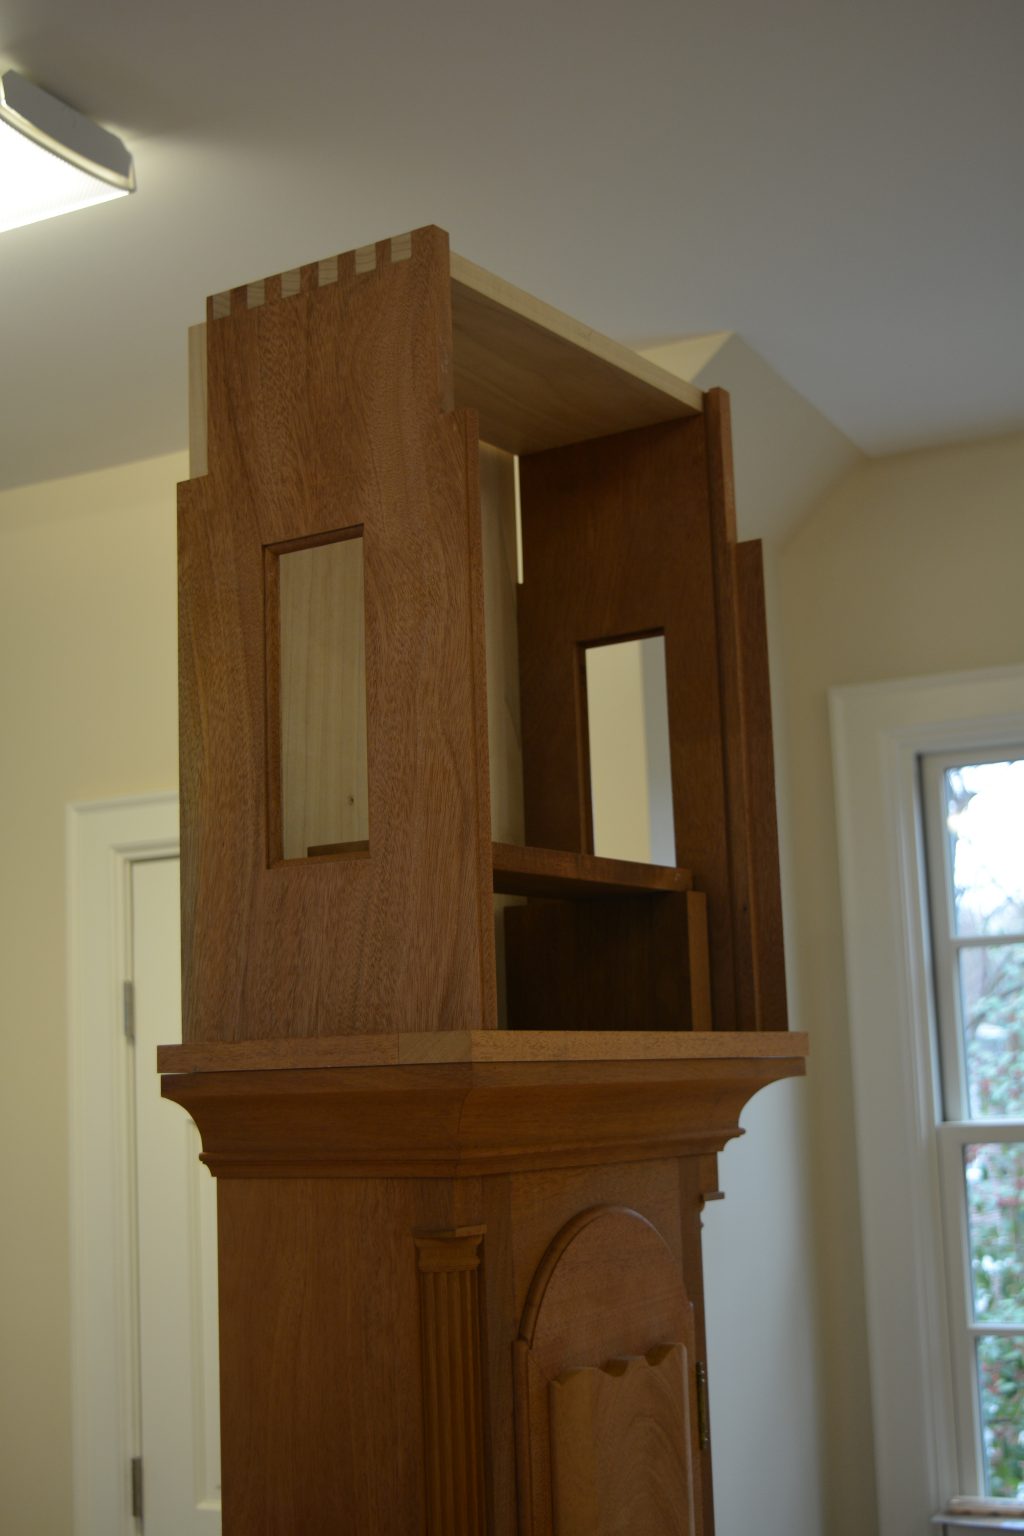
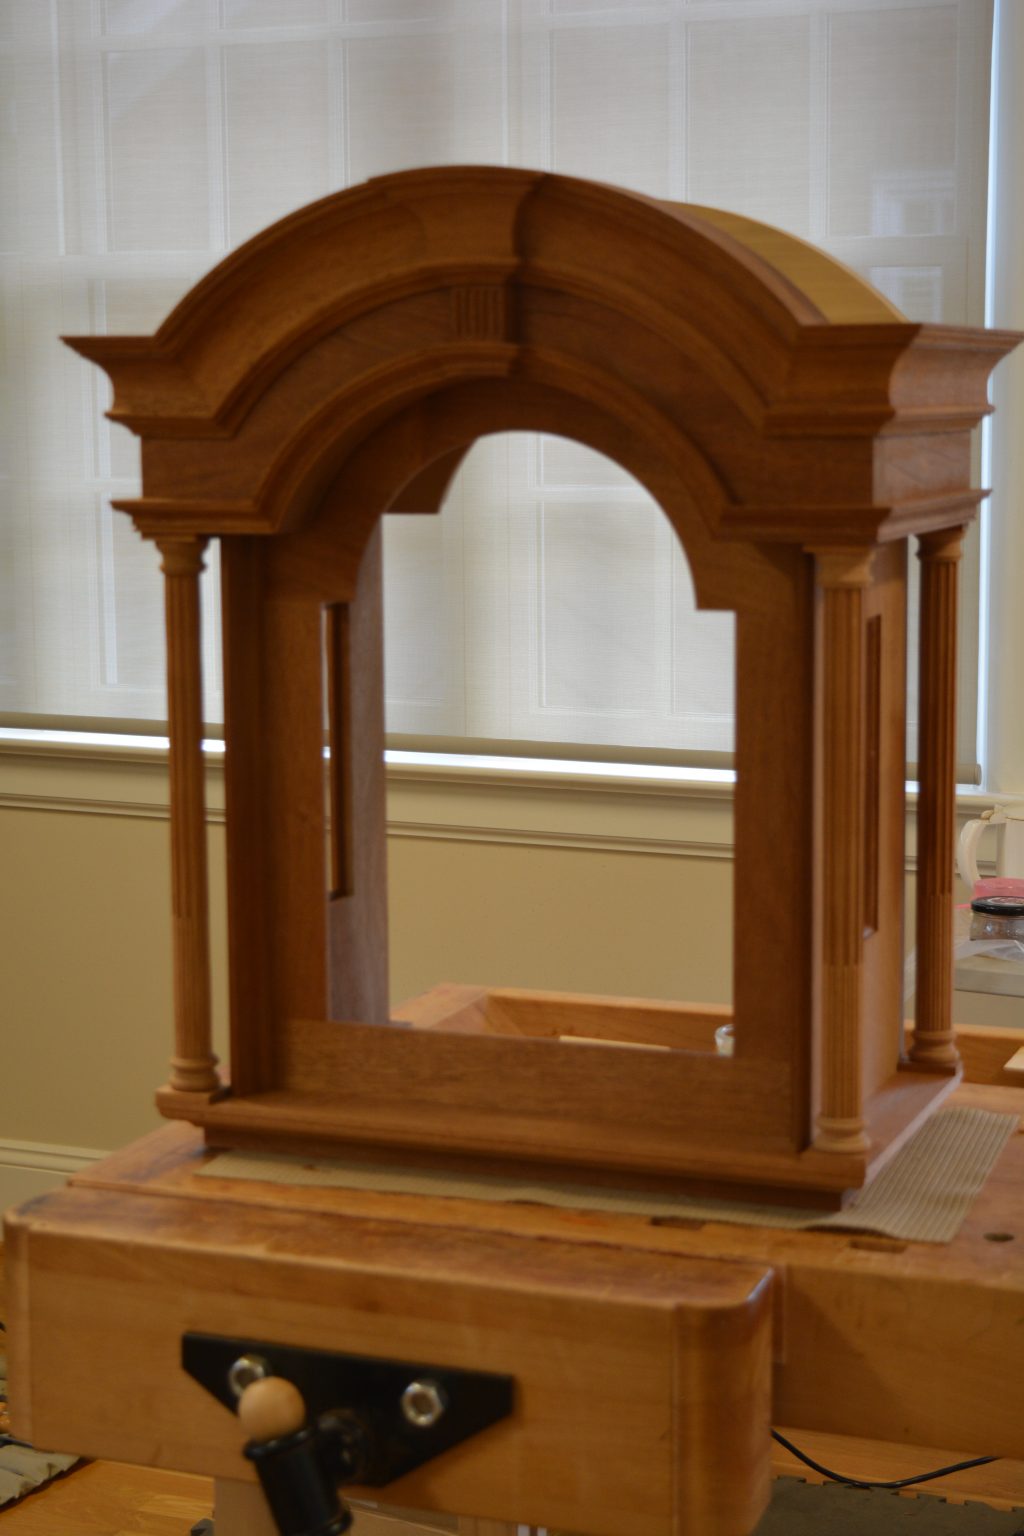
The assembled hood structure temporarily placed onto the clock waist. We can clearly see the clock movement seat board patiently waiting for the 18th century reproduction clock movement.
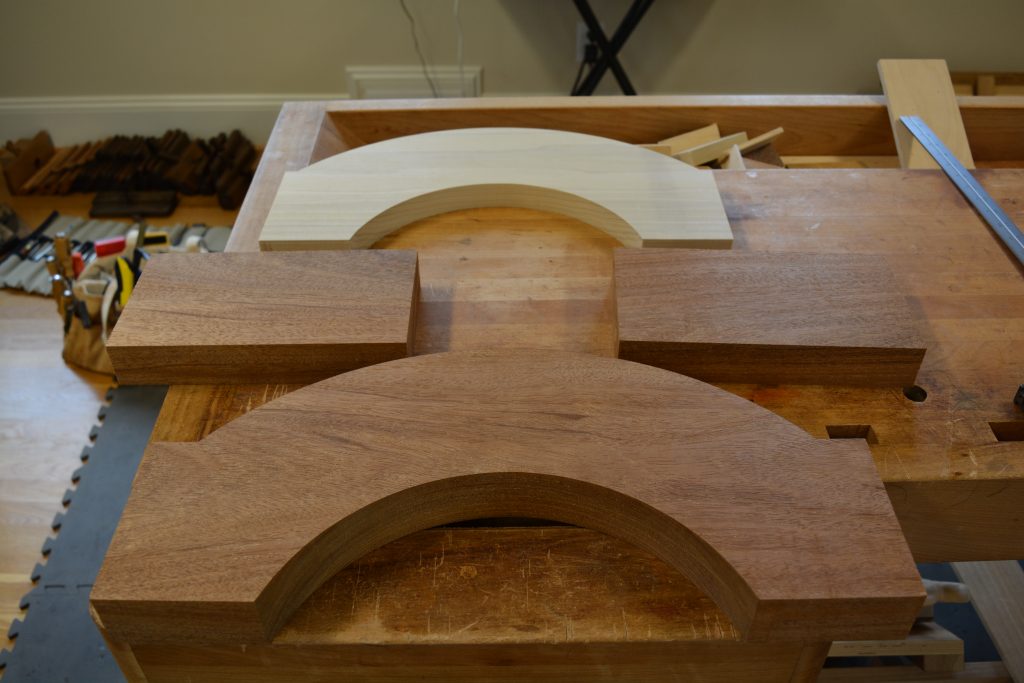
Here we see the parts cut out and shaped for the ‘crown’ of the hood, the two sides need to be dovetailed to the front and rear parts of the hood crown
Below we see the assembled ‘crown’ of the hood, the hood front has been half blind dovetailed to the crown sides.
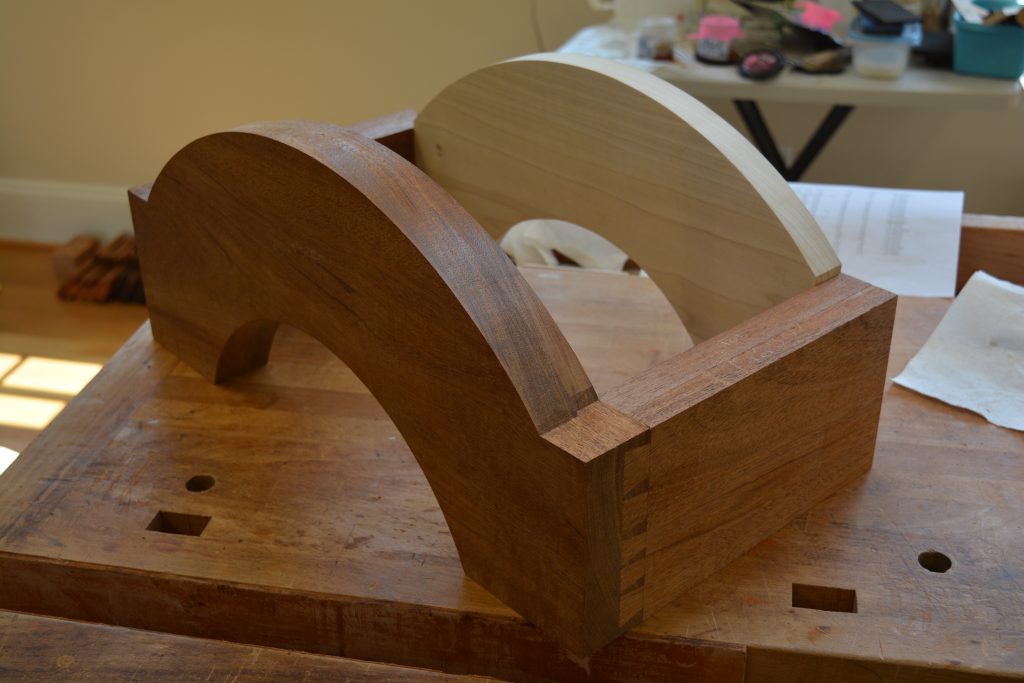
Here we see the rear hood support that has been dovetailed to the sub-crown side (the crown side are two pieces laminated together). The rabbet in the hood front will receive the hood skin.
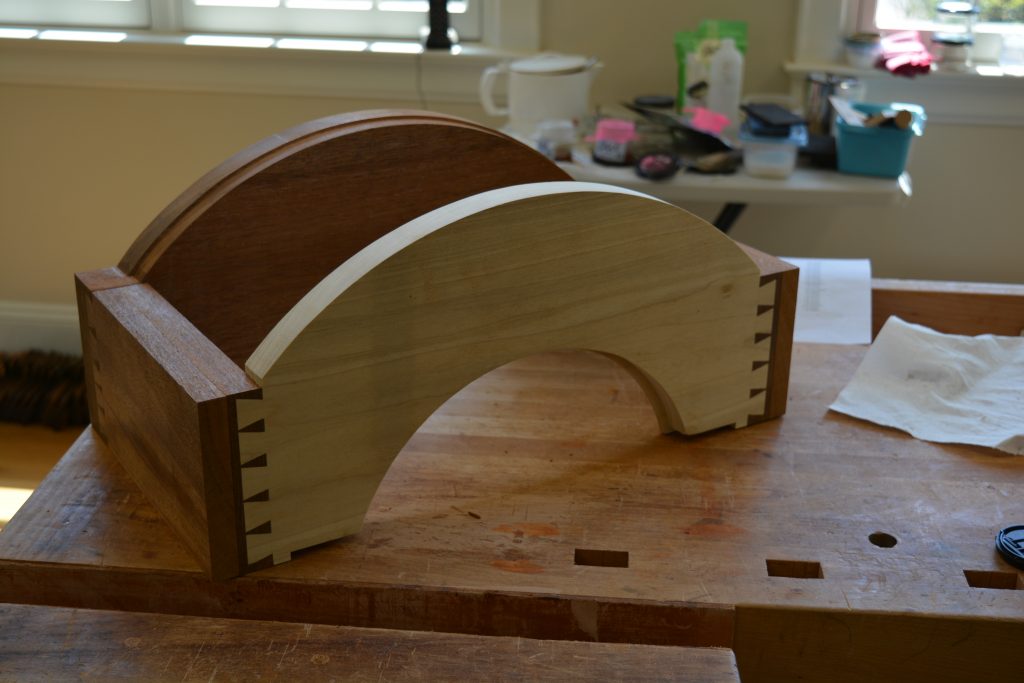
Here we see the assembled crown dry fitted to the assembled hood..
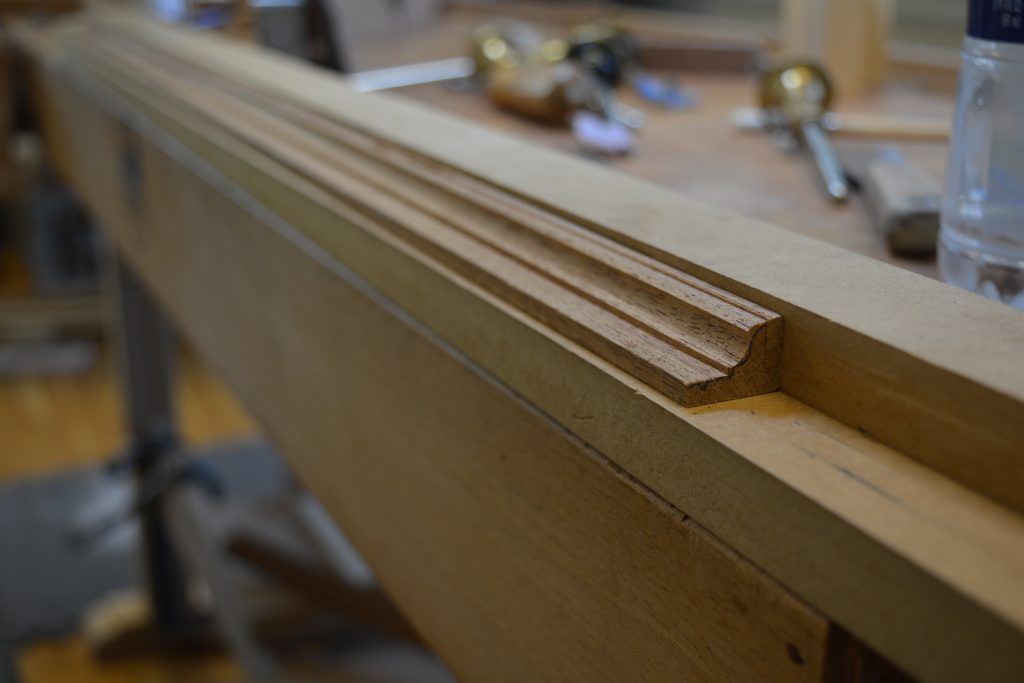
We are in process of molding the straight sections of the lower hood crown molding..
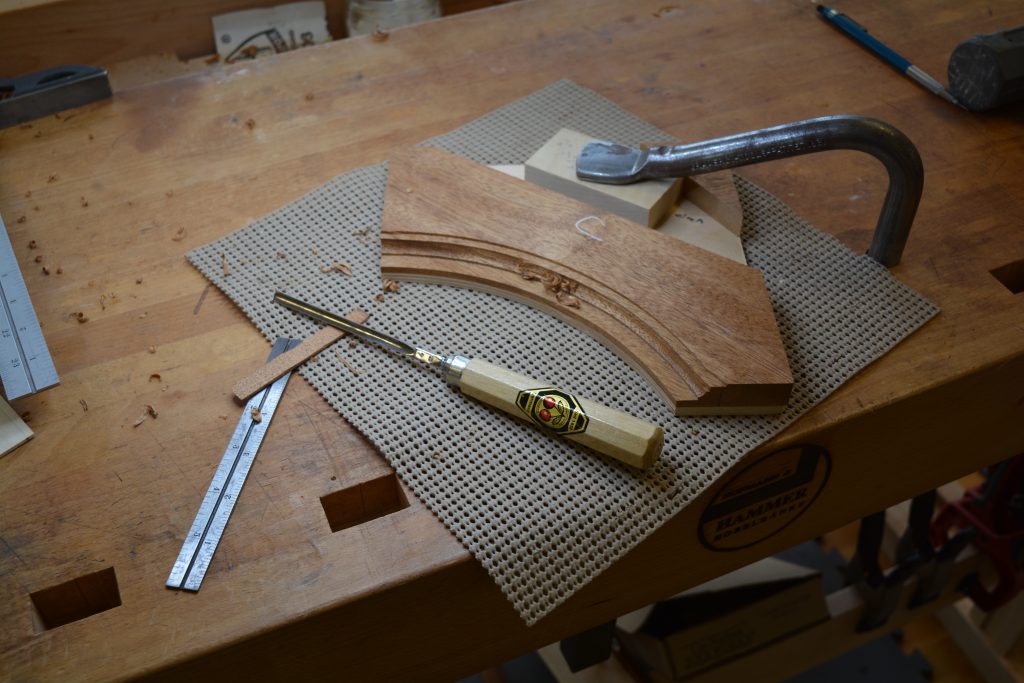
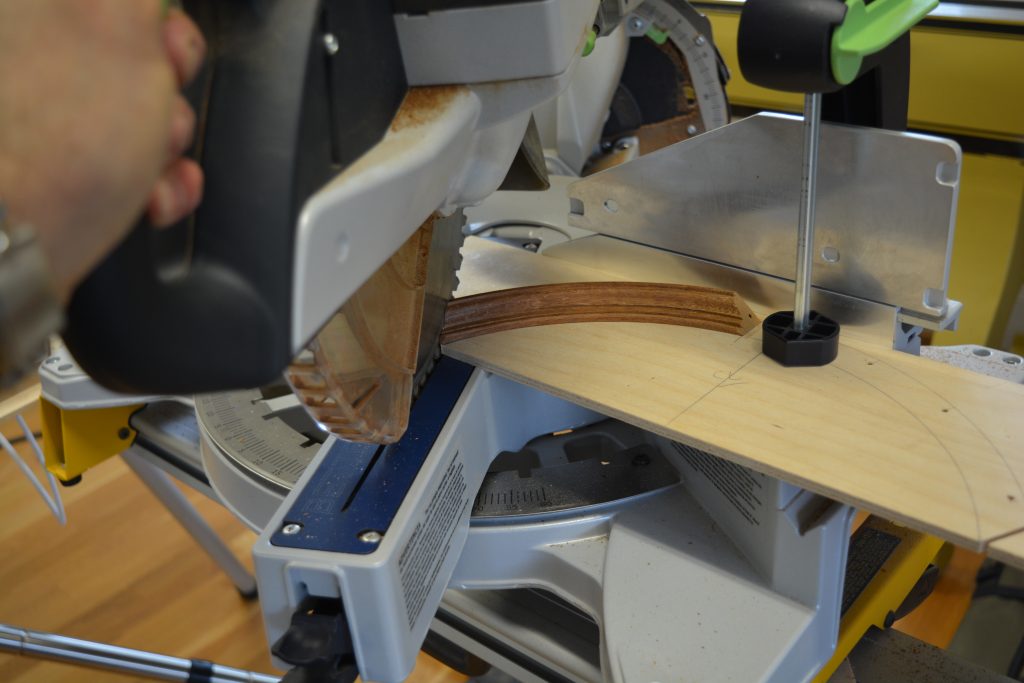
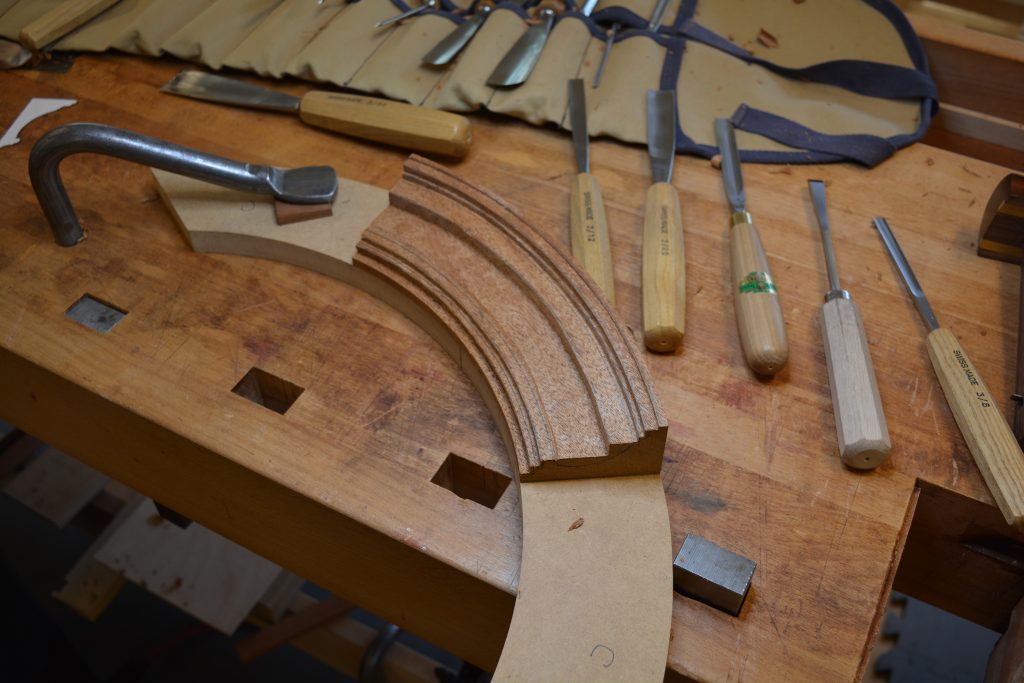
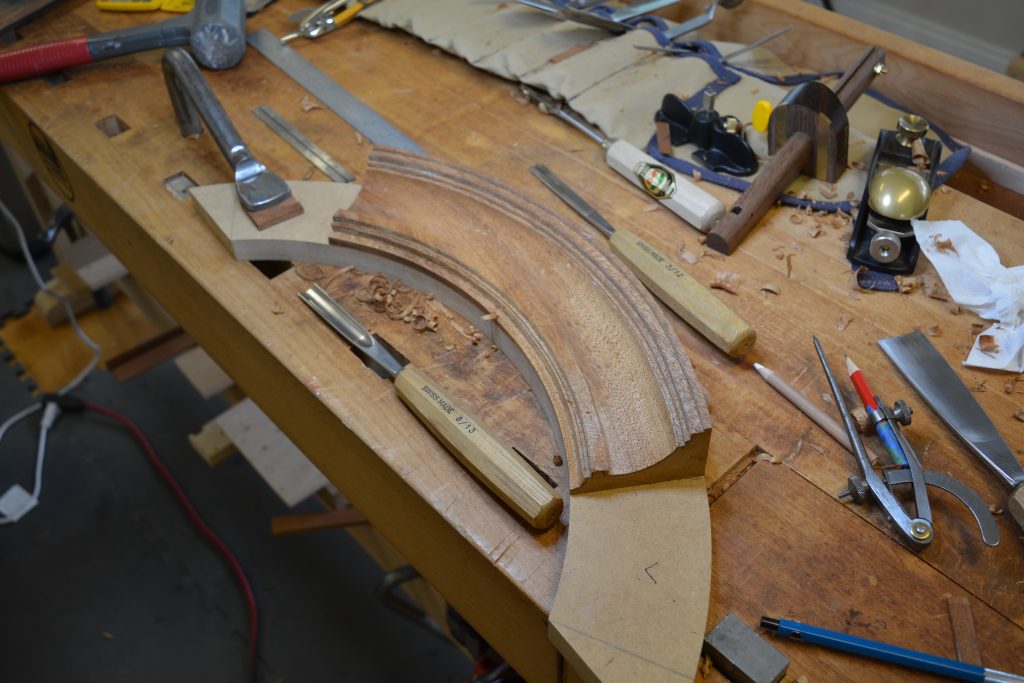
The curved sections of the lower hood crown molding is carved..
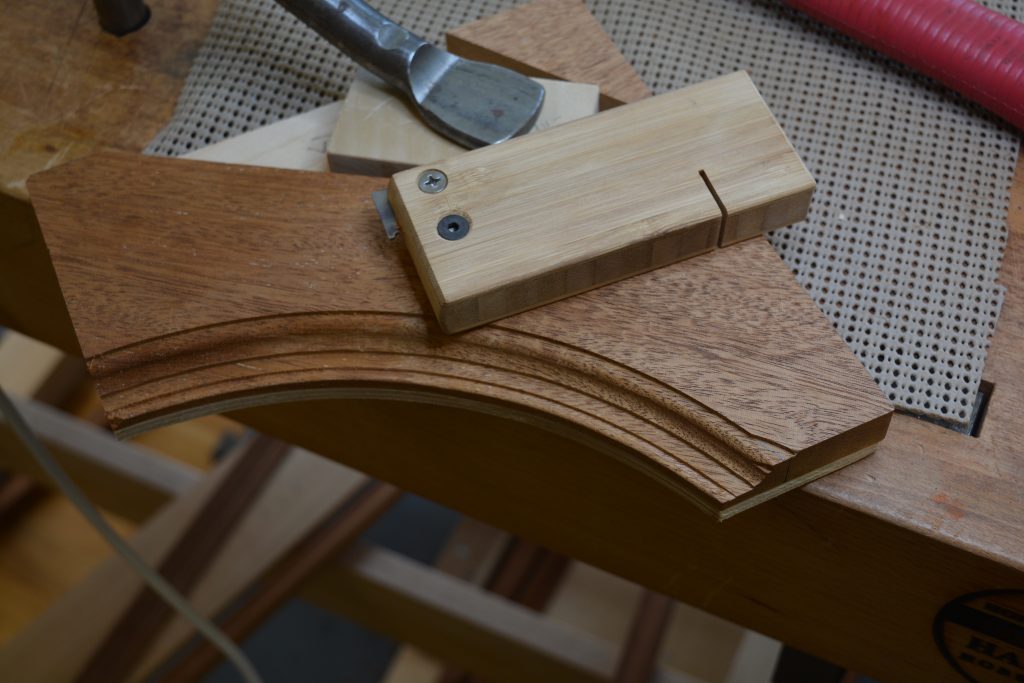
After the carving process is completed, a bead is added to the bottom edge of the molding using scratch stock tool.
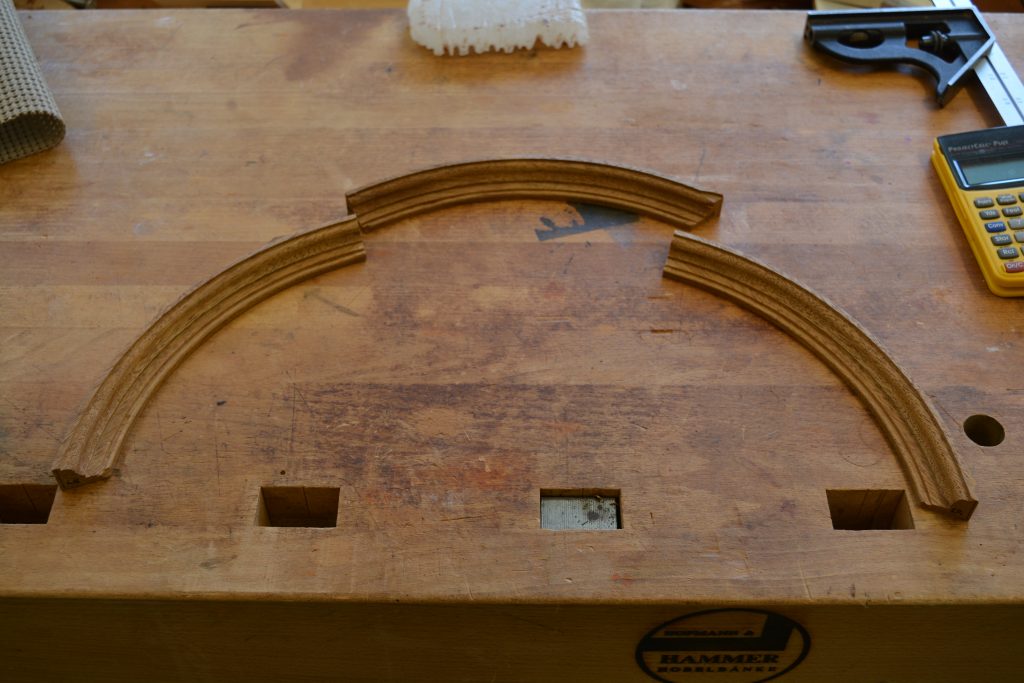
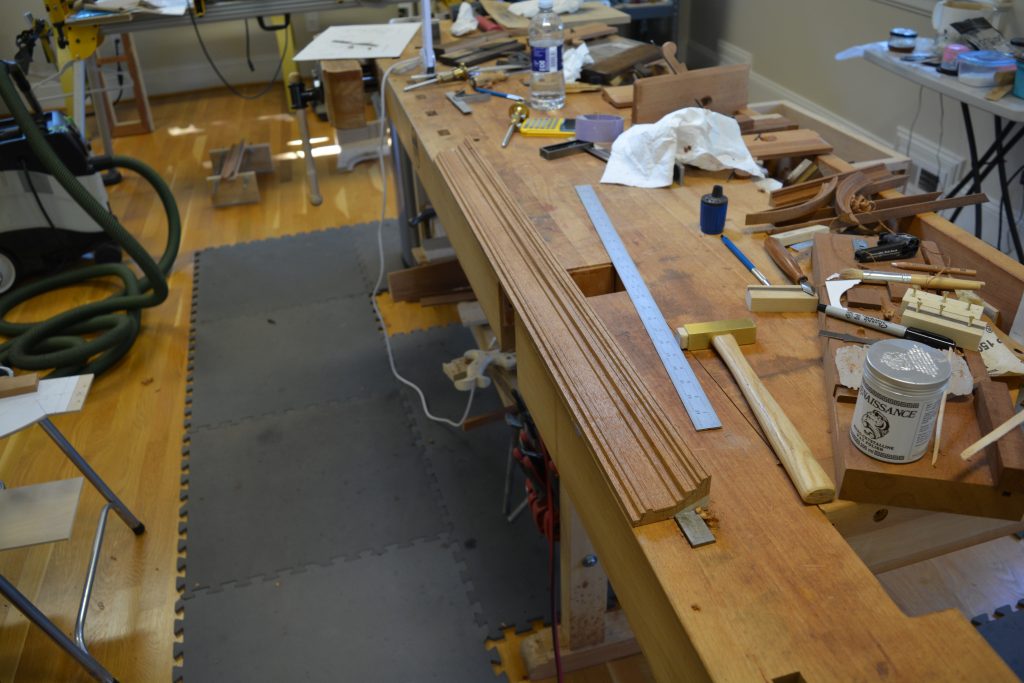
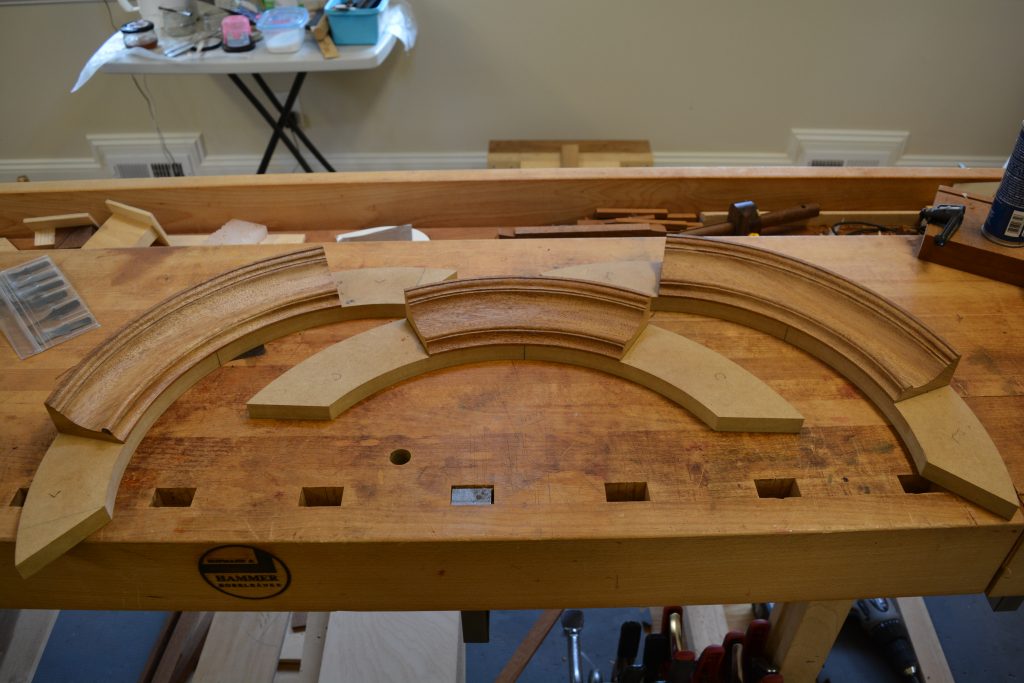
Finally the finished shaped circular moldings are cut to the proper width, now ready to be mitered. Three circular moldings were created, a left, right and one for the center.
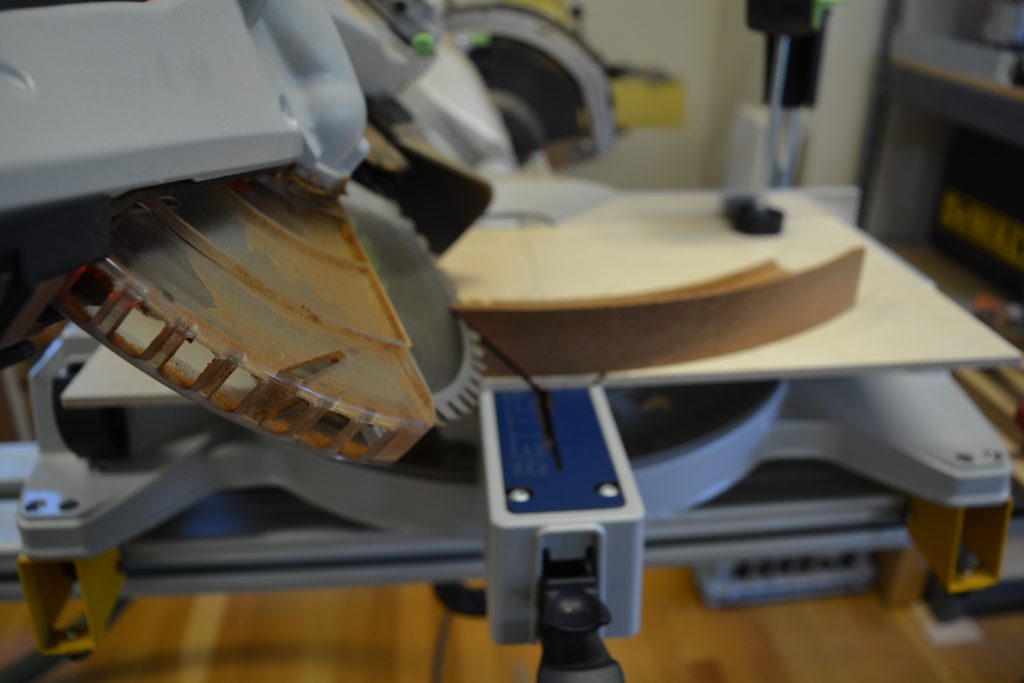
Now onto the mitering process. The circular molding is secured to a scrap piece of plywood (left molding pictured here), the molding is held is the proper orientation as it would on the hood of the clock. Pictured we are cutting the miter at the bottom edge of the crown, the miter at the top of the crown has been already cut.
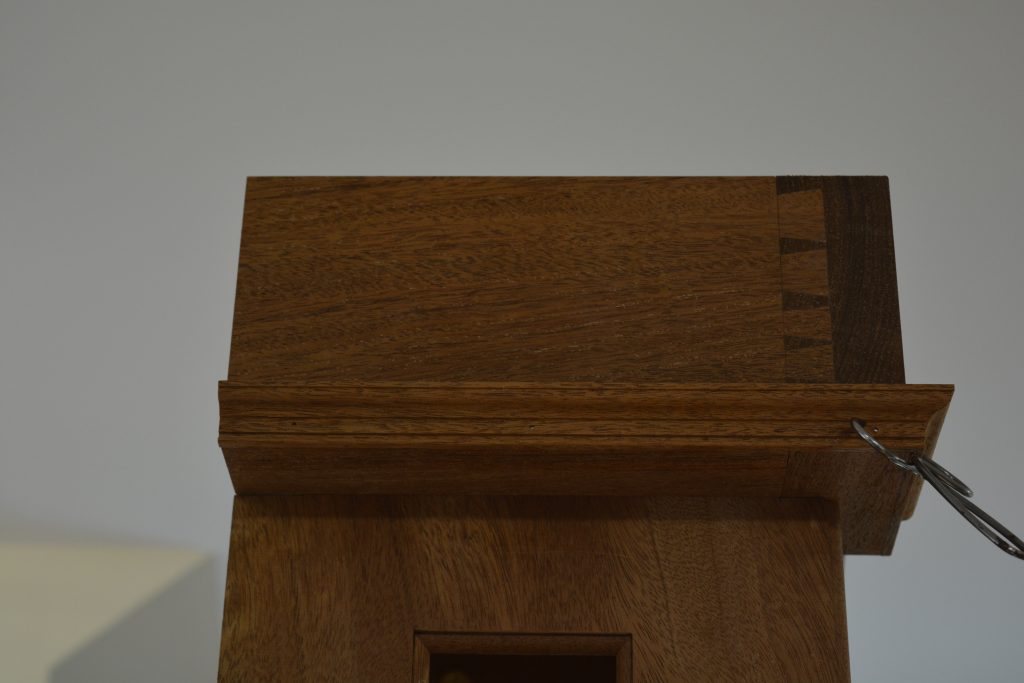
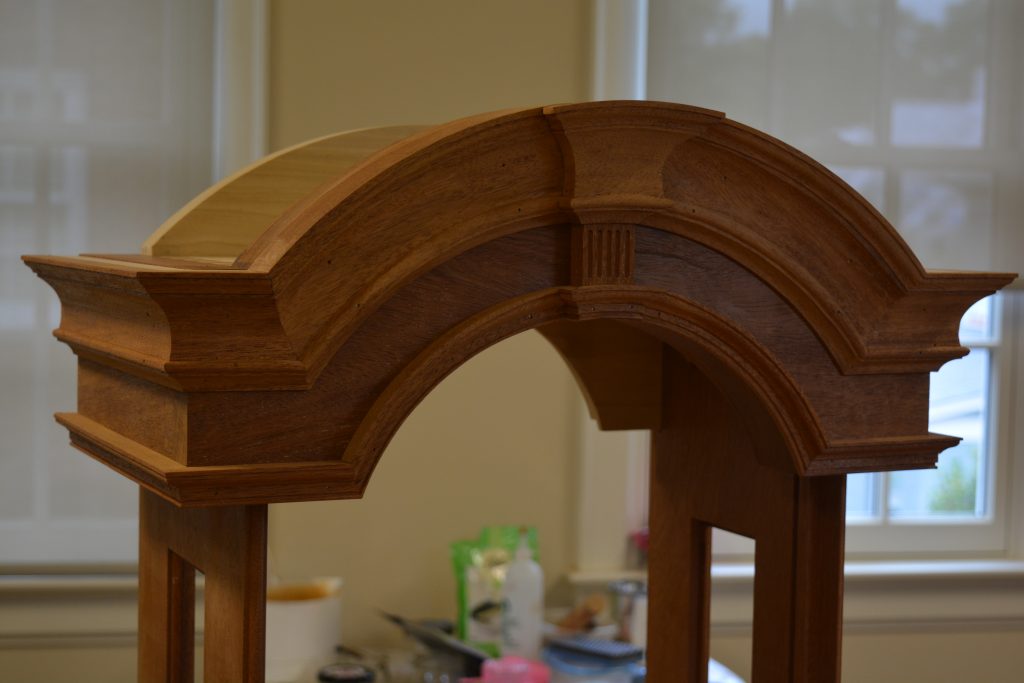
Finally after much cutting and fitting, here is the lower hood crown finally installed on the hood. We see two photo’s here; first is the hood lower crown from the side. The second photo is the front view of the hood lower crown, notice that the crown must be mitered around the center keystone for both crown molding that will be installed.
Up next is the hood upper crown molding, the straight upper crown molding is created using the same process that created the moldings for the lower and upper waist crown moldings. Here we see the upper straight crown molding prepared with rabbets. The next step (not pictured here) is to use various sized hollows and rounds to define the shape of the molding.
Next the circular upper crown moldings need to be created, unlike the straight upper crown molding the circular molding has to be created totally from solid 1 1/2″ Mahogany. Also the rabbets for the circular moldings cannot be created with a rabbet plane (as with the straight moldings), all of the rabbets need to be carved as pictured below. The process is not as bad as it sounds, its more tedious than difficult. I created quite the pile of Mahogany chips and shavings from the creation of upper crown moldings..
After all of the rabbets have been carved into the circular molding, the actual shaping of the circular upper crown can be carved in.
Finally, all of the circular upper crown moldings ready to be installed on the hood, as with the mid crown molding there is a left, center and right molding..
During the action of mitering the upper crown molding, I neglected to take as many photo’s as I would like to have. The best way to describe the process, is the upper crown moldings are mounted to a scrap board (in my case 1/4 baltic plywood), the board is marked out with the inner and outer radii of the molding. The molding is secured with screws from the back in the exact position that it will reside on the clock. The photo below we are mitering the center crown, we are cutting the right outside miter.
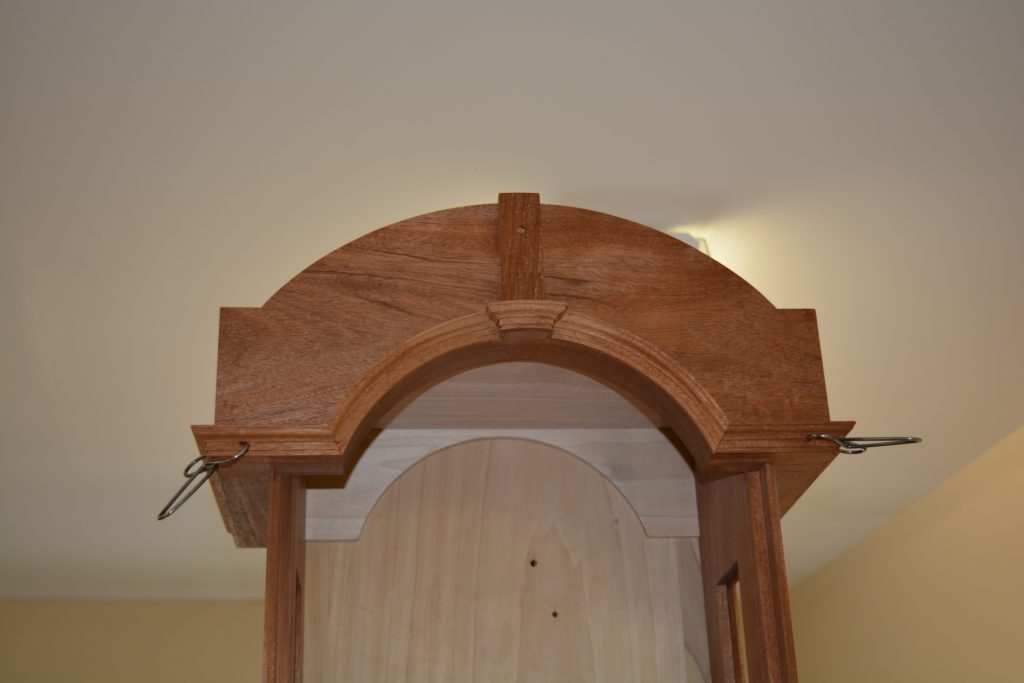
After carefully mitering the moldings and tweaking the fit, we have the installed upper crown..
After the installation of the upper crown molding, I have been a bit lax with taking pictures.
Before the columns can be installed in the hood, the bottom hood molding (a beautiful ogee molding) was shaped using hollows and rounds and installed on the face of the hood web frame. The molding slightly overlaps the joint between the upper waist crown molding and the hood web frame
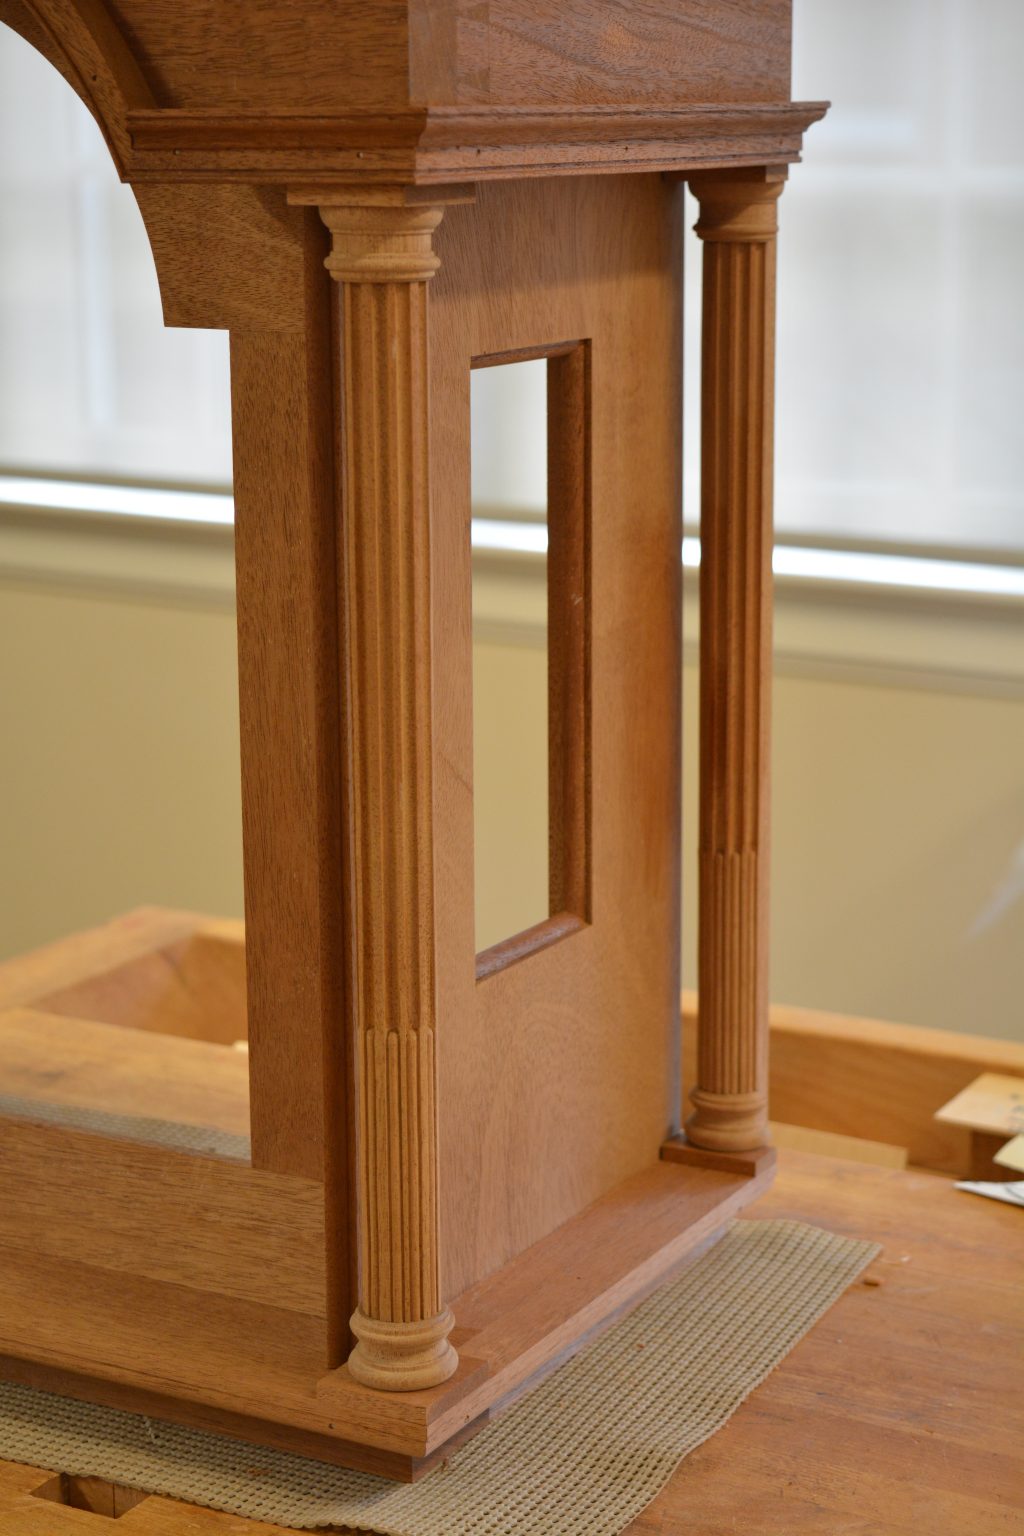
Next up was turning the columns for the hood, there are two full columns that flank the front of the clock, at the rear there two half columns. As with the quarter columns on the waist, the hood columns the bottom 30% is reeded, the remainder of the column is fluted. Each of the full columns is constructed with two capitals, two base pads and the column shaft.
The photo below shows the bottom ogee molding and columns installed.
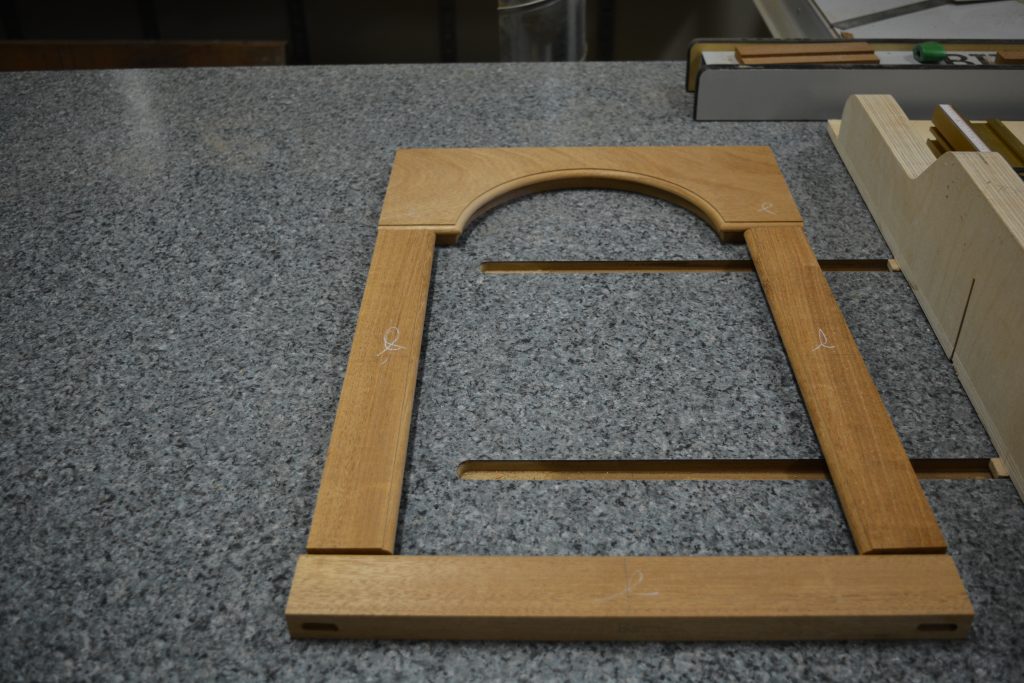
Next is construction of the dial frame, actually the dial frame is pretty simple,; two stiles, a bottom rail and the top rail. The dial frame is constructed of 1/4″ thick Mahogany, the stiles and rails are joined with half lap joints. The dial frame fits in a dado cut in the hood sides, the frame is slid into place from the top.
Next is construction of the hood door, the door has a small thumbnail profile..
The bottom and top rails of the hood door have a through mortise and tendon joint, here we see the mortises
The thumbnail profile is mitered at the intersections of the stile and rails, here we see a block that is being used to pare the miter on one of the door rails.
The hood door has been assembled and draw bored. The top rail has only been shaped on the inside edge at this point, as the top rail of the door is fairly fragile. Here we have marked out the material that needs to be bandsawn away.
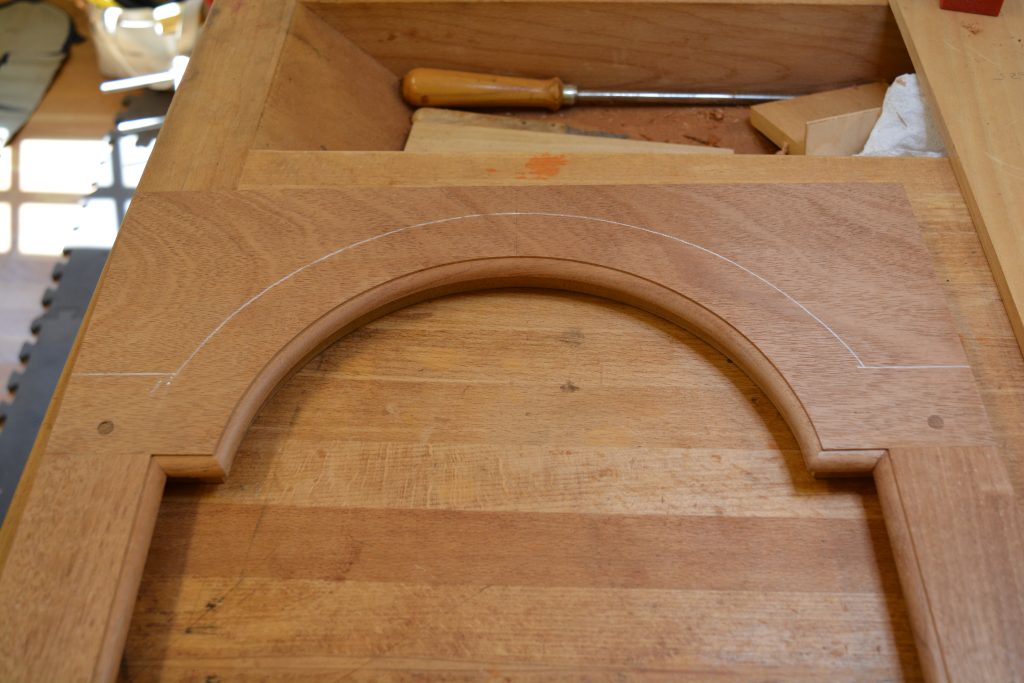
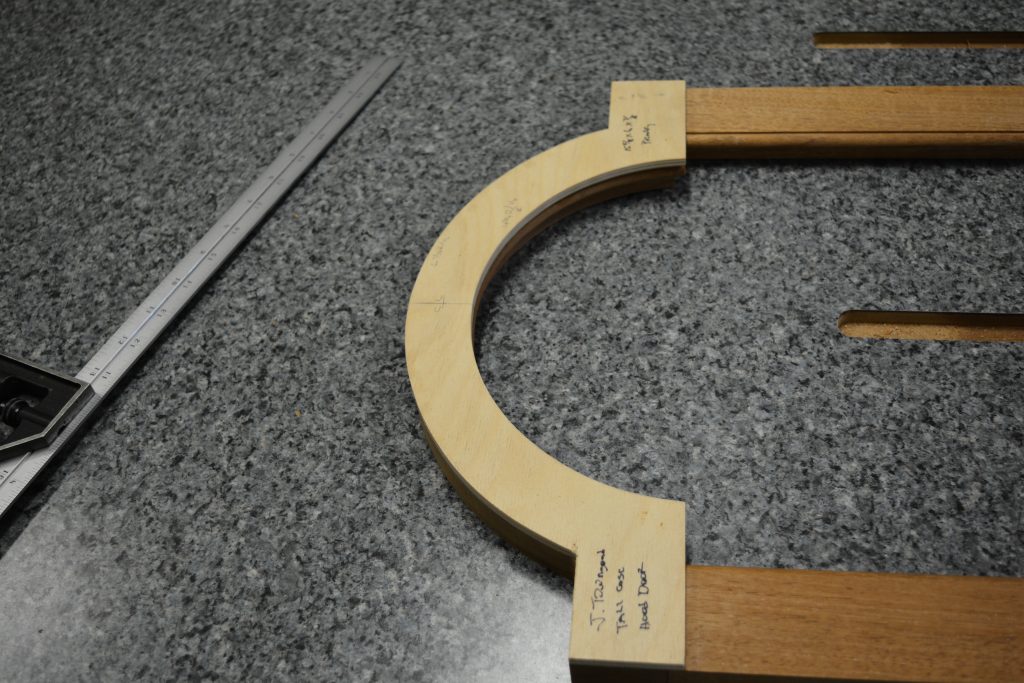
We use a template to establish the material to be removed, then use the template and a router to clean up the outside edge of the top rail.
The very top of the hood is skinned with 1/8″ stock that has been steam bent to shape.
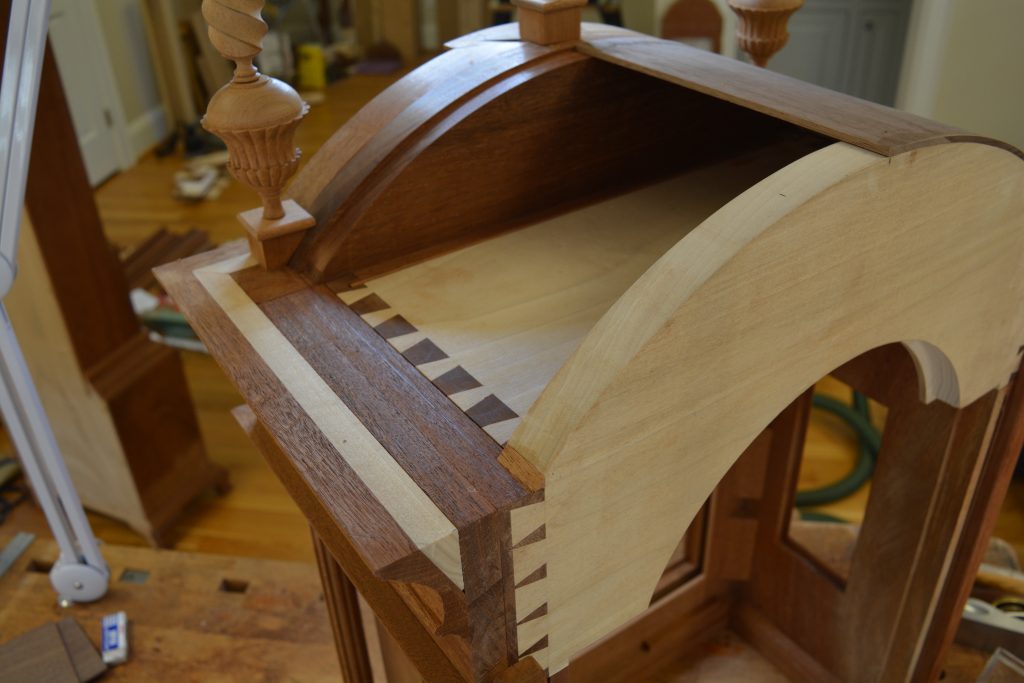
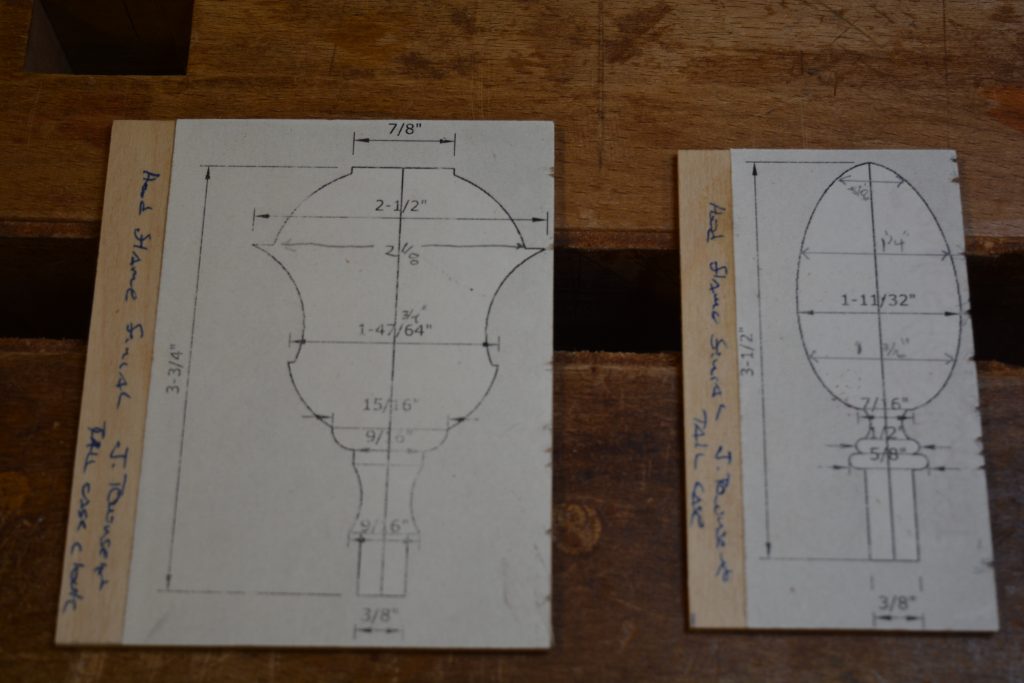
The final feature of the hood is the flame finials. I didn’t take any photos of the turning process, so the best I have is a photo of the turning templates. The finials are constructed of two parts, the lower urn and the upper flame. The urn and the flame are joined with a round mortise and tendon. The assembled flame finial is then mounted to the hood with three bases mounted to the top of the hood.
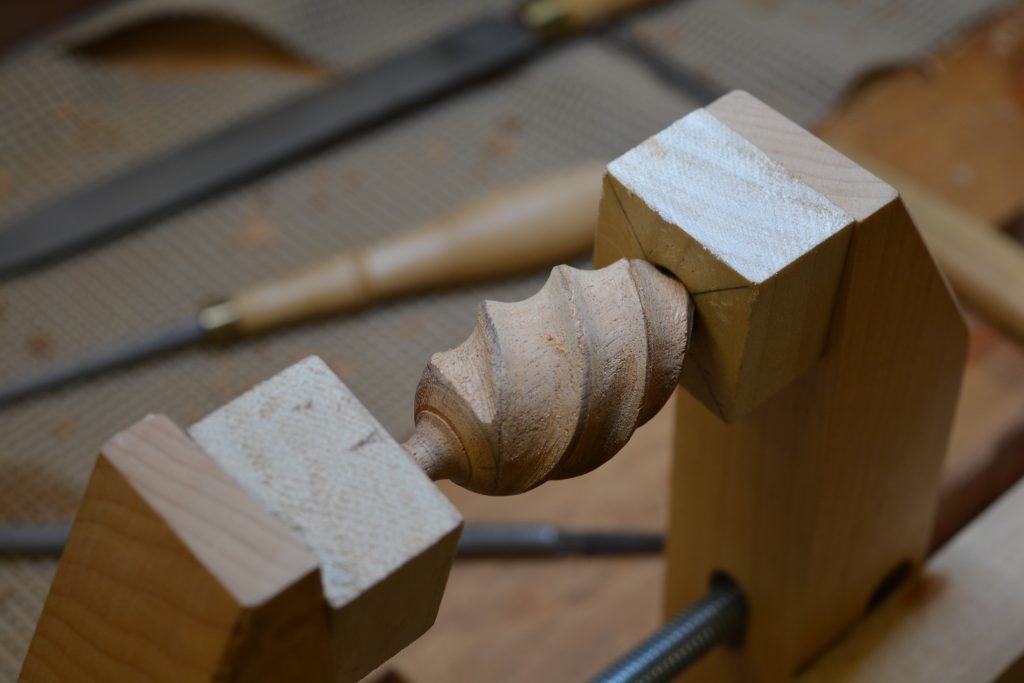
Here the flame turning is mounted in a wood clamp with two blocks that support the flame, this allows the flame to be carved. The urn is also receives two over lapping rows of leaf carvings.
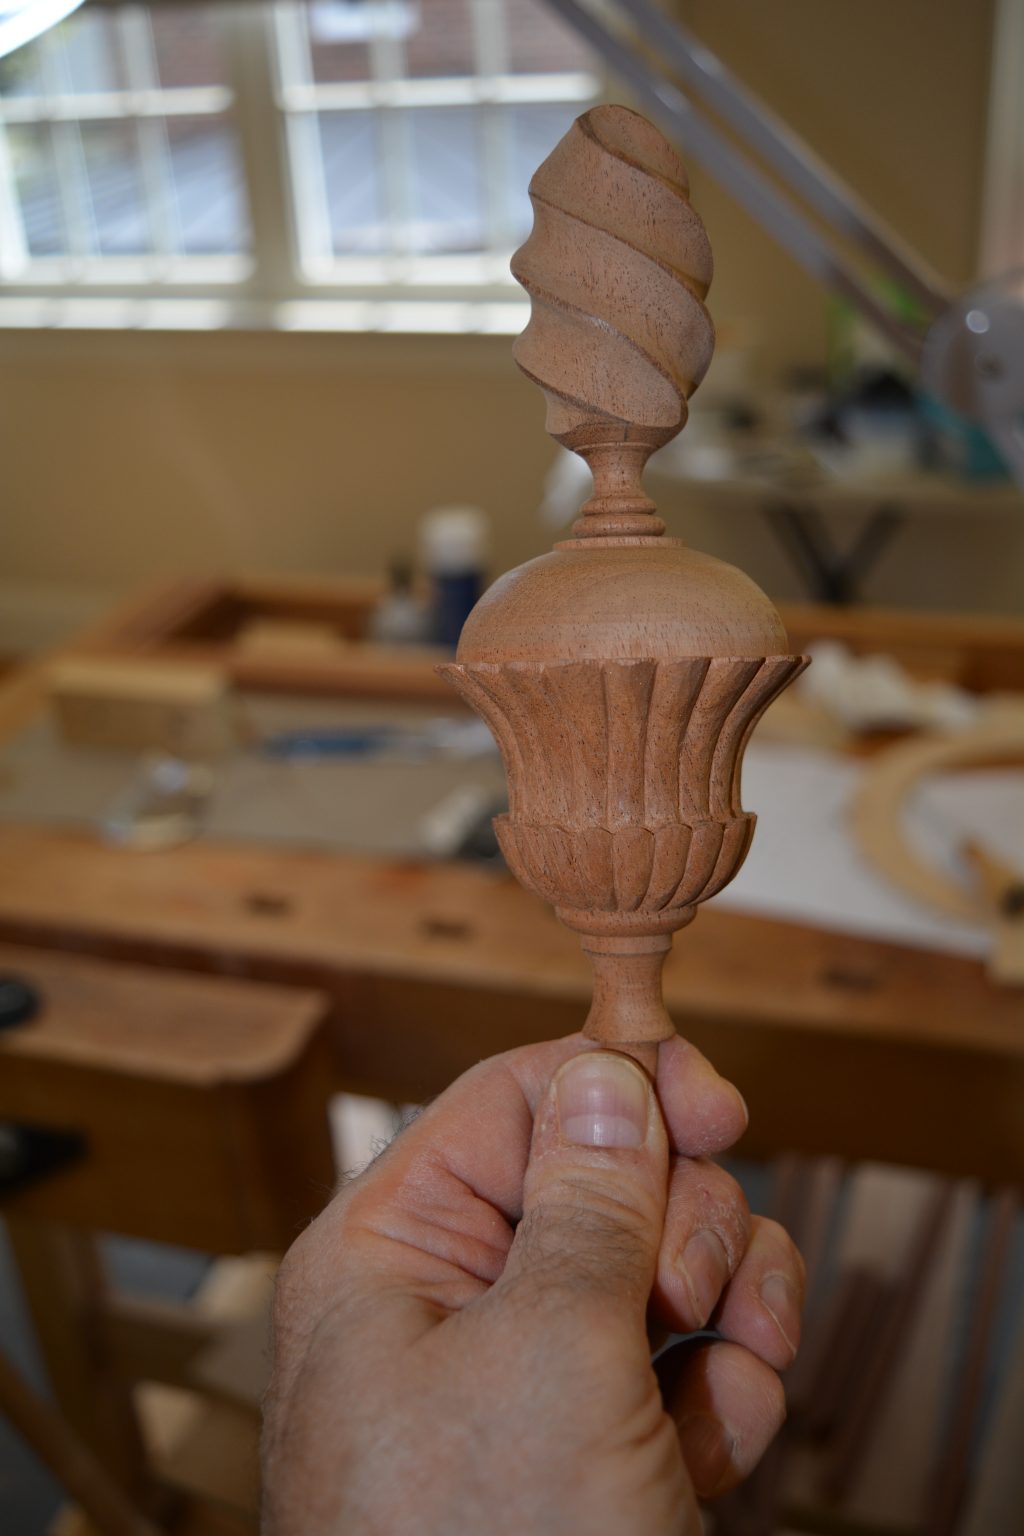
The assembled flame final.
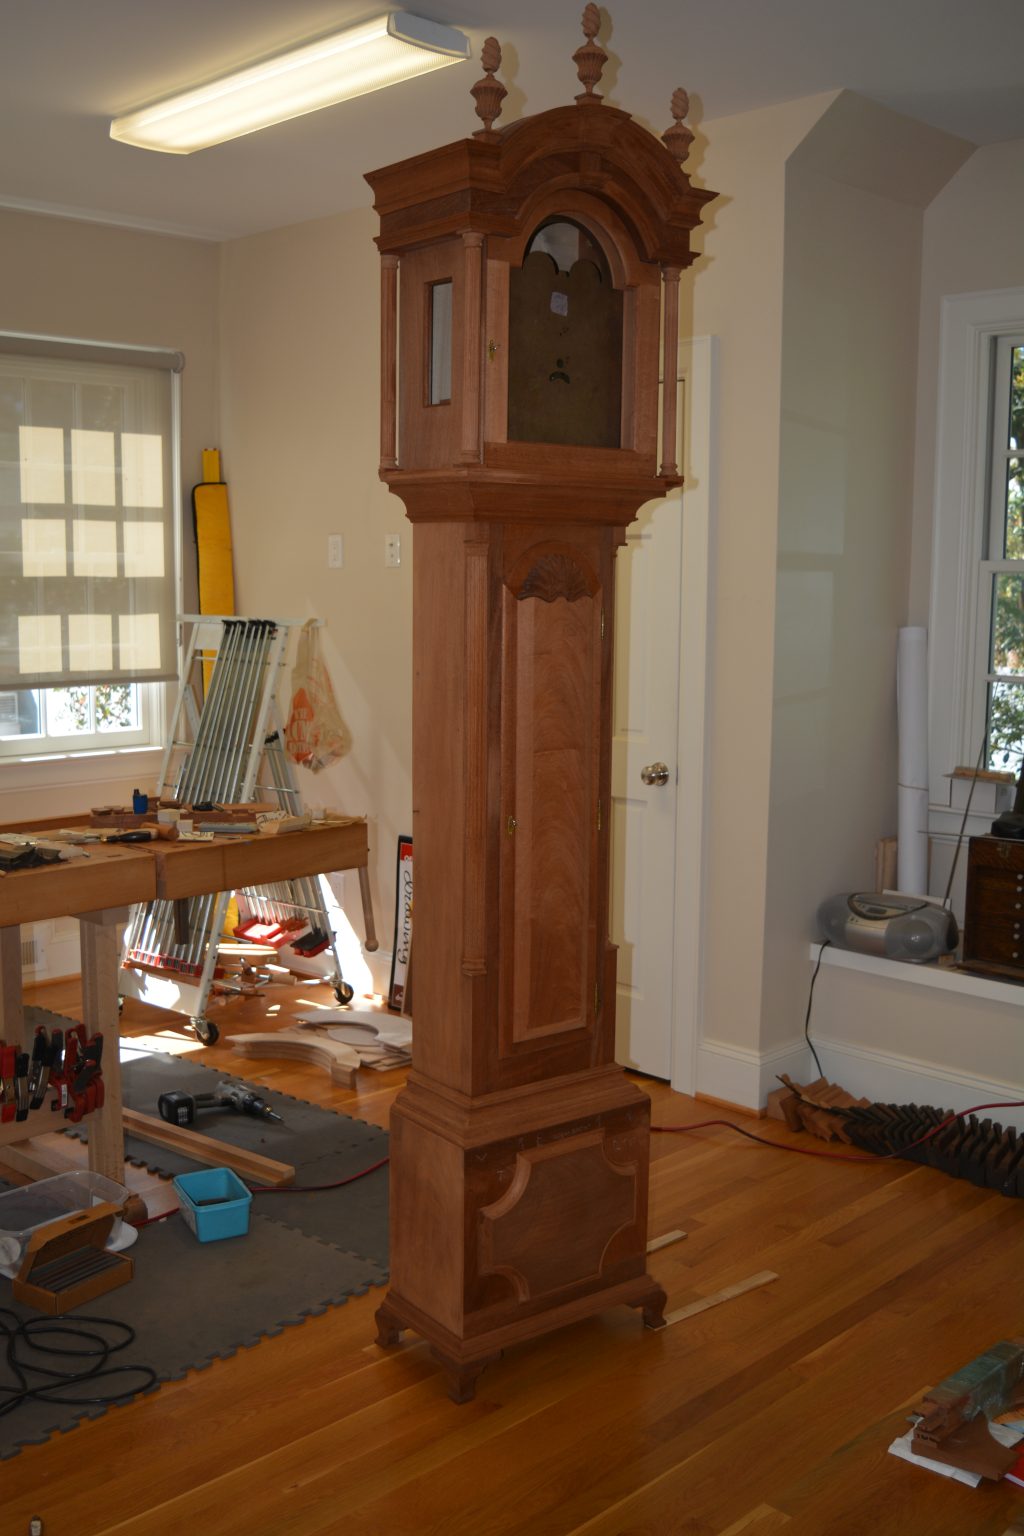
It’s not the greatest photo in the world, but here is the complete constructed clock case. The clock is very tall (98 1/4″) and it is quite hard to get a decent photo in my shop. Notice that the flame final blocks have been installed on the hood and the finals put into place. Also the hood door has been hinged and the half mortise lock and escutcheon mounted. The shell carving that sits atop the waist door will not be installed until the case has received it’s finish.
The ‘movement’ that is installed is a dummy, I am patiently waiting on the actual movement and dial.