The front base moulding on the Boston Blockfront chest needs to be mitered before the moulding is glued to the case bottom, mitering this moulding is not as simple as tossing it on the miter saw and cutting a 45 degree on each end (unfortunately).. The miter joints are actually miter lap joints, this reinforces the weak miter joint and also allows the bottom moulding side pieces to float on the case bottom for expansion and contraction.
The photo below shows the bottom of the front moulding, the two miters are actually a 90 degree flush cut that lines up with the outside edge of the case sides and then the required 45 degree miter, unfortunately I got caught up in the action and forgot to take a photo of the miters being cut. We needed to use a 45 degree miter sled on the table saw to cut the miters with the blade at full height!!
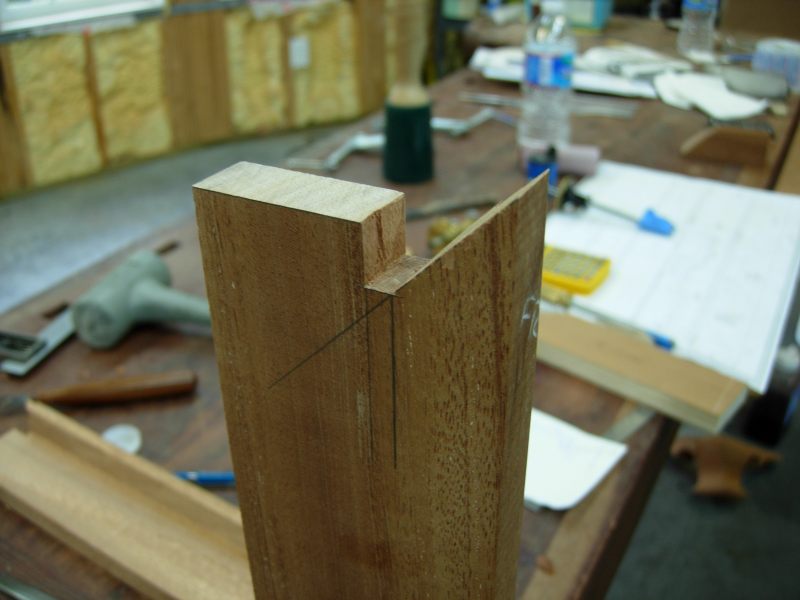
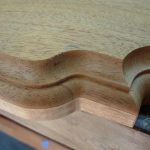
The underside of the front moulding also contains a ‘pocket’ that is one half of the miter lap joint.. This will make more sense when we see the side mouldings in the next photo..
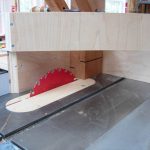
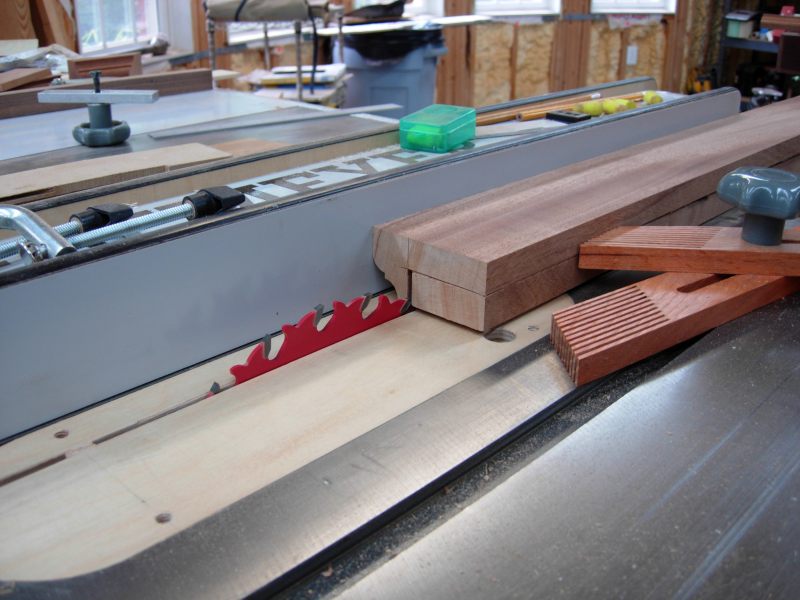
Next with the side mouldings, we cut a giant 2″ wide by 7/8″ deep rabbit in the top of the side moulding, seen being cut on the table saw..
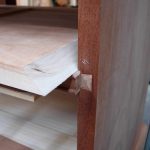
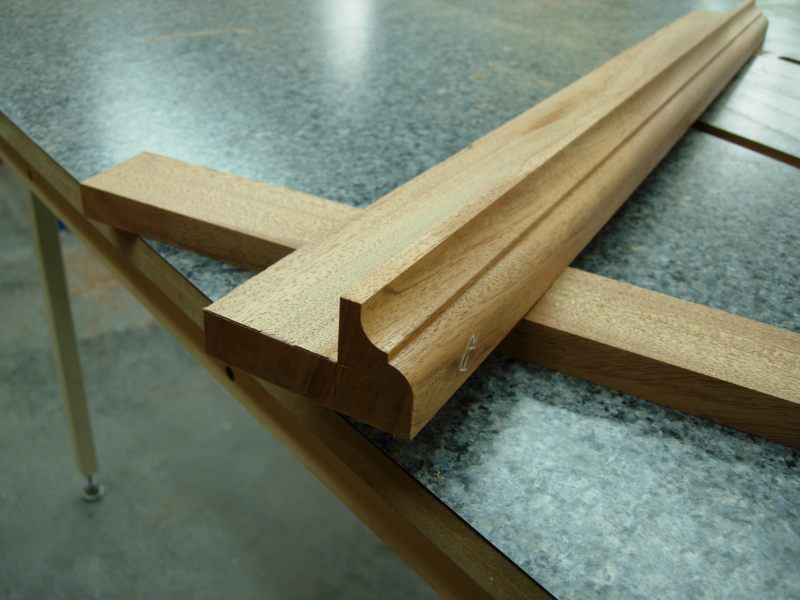
The side moulding with the finished rabbit.. The rabbited area will now fit under the case bottom and case side joints, the rabbit also allows the side mouldings to meet up with the front moulding that sticks out proud of the case bottom by….11/16″
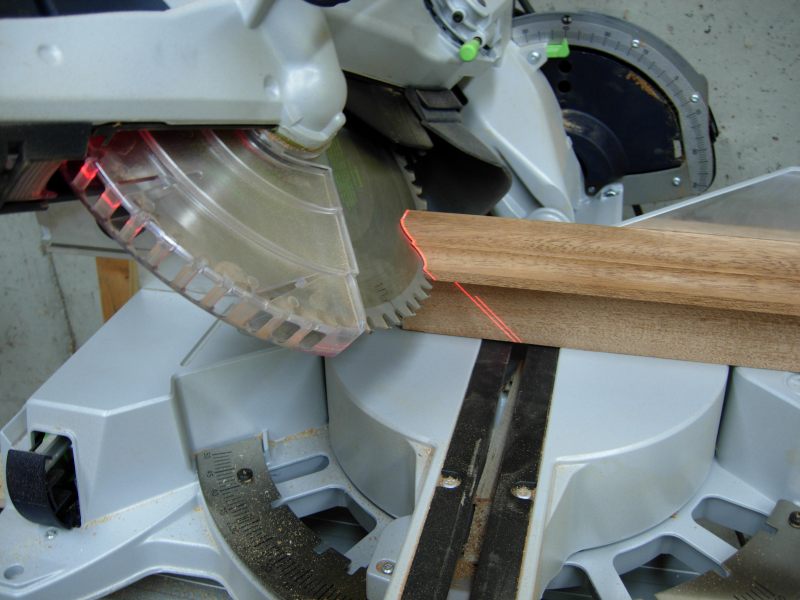
The off to the trusty Kapex to cut the miter joints, the Kapex is nice in that it will cut a horizontial 45 degree miter both left and right, the Kapex also has a nice feature where the depth of cut can be limited as shown here..
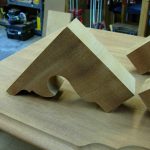
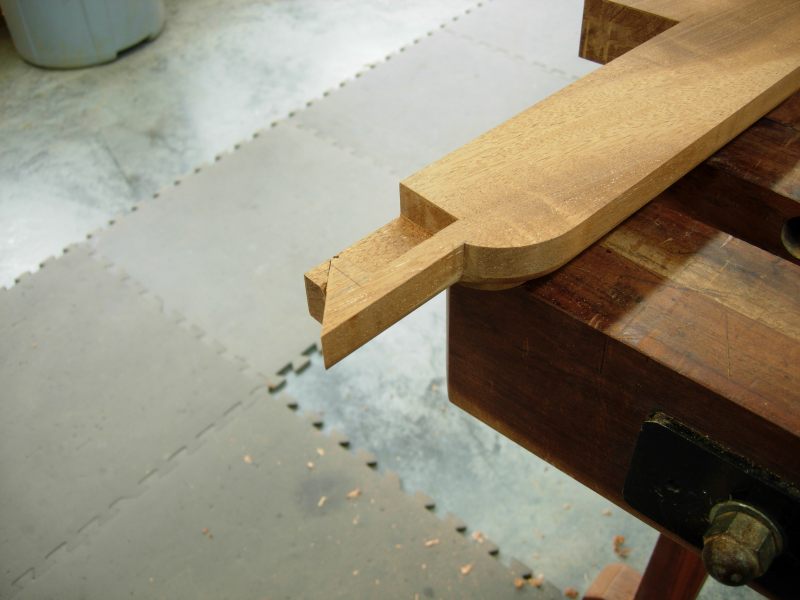
Finally the finished front edge of the bottom side moulding (the right moulding shown here), notice how the stub tendon will fit into the pocket cut into the front bottom moudling (yeah yikes)