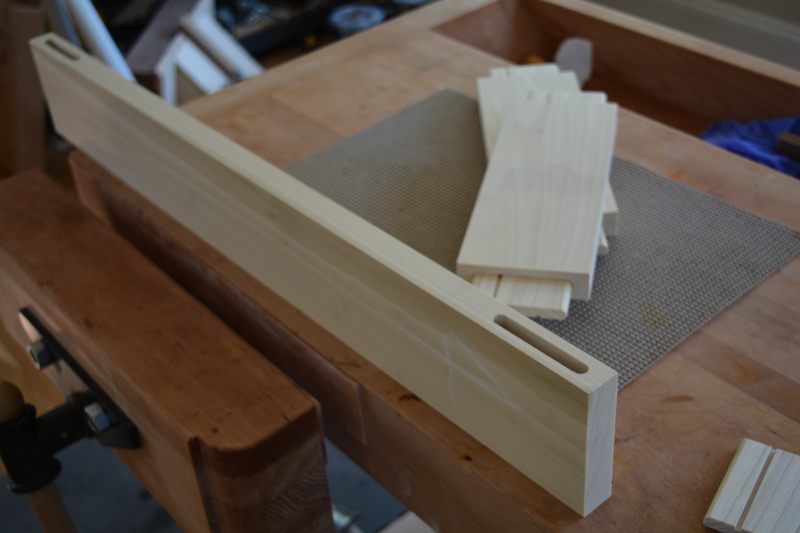
The chest subase frame will be mounted to the bottom of the assembled case with slotted screws, the assembled bracket feet and the bottom case moldings will be attached to the subase frame. The frame is a solution to preventing a cross grain gluing issue with the lower case moldings.. The styles have very deep 1 1/2″ tendons, I used the rather untraditional European style loose mortise and tendons..
–
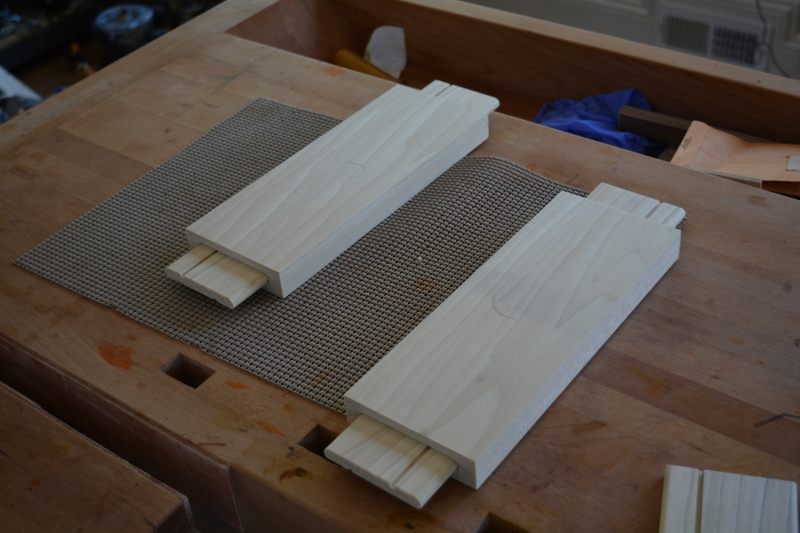
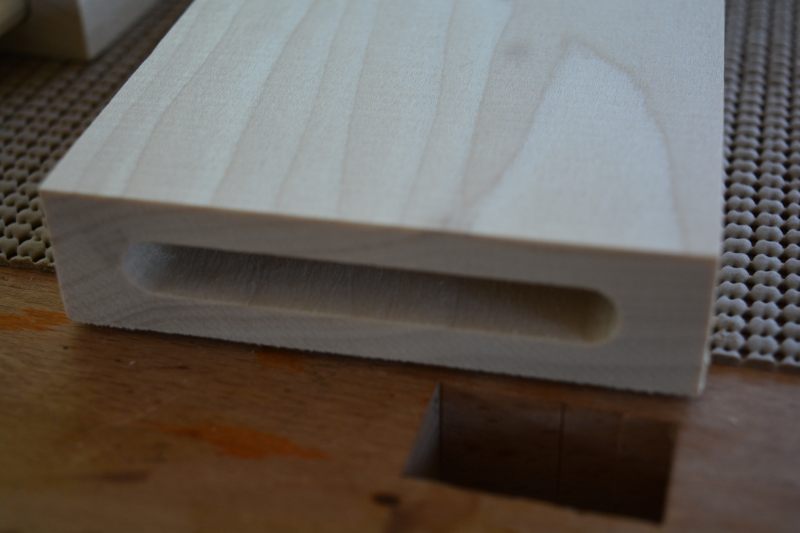
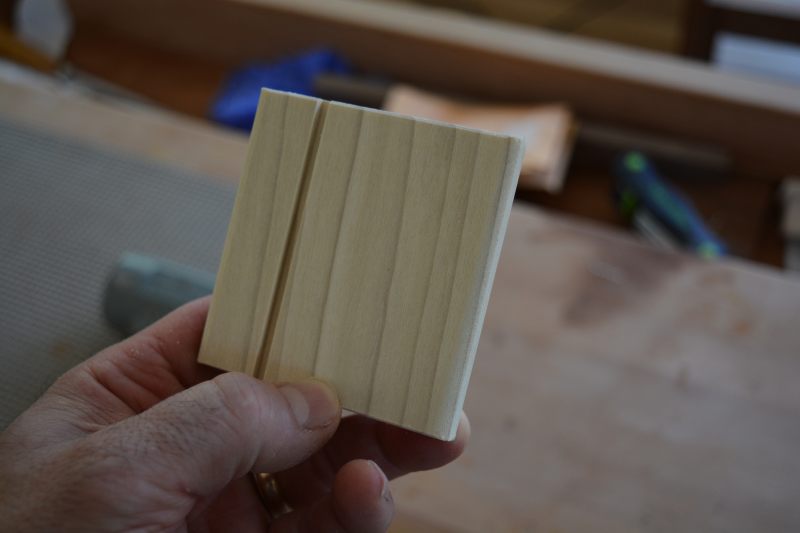
Below is a picture of the 3/8″ x 3″ loose tendon with a glue groove cut..
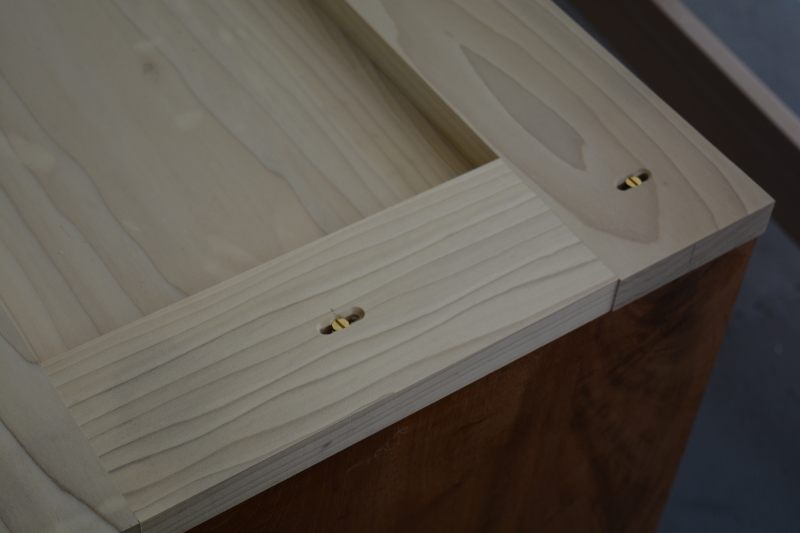
Here we see the frame screwed to the bottom of the case, the front facing style is traditionally screwed, the rails and rear facing style is screwed using slotted screw holes.. The slotted screws will account for the seasonal wood movement, between the main case and the frame.. As we will see later in the build process, the bottom case molding is only attached to the frame, as are the case feet..

We leave the frame over size by about a 1/16 on the front and sides, we will use a flush trimming router bit to make sure the frame is absolutely flush with the rest of the case..
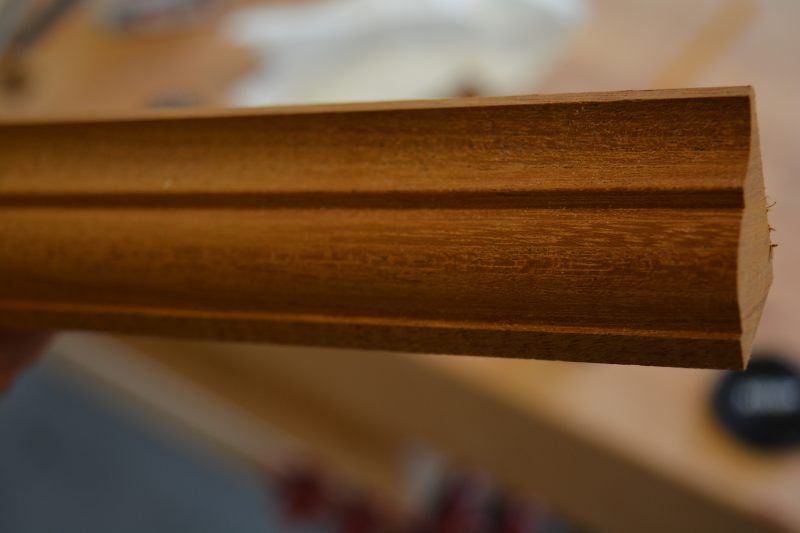
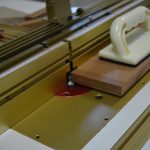
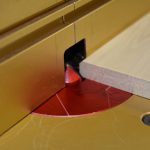
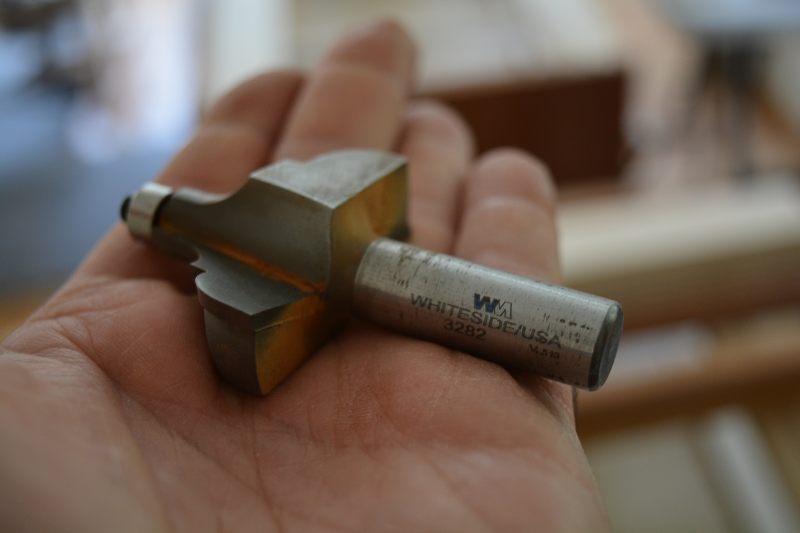
We use a Whiteside 3282 cove and bead with a B2 beading replacing the normal B3 1/2″ bearing
The Mahogany bottom case molding is mitered and glued and nailed to the sub-frame (only!). The sub-frame prevents any cross grain glue issues, as if it were just attached to the case sides.