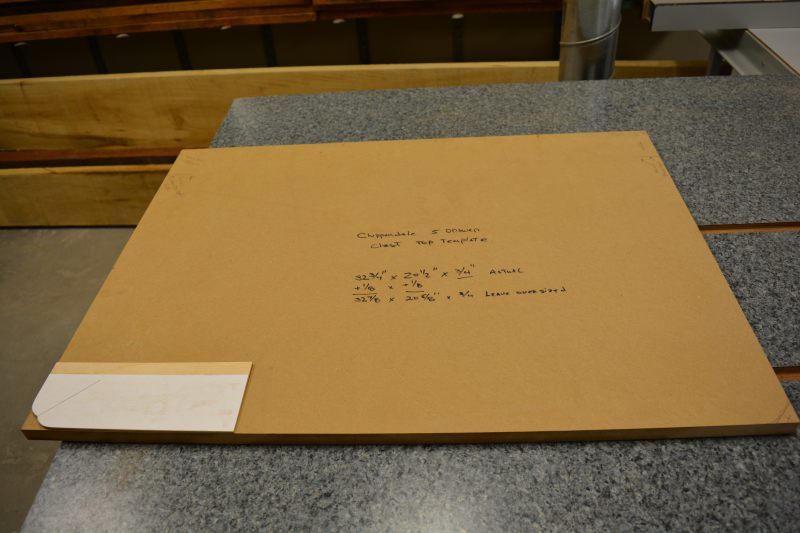
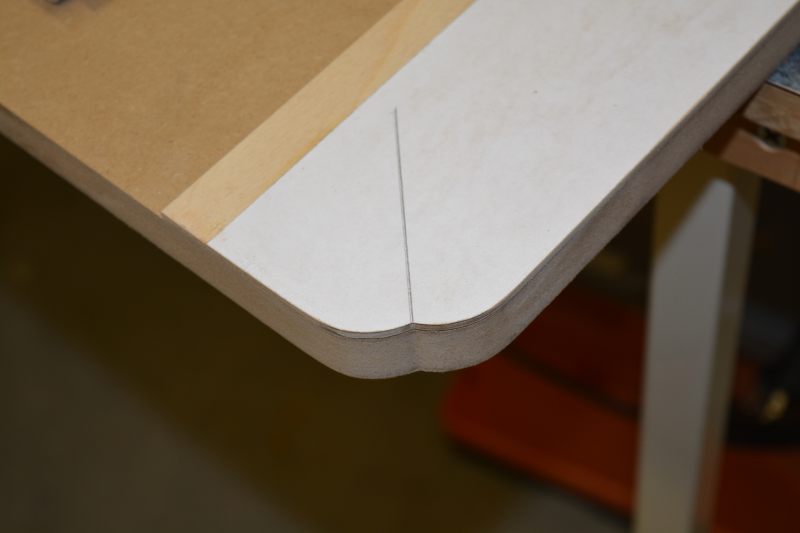
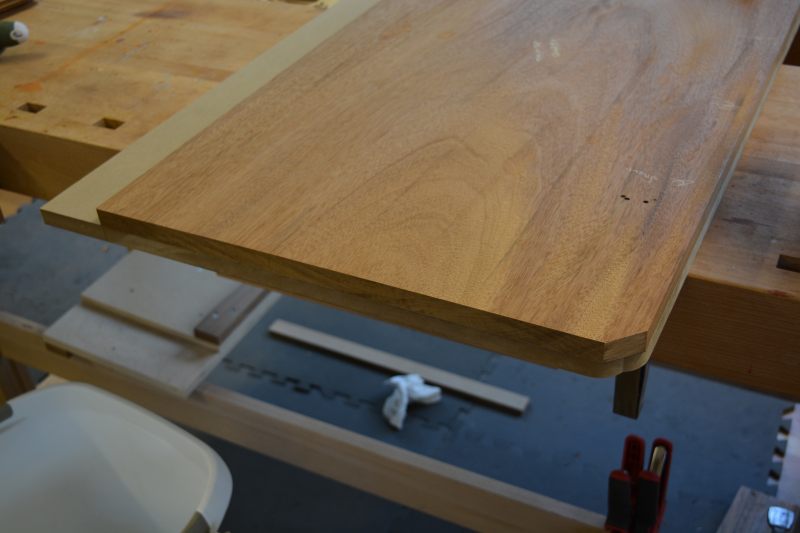
We first need to make a full size template for the case top, the full size template is necessary because the router bit we will use to shape the edge of the case top profiles the entire edge, without the template the bit would continue to cut into the the edge of the top, the bits bearing needs a reference surface, which is the MDF template..
The case top features a rounded edge that seems to be the style during the 1760’s, we printed out the profile from Sketchup, glued the paper template to some 1/4″ plywood. After the 1/4″ plywood template was properly shaped the template was used to shape the actual 3/4″ MDFf top template..
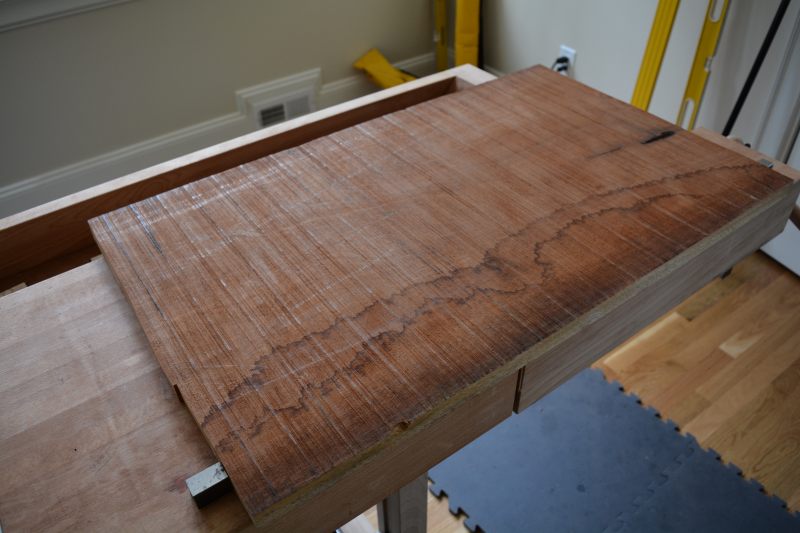
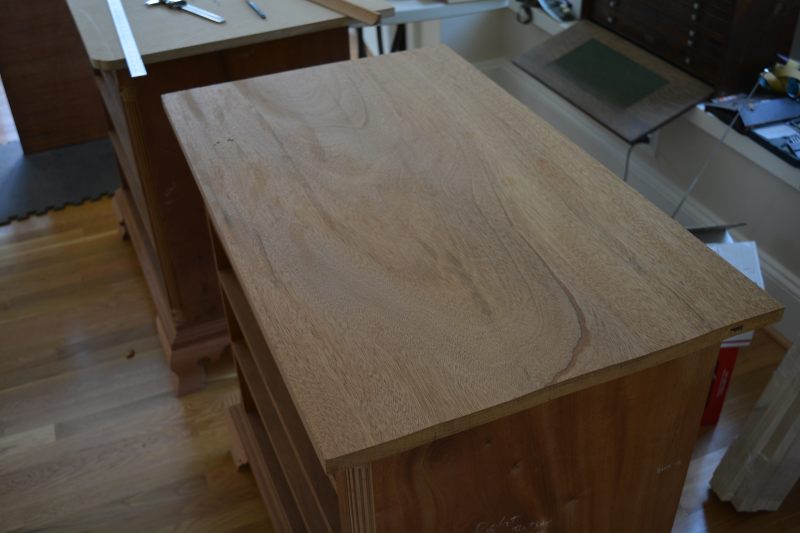
I was fortunate enough to get Mahogany lumber wide enough to make the case top from one 21″ wide Mahogany board. The only way that I can process such a wide board is completely by hand.
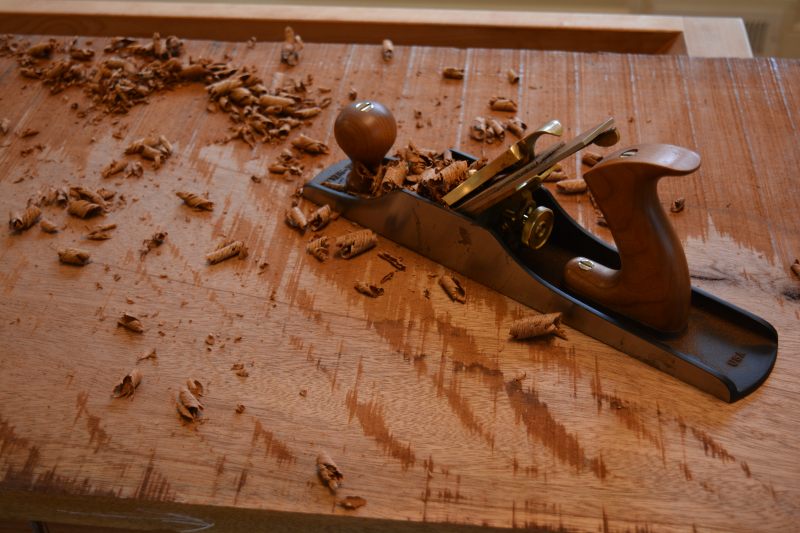
The tool of choice to perform the initial flattening is a jack plane with a cambered blade.. This tool takes pretty thick shavings and quickly rough flattens the board, removing any twist (wind), after finishing with the jack plane the next plane that is used is a very lightly cambered jointer plane..

Yeah that’s a Lie-Neilsen #5 jack
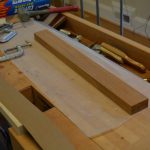
Next we see a photo of the top with one side properly flattened (face down to the bench). After one face has been flattened, a marking gauge is used to mark the boards thickness (13/16″) around the perimeter, the gauge line is used as a reference when processing the second side of the board.. As a side note, we need to remove a good healthy 1/4″ of Mahogany, lets just say if one did this on a daily basis, there would be no need for gym memberships, it is quite the workout. Now I remember why a bought such a wide european jointer/planer, but alas it is not wide enough to process the wood for the chest top..
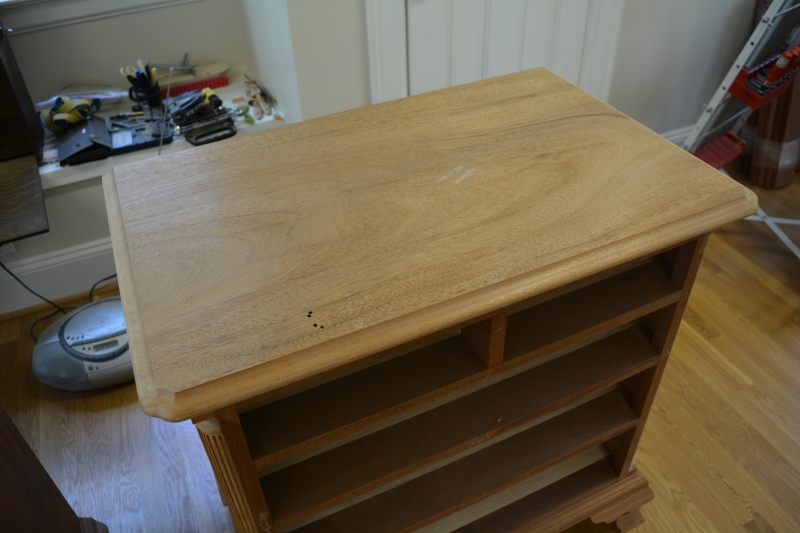
The top after both sides have been planed, the top “glows” from being hand planed, there is nothing quite like the finish from a hand plane..
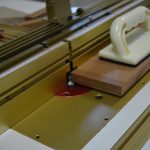
The template affixed to the bottom of the top.
The bit used to shape the edge of the top is pretty large and takes off a tremendous quantity of material. I cut the profile on the case top using multiple passes, I replace the stock 1/2″ bearing with a 1 1/8″ bearing for the first pass, then each successive pass the next smaller bearing is placed on the bit..
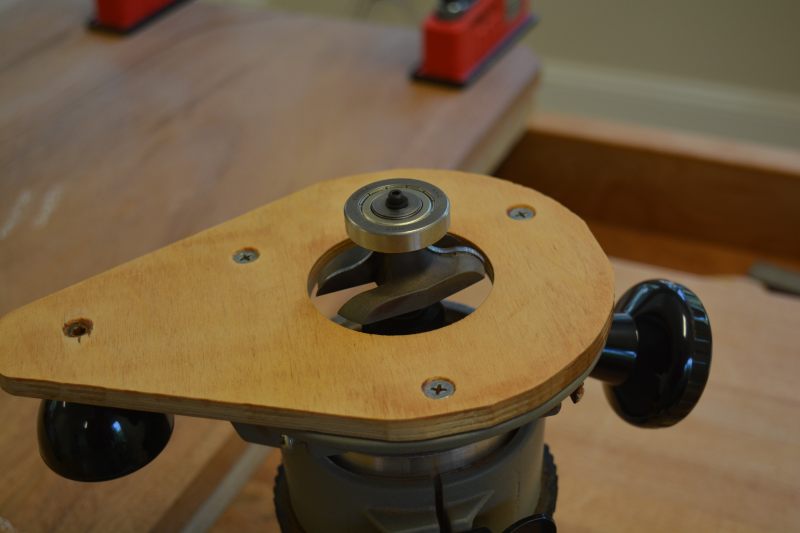
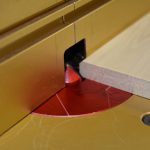
One of the early stage passes.
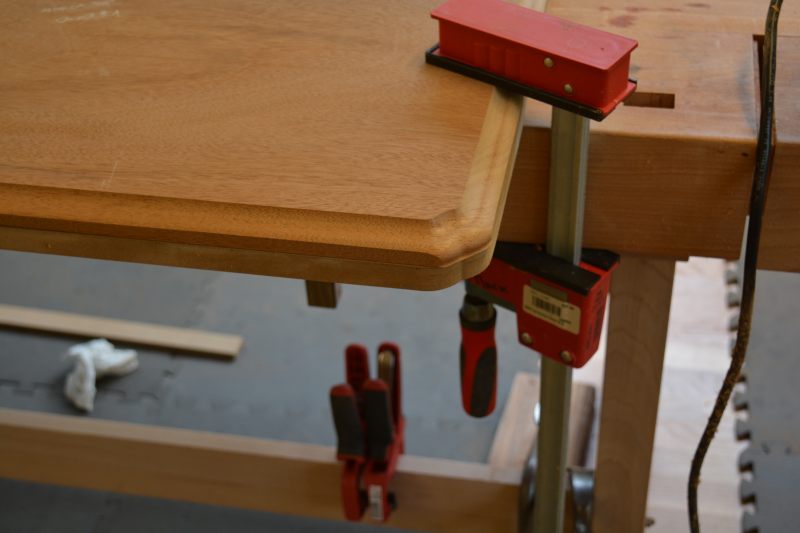
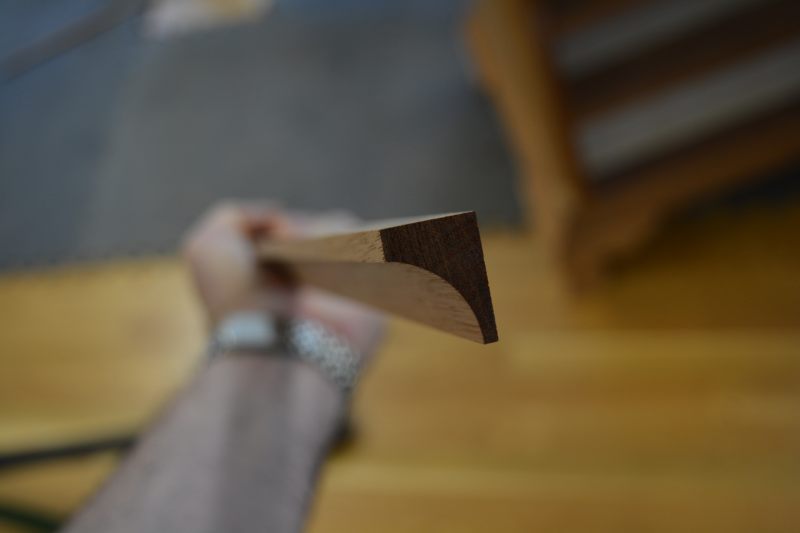
After the final pass, the bit leaves a bit of clean up work that must be completed by hand. First the thin piece of Mahogany that was not shaped needs to be fared into the rest of the profile, this can be easily accomplished with a very sharp low angle block plane.
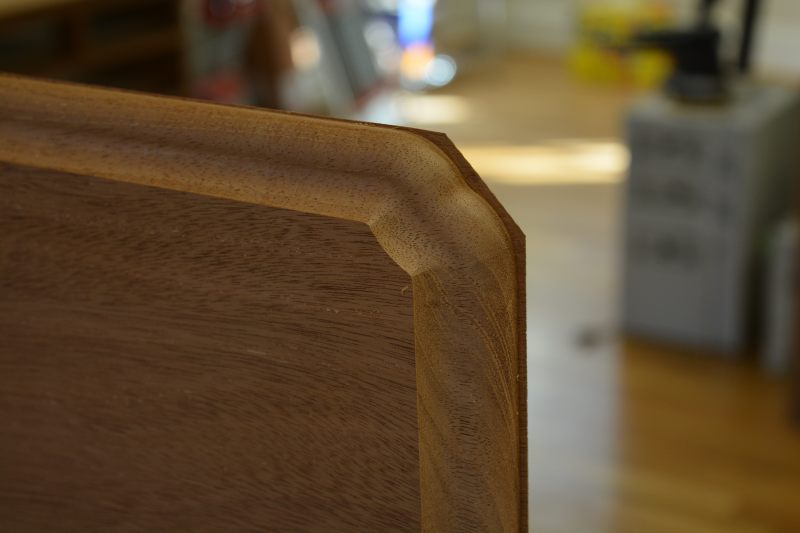
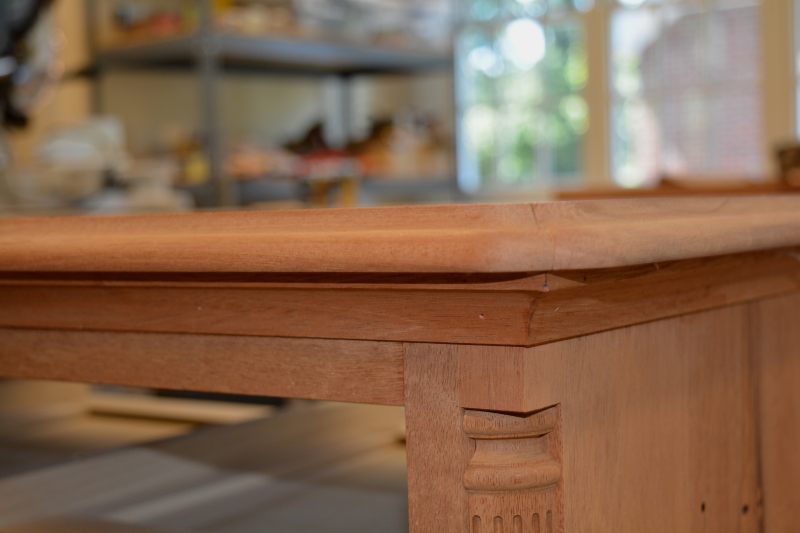
Finally the corner profile needs to be cleaned up with some carving gouges to complete the edge profile process..
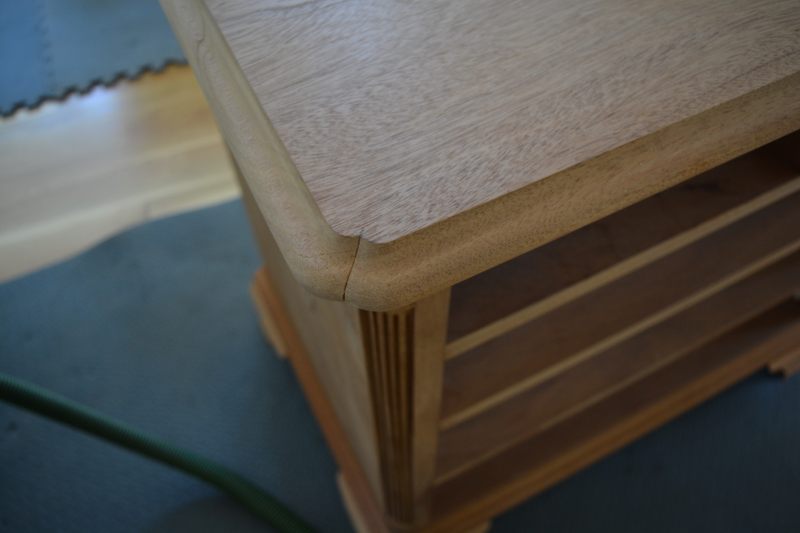
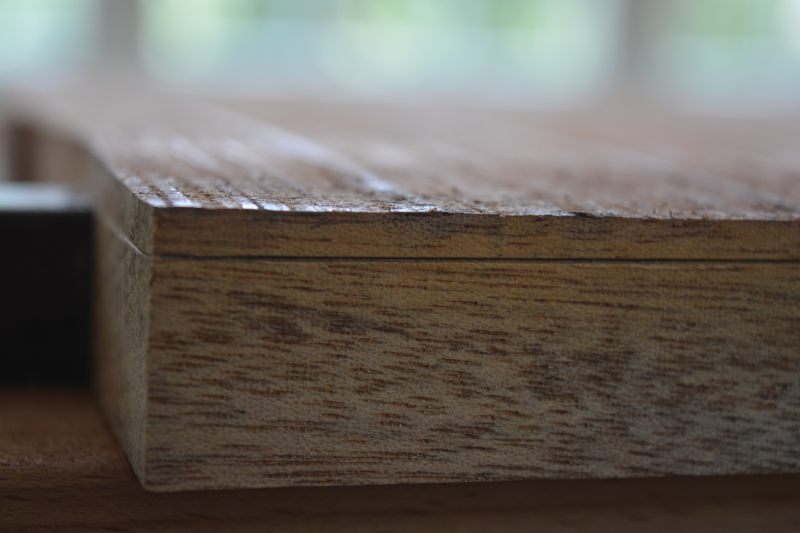
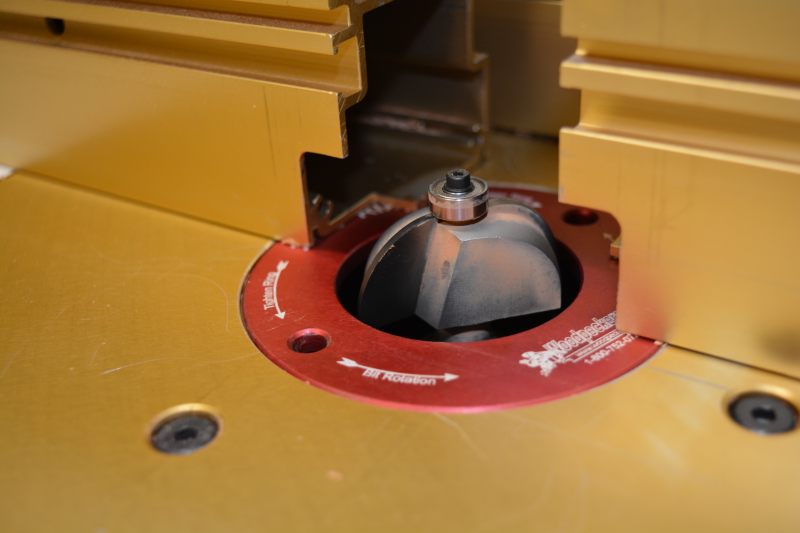
Last, but not least, the cove molding the resides under the case top needs to be milled and attached to the case. The cove bit is a 1/2″ radius cove bit (seen in the router table).
Molding installed under top. Since this molding is being attached in the traditional fashion, only the front molding (which is a long grain glue-up) and the first few inches of the right and left side molding (cross grain) can be glued to the case sides..