Next step is to shape the drawer blades, we accomplish this task by creating a master pattern from SketchUp and affix the master pattern to some 1/2″ baltic birch plywood. The master pattern is bandsawn and very carefully shaped using a spindle sander, chisels, raps and files. We then affix the master pattern to the raw drawer blades to rough shape the blades on the bandsaw, then finally pattern route the drawer blades to the final shape.
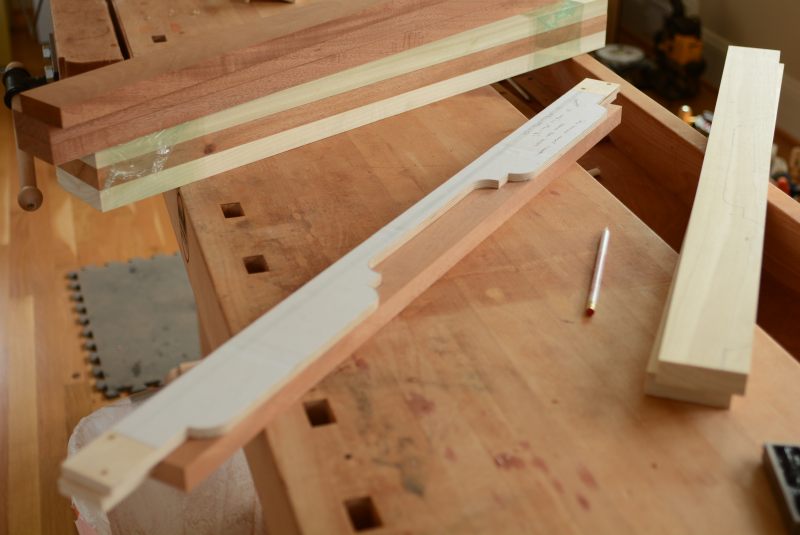
A white pencil from the art supply store is a helpful addition to any woodworker working darker lumber. Bandsawing the profile leaving a good 1/16″.
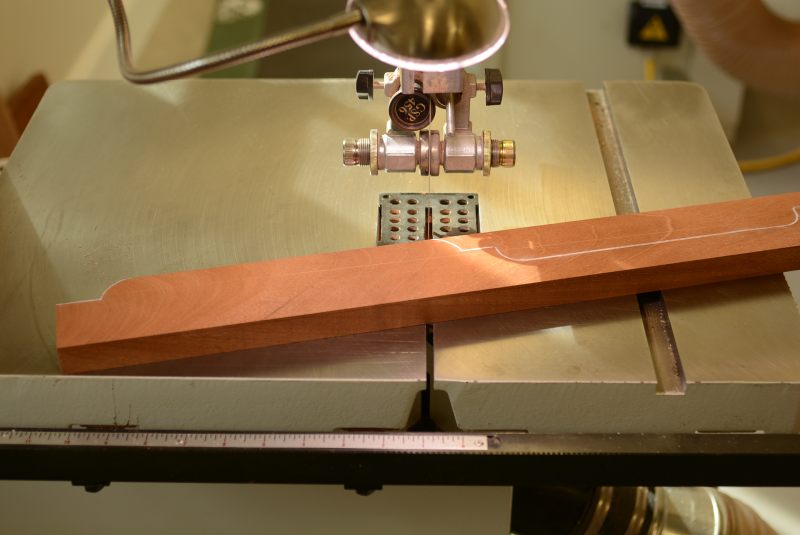
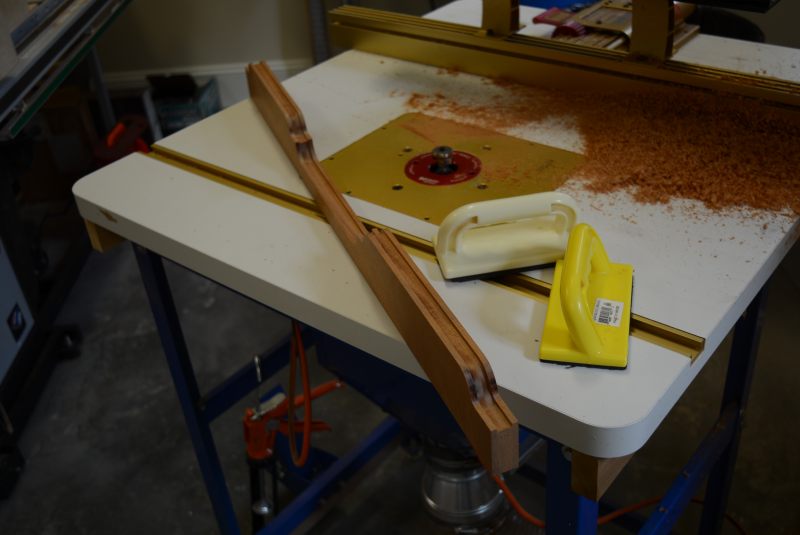
Using a spiral double ball bearing flush trim to clean up the bandsawn edge.
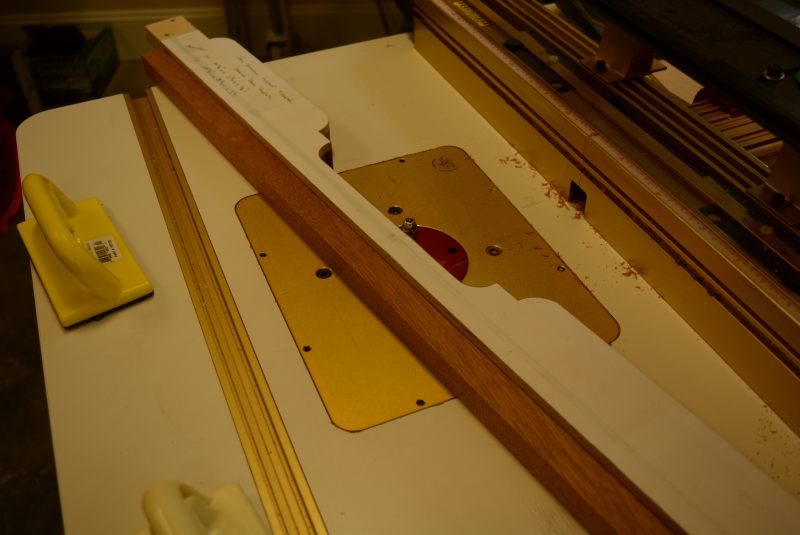
Next a slotting bit is used to create the rough shape for the 3/32″ radius bead on the front of the drawer blades.
Close up of the slotting bit

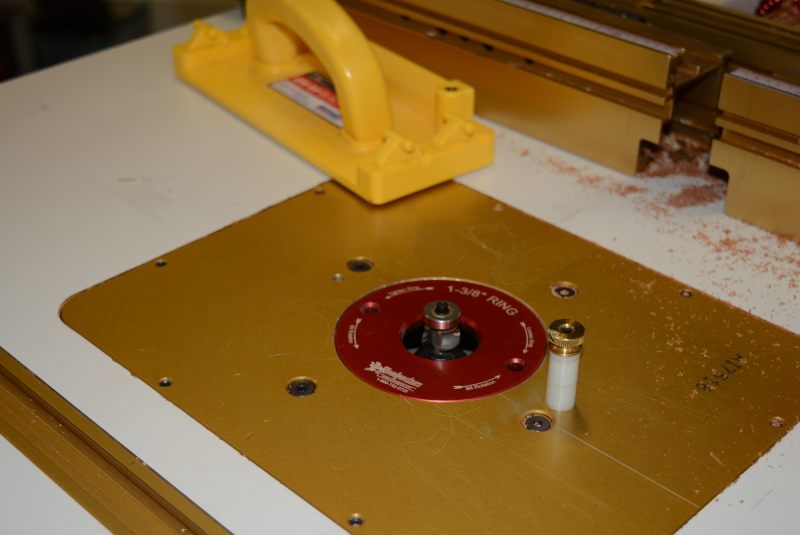
Finally a 3/32″ radius beading bit is used to complete the shaping of the bead..
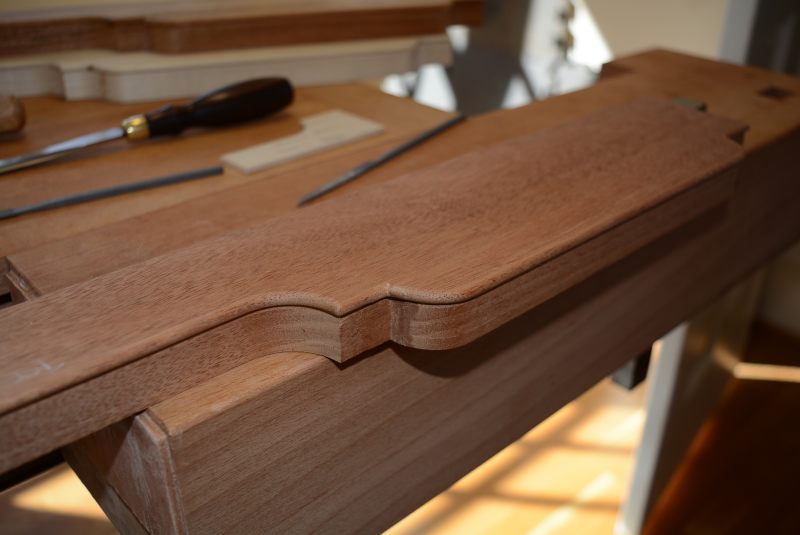
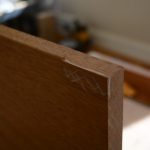
The result (note: this is a picture of the bottom drawer blade that only has a single bead, unlike the three upper drawer blades) of all the machine shaping. These drawer blades are not complete without plenty of hand work!
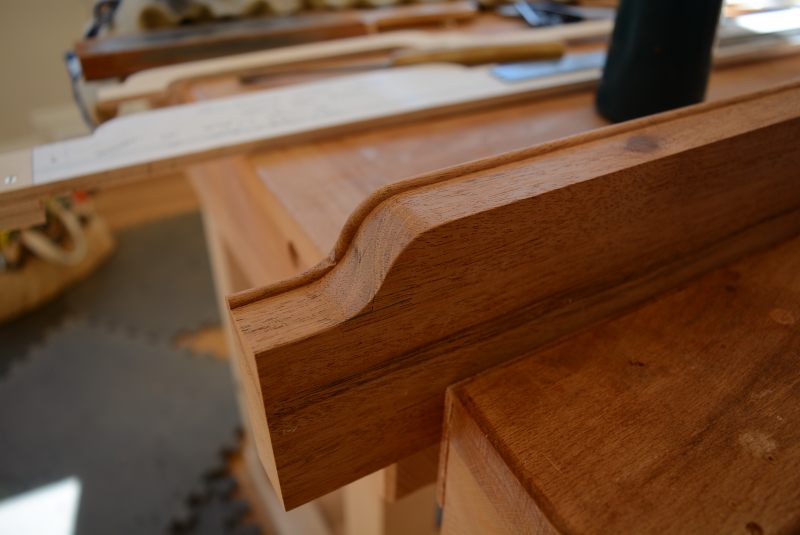
Here we see the radii of the drawer blades refined with a nice sharp chisel.

Finally the bead is refined with carving tools and very fine rifflers.