After the drawer blades have been prepared, we then need to perform a fair amount of jointery on the case sides. Here is a quick overview of the jointery involved:
- bottom of the case is half blind dovetailed to the bottom of the case sides (completed in case bottom)
- bottom drawer blade is dovetailed separately to the bottom of the case (completed in case bottom)
- the case sides are dado’ed to received the web frame for each of the three upper drawers
- upper three drawer blades are sliding dovetailed into the case front
- rear drawer blades are sliding dovetailed to the rear of the case side (not shown)
- front rail is half blind dovetailed to the top of the case (case top)
- two upper case stretcher are half blind dovetailed to the top of the case (not shown)
Since there is so much going on with the case jointery we will divide this post into three parts
- case bottom
- case middle – previous article
- case top – this article
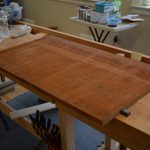
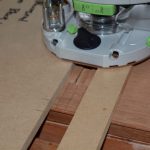
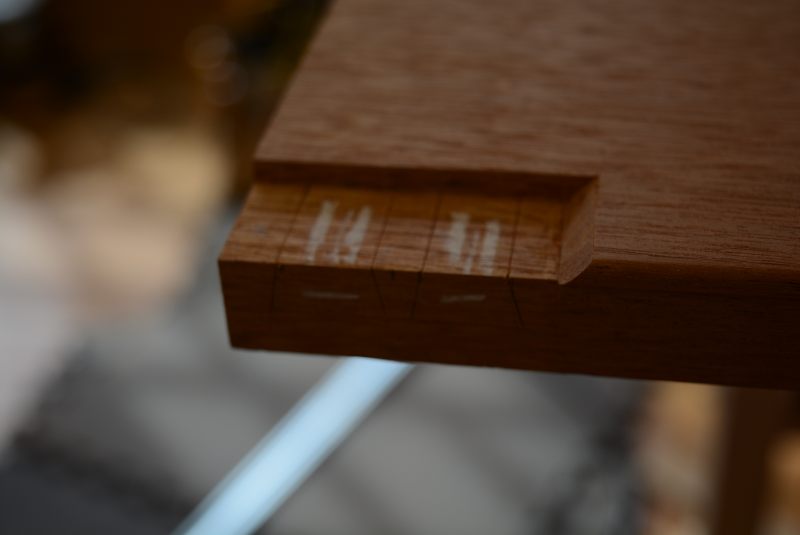
6) Here we see the area at the top of the case side that needs to be excavated to receive the top rail. Notice that the bead has been removed from the area, next we need to rebate the marked off area 3/16″ (the diameter of the bead).
Area removed 3/16″
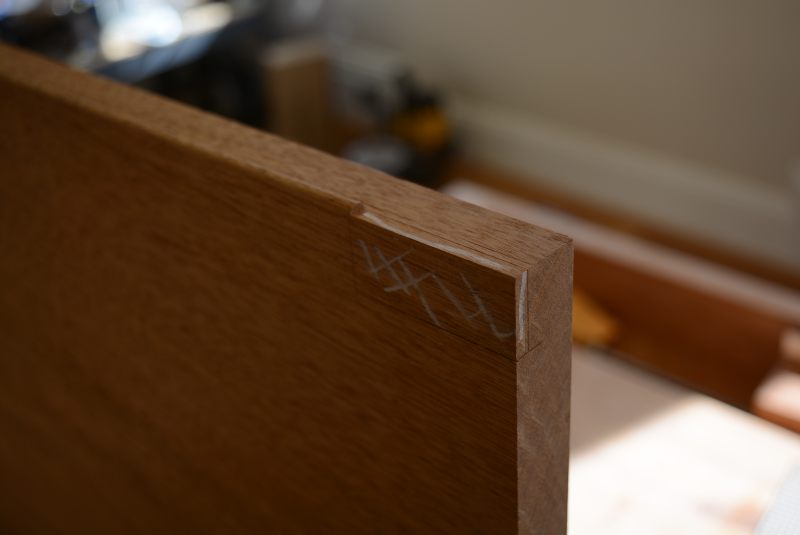
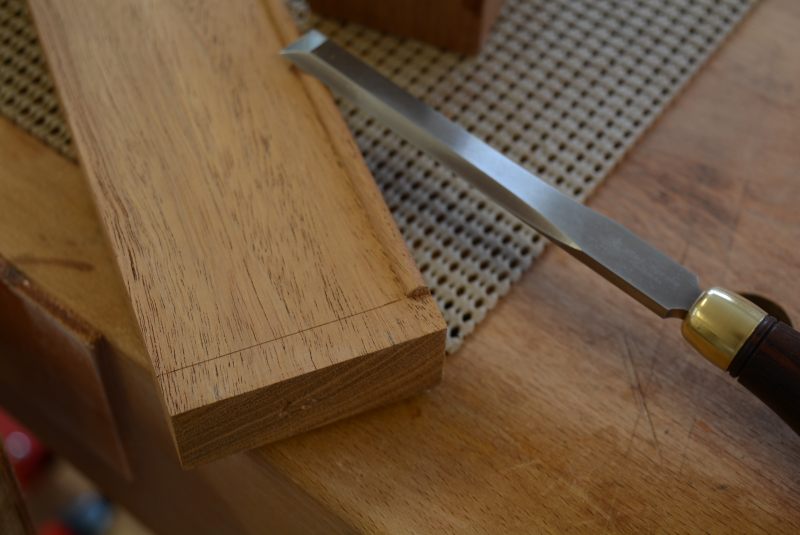
Mitering excavated area..
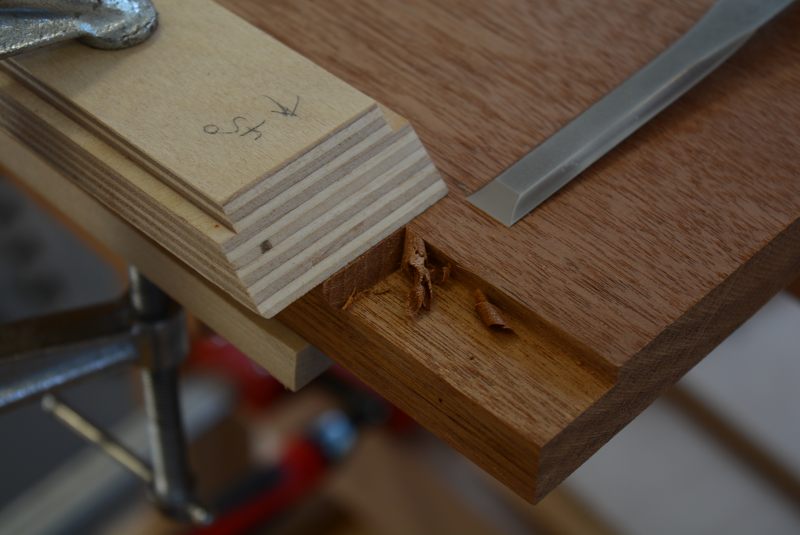
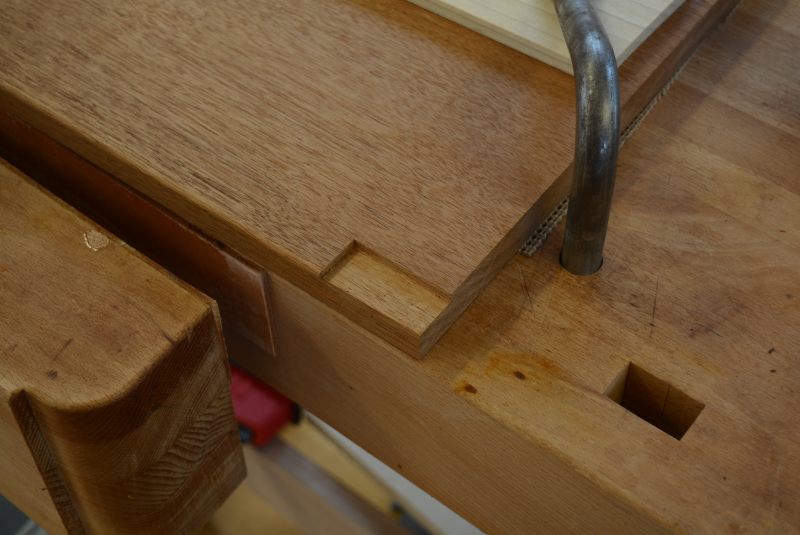
Now time to mark and cut the dovetail sockets for the upper rail, notice how the bead and excavated area has been mitered..
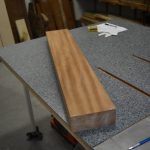
the top rail being prepared for miter and dovetail tails.
Finally the glued up main case assembly, whew..